Artisan's Instant Messaging (IM) System allows the practice to communicate both internally with one another and with patients via the Android/iOS smartphone App or via their secure web-based Patient Portal.
Navigation
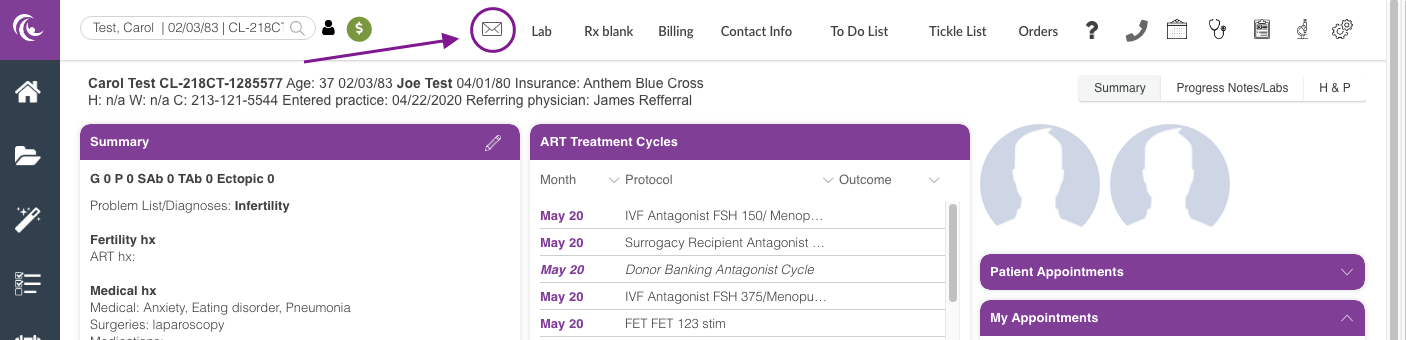
Click the Envelope icon at the top of an Artisan page to open the Messenger portal.

You will have an option to View IMs to access all messages on your Inbox and Write IM to Patient will allow you to automatically start a conversation with the patient whose chart you are in.

The above screenshot is an example of the View IMs view.
An example of the Write IM to Patient View. The system will automatically fill in the Recipient Type and the Recipients name.

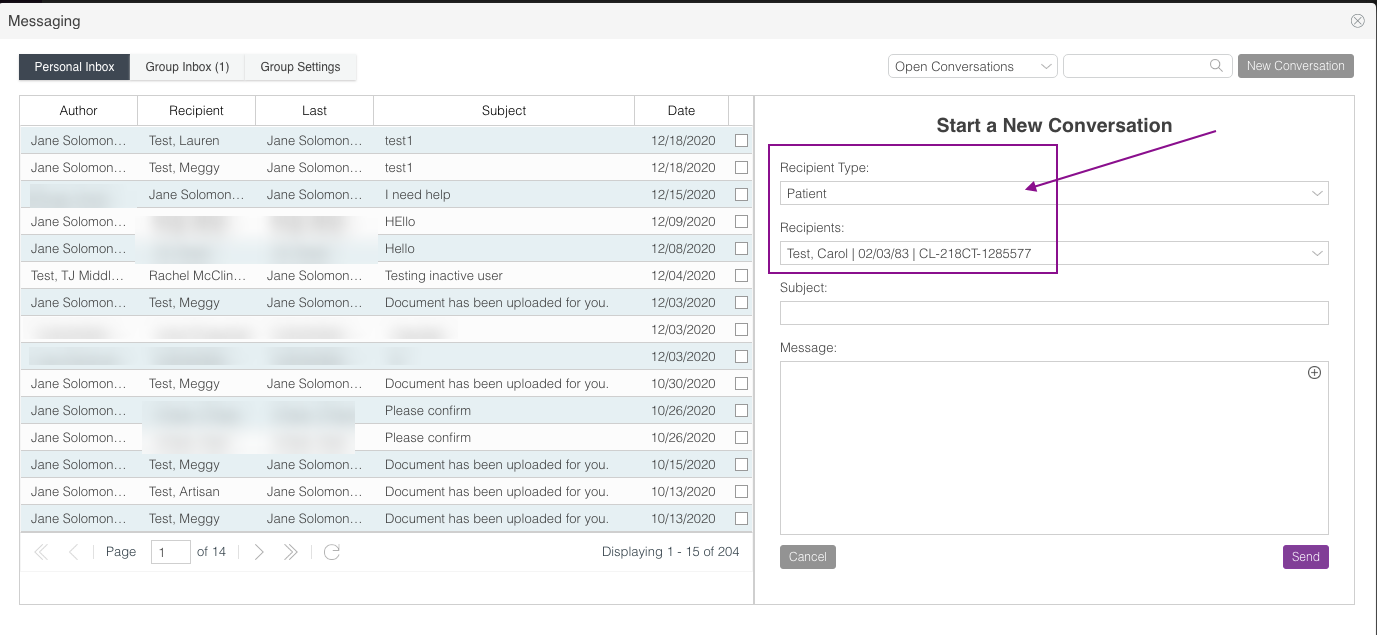
The features within the Messaging system include:
1. Personal Inbox - displays messages sent and received from the Patient, Partner, Donor, Surrogate, and Staff.
2. Group Inbox - displays sent and received Group Messages.
3. Group Settings - allow users to create Group Inboxes.
4. Open Conversations - this is a default view of all active messages.
5. Search field - An option to filter a specific conversation or subject to be viewed.
6. New Conversation - The ability to start a new message.
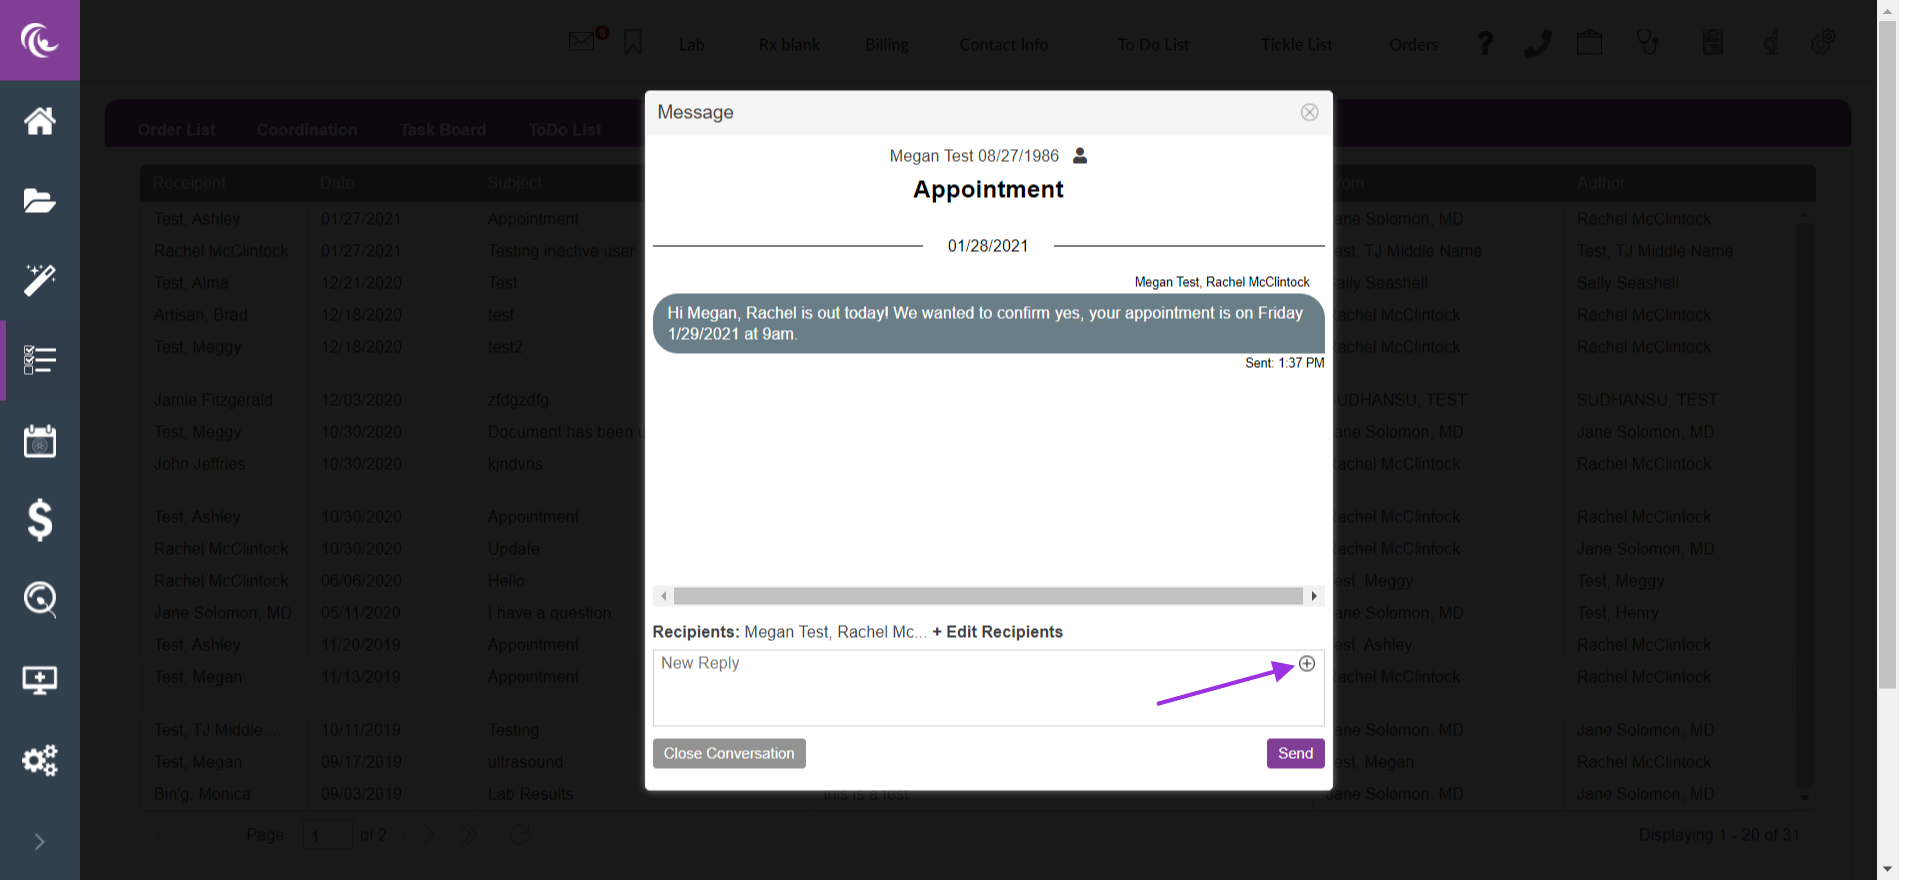
7. Plus sign icon - allow users to create and use stock text. Please see How to Write Basic Progress Notes to learn how to create your stock text library.
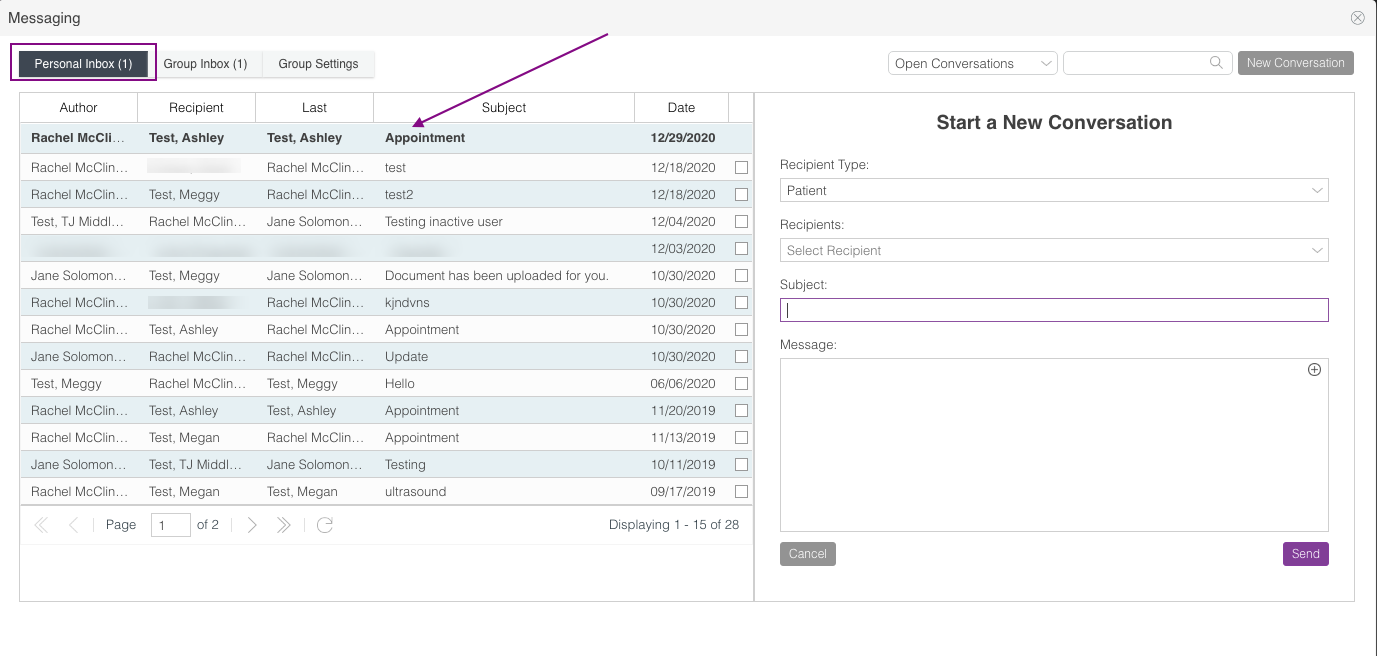
Start a New Conversation

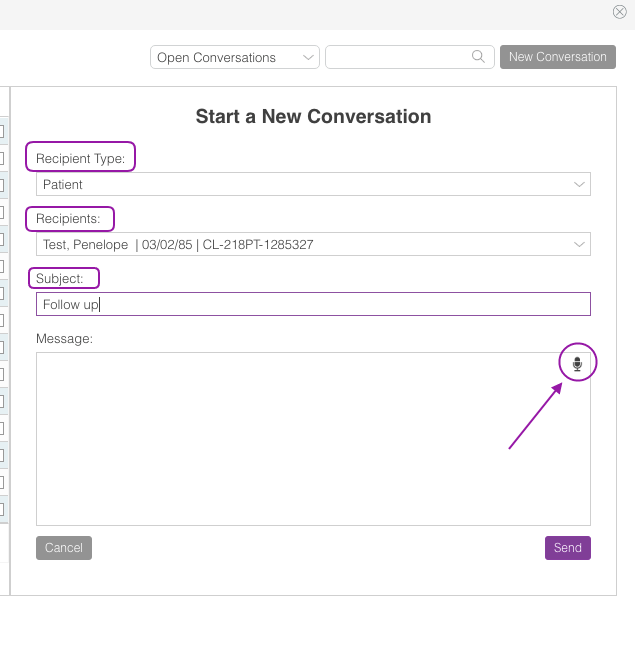
To Start a New Conversation, click the drop down icon (⋎) and select Recipient Type. You may send messages to either Staff member, Patient, Partner, Donor and Surrogate.
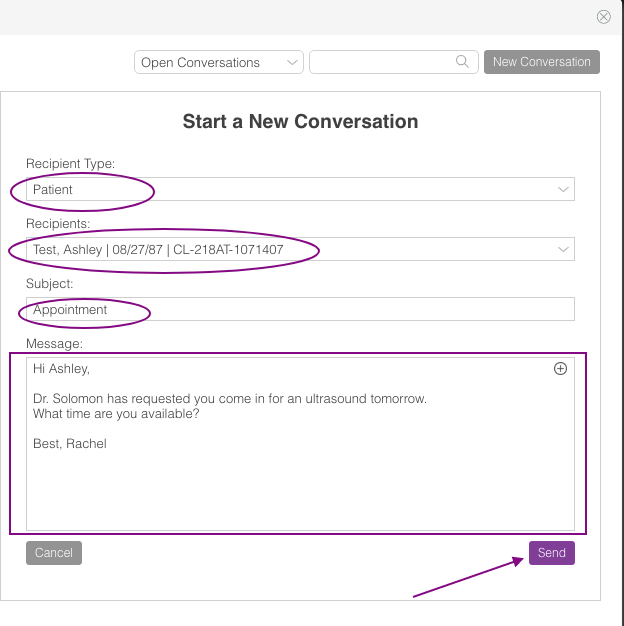
In this example, we selected Patient as the Recipient Type.
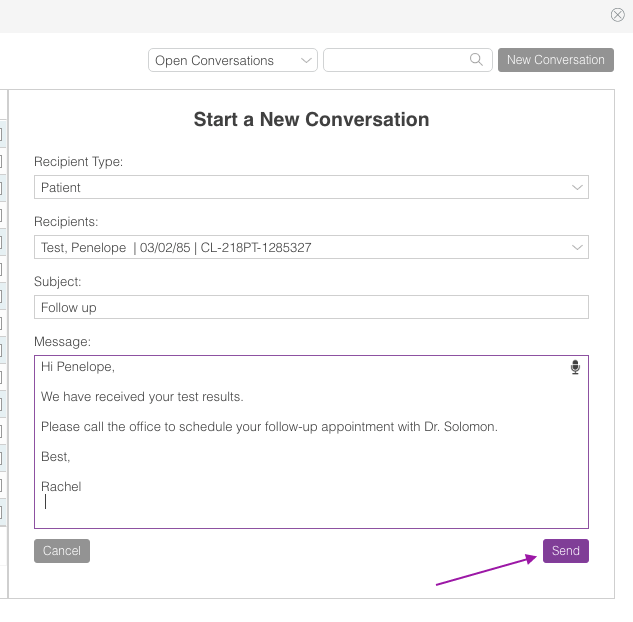
You will enter the last name of the Recipient, add a Subject and type in the Message inside the free text box. Then click Send button.

This screen indicates that the message has been sent.

The patient will receive an email notification to log into her Patient Portal or App. The patient will have the ability to send the practice messages and respond to messages received.
New Instant Message

When a message is sent to a staff member (whether by a patient or a fellow staff member) there will be a red indicator light on their envelope icon, representing the number of new messages they have. This is the signal that a new message has arrived and can be seen throughout all of Artisan.
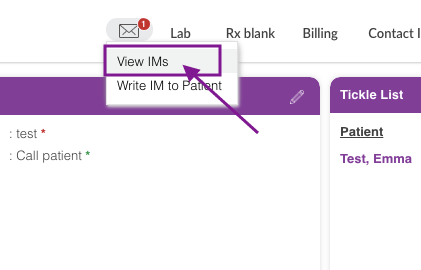
Select View IMs.
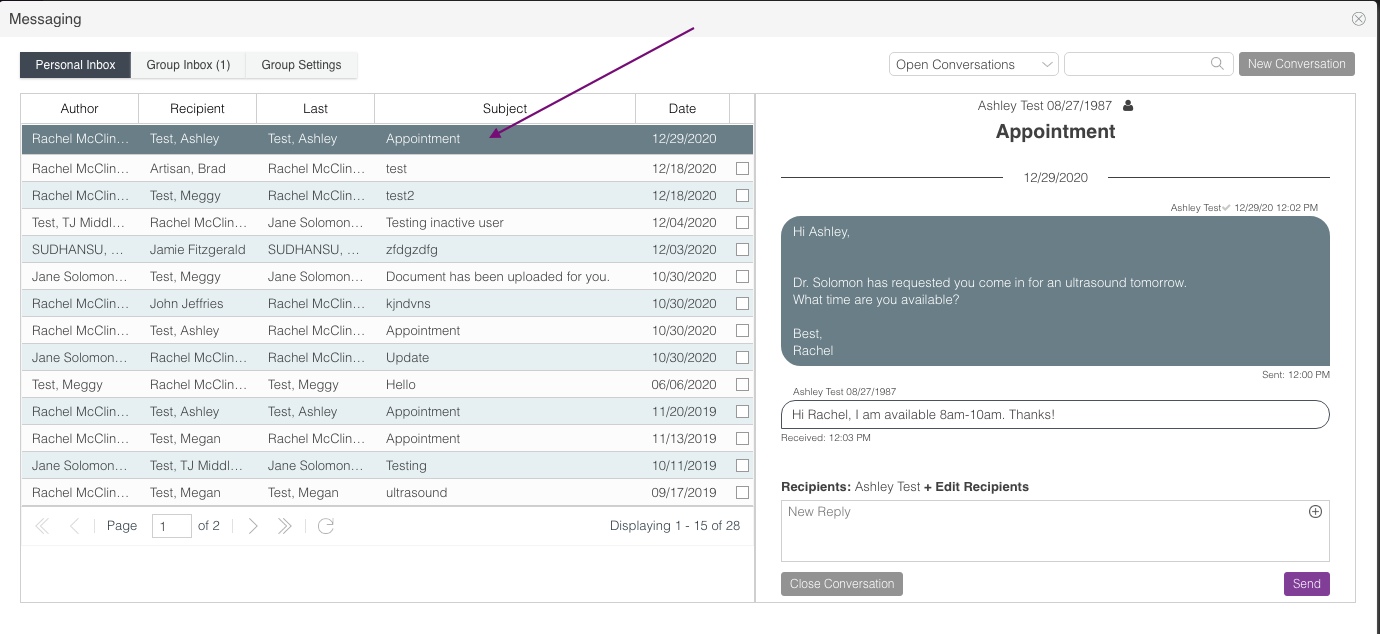
On your Personal Inbox, the new message will appear and text will be bolded indicating a new message. Click the New message to view the conversation.
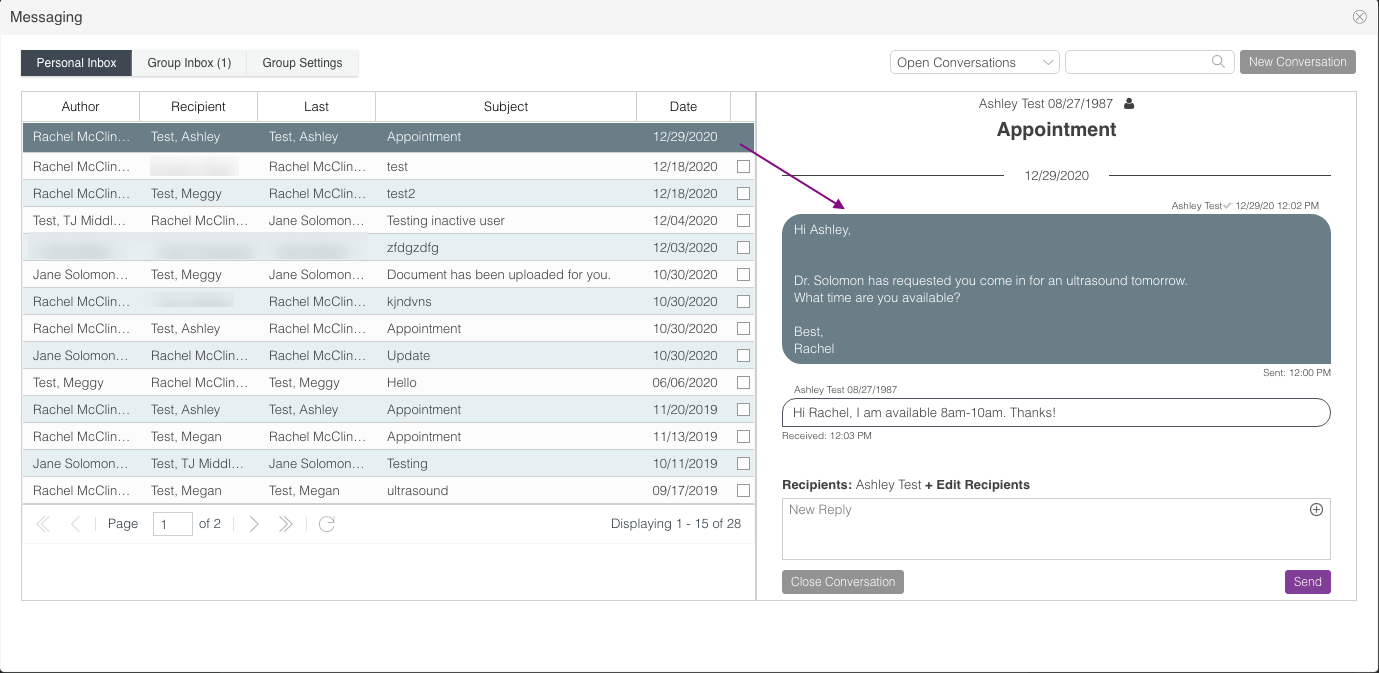
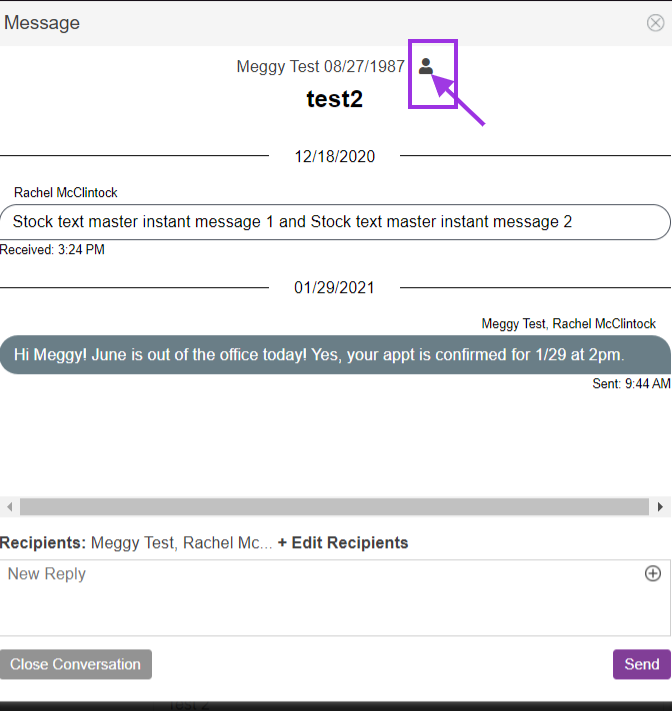
The message will populate to the right hand corner.
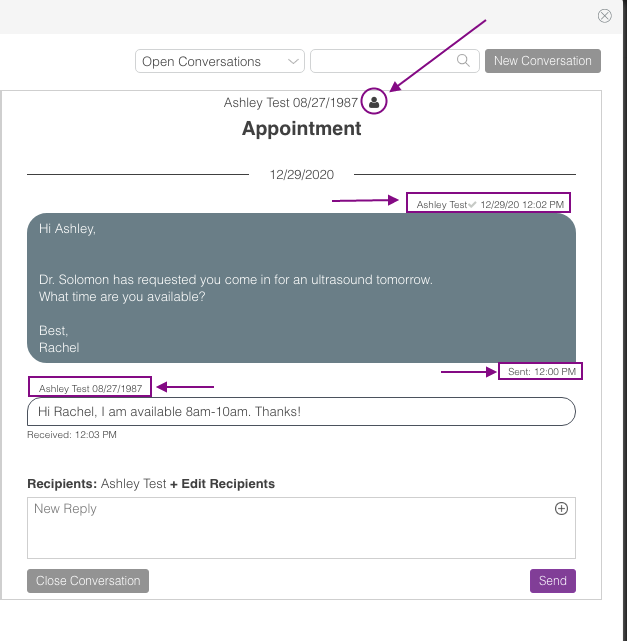
Click on the human icon if you wish to view the patient's chart.
The message that has been sent to the patient will appear highlighted in dark grey and Reply messages from patient will be in grey text. It will have Read Receipts information on top and under the messages.

Clicking on Edit Recipients will allow you to add another staff member to the conversation.
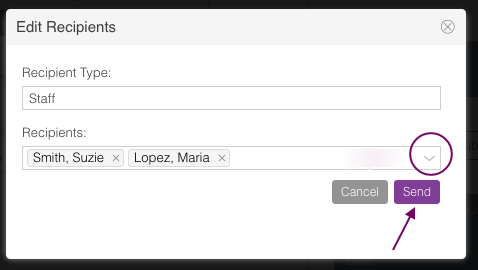
In this example, we added staff Suzie Smith and Maria Lopez to the conversation.
Click the drop down (⋎) icon to search for the Recipients.
You are able to add multiple Staff member from this window. Then click Send.
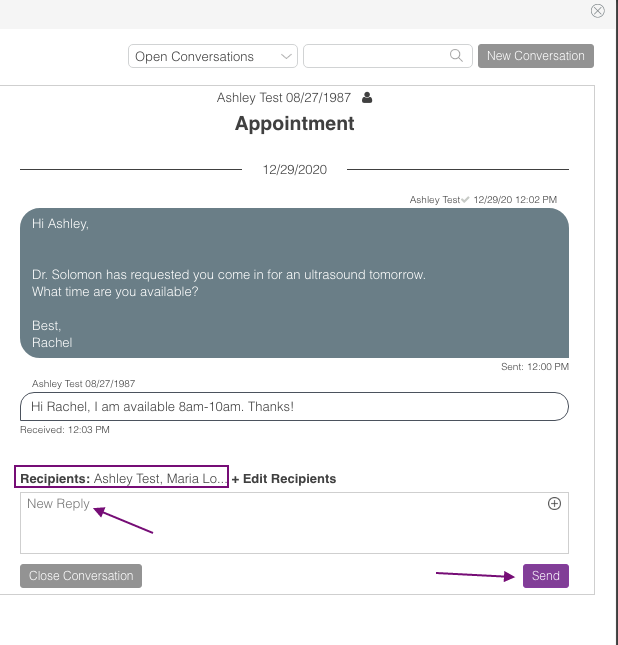
To reply to the Recipients, type in the message inside the New Reply box and click Send button.

All Instant Messages communicated to the Patient, Donor and Surrogate will appear on their chart under Messages tab as a documented record.
Open and Close Conversation
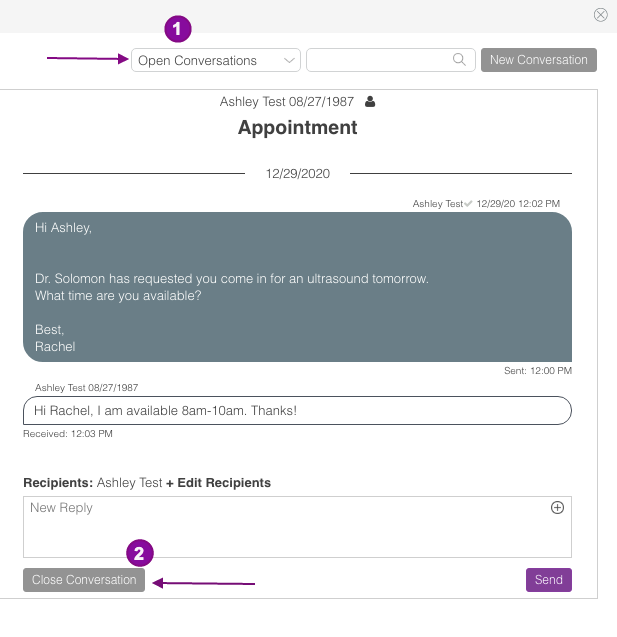
1. Open Conversations: A default feature for all active Personal and Group Messages.
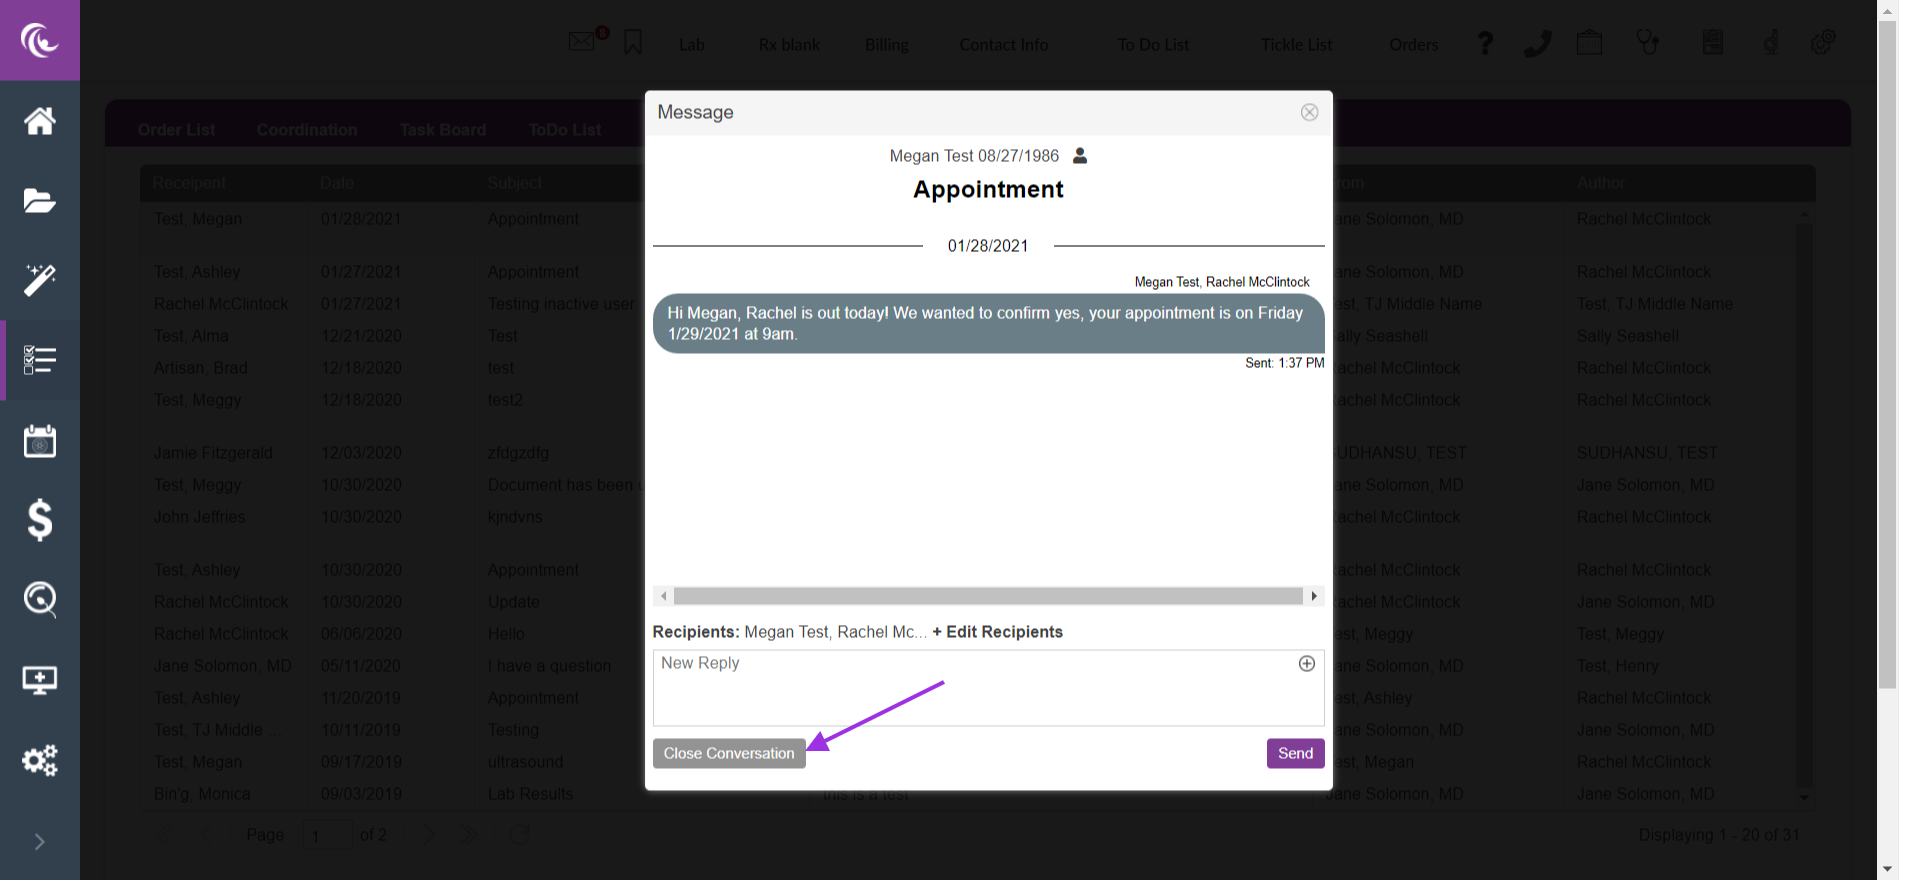
2. Closed Conversation: Allows a user to end the messaging thread. To end a conversation, click the Close Conversation button.
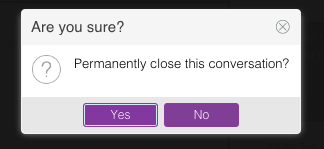
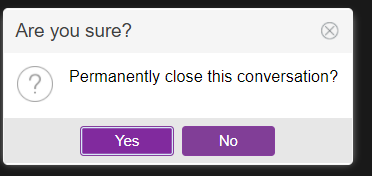
A confirmation window will pop up. Click Yes button to confirm the action.
You have successfully closed the conversation and the message will fall off from the list of your open conversations inbox. Click the OK button.
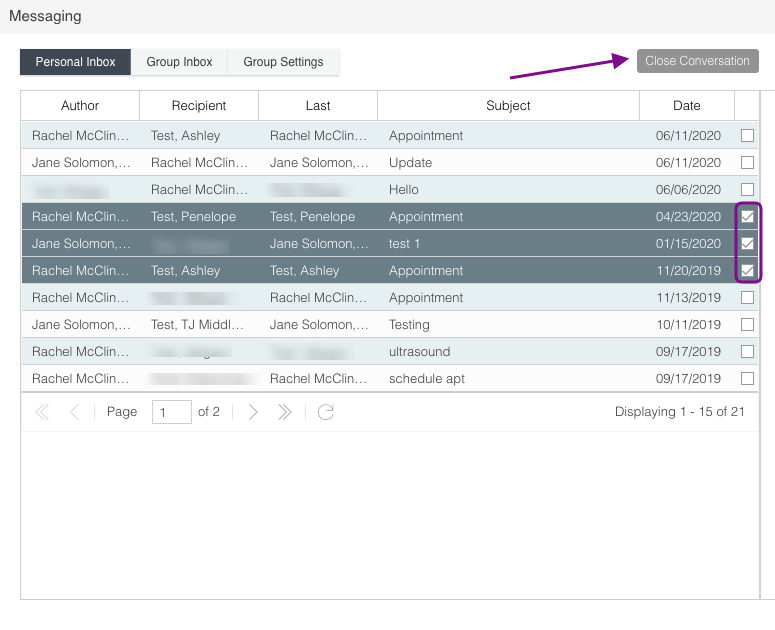
You also have an option to end multiple conversations on your inbox. Select the conversations that you wish to end by checking the box icon. The Close conversation button will pop up at the upper right hand corner of the screen, click the button.
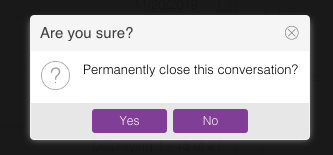
Click Yes to permanently close the selected conversation.
Click the OK button.
Viewing Closed Conversations
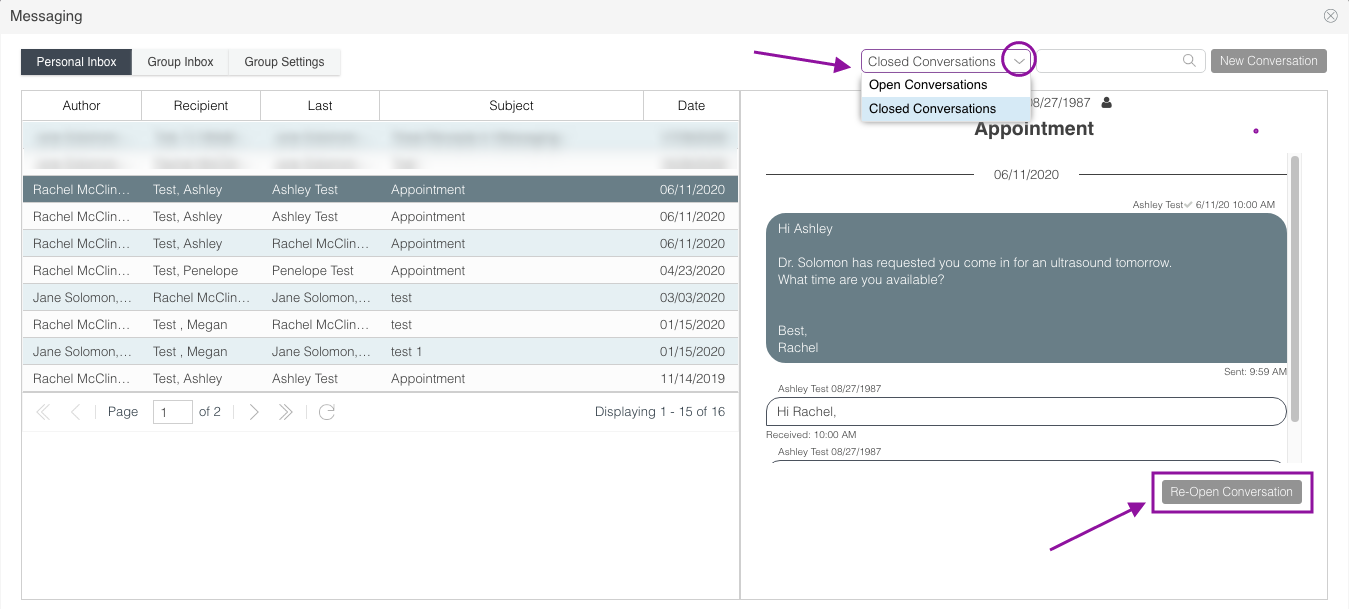
Click the drop down (⋎) icon and select Closed Conversations to view all ended messaging thread. To the bottom right, an option to Re-open the conversation is available as needed.
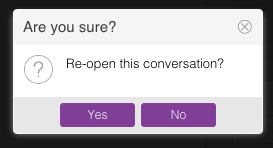
Once you click on the Re-open Conversation button, a confirmation window will appear. Select Yes to confirm.
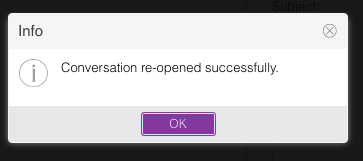
The Re-opened conversation will be available to view on your Open Conversations Inbox.
This will allow you and the patient to continue messaging in the same thread with the same subject line.
*Re-Open Conversation feature is not available in Group Messaging.
Group Instant Messaging
Group Messaging allows you to communicate internally within your practice and with patients.
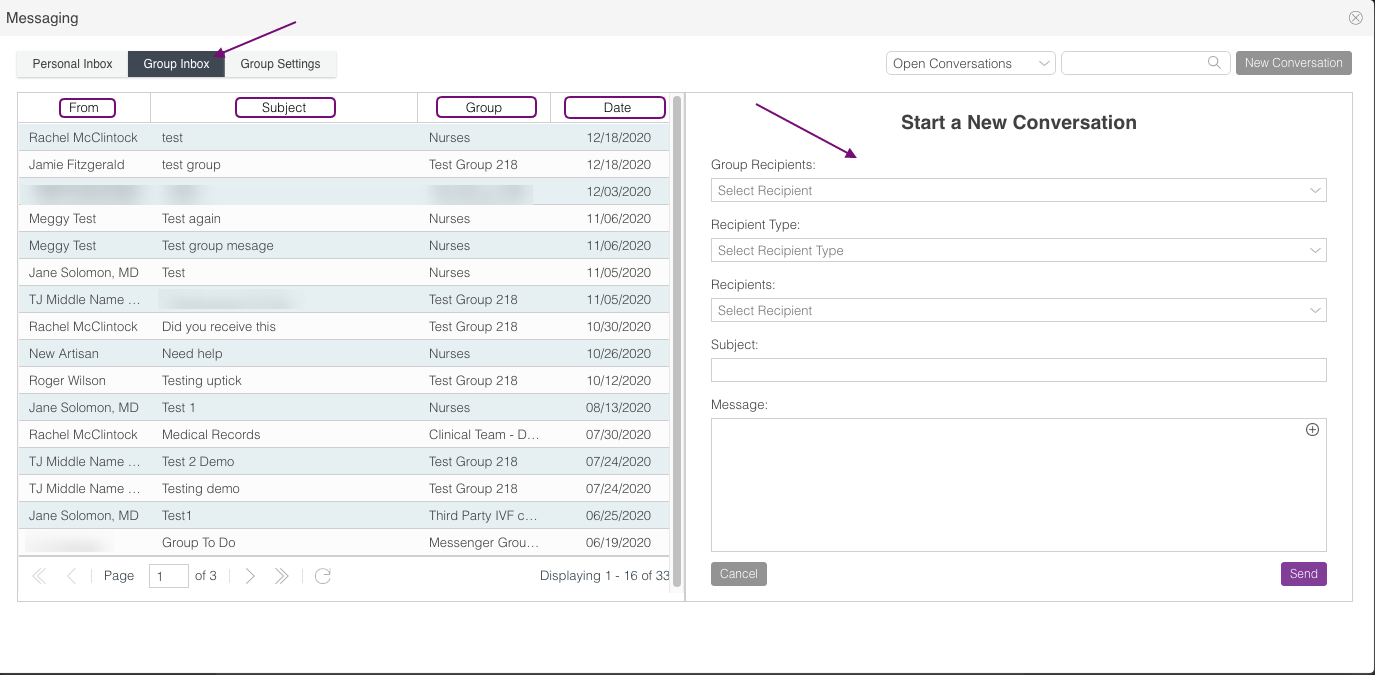
Click the Group Inbox tab to view your group messages. It is set up similar to your Personal Inbox. It will display the author of the message, subject, group name and the date the message was sent. To create a message, fill out the Start a New Conversation fields.
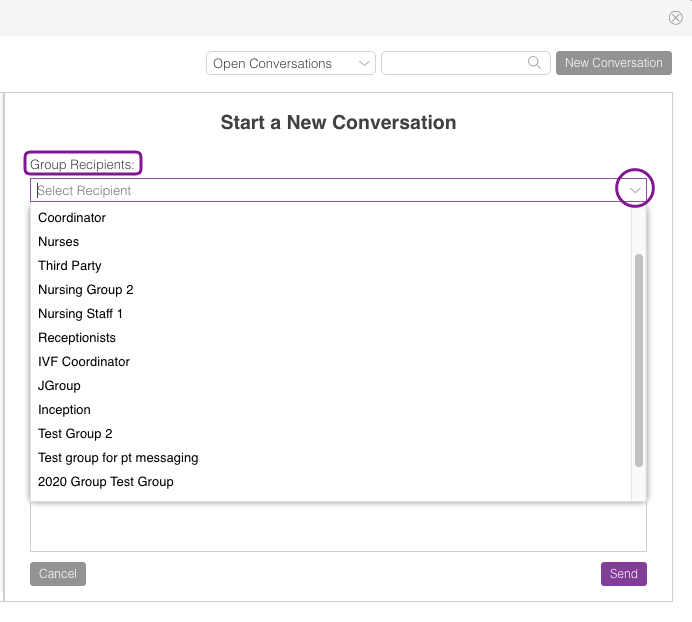
To start a new Group conversation, you will have the option to select Group Recipients that has been created in your practice by clicking the drop down icon.
In this example we are sending a message to the "Nurses" Group.
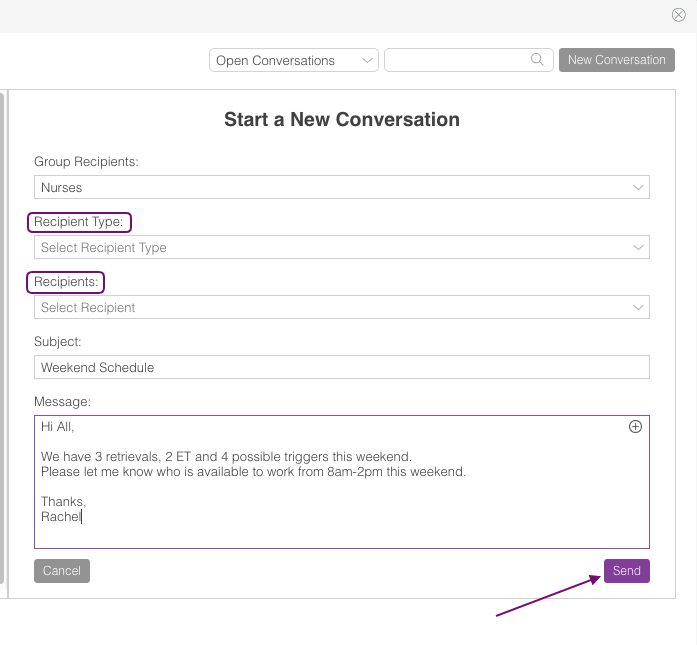
Select a Recipient Type and search for the patient, partner, donor or surrogates name to send a group message.
Enter a Subject and Message in the free text box, then click Send button.
*It has the same functionality from creating a new conversation on your personal inbox.
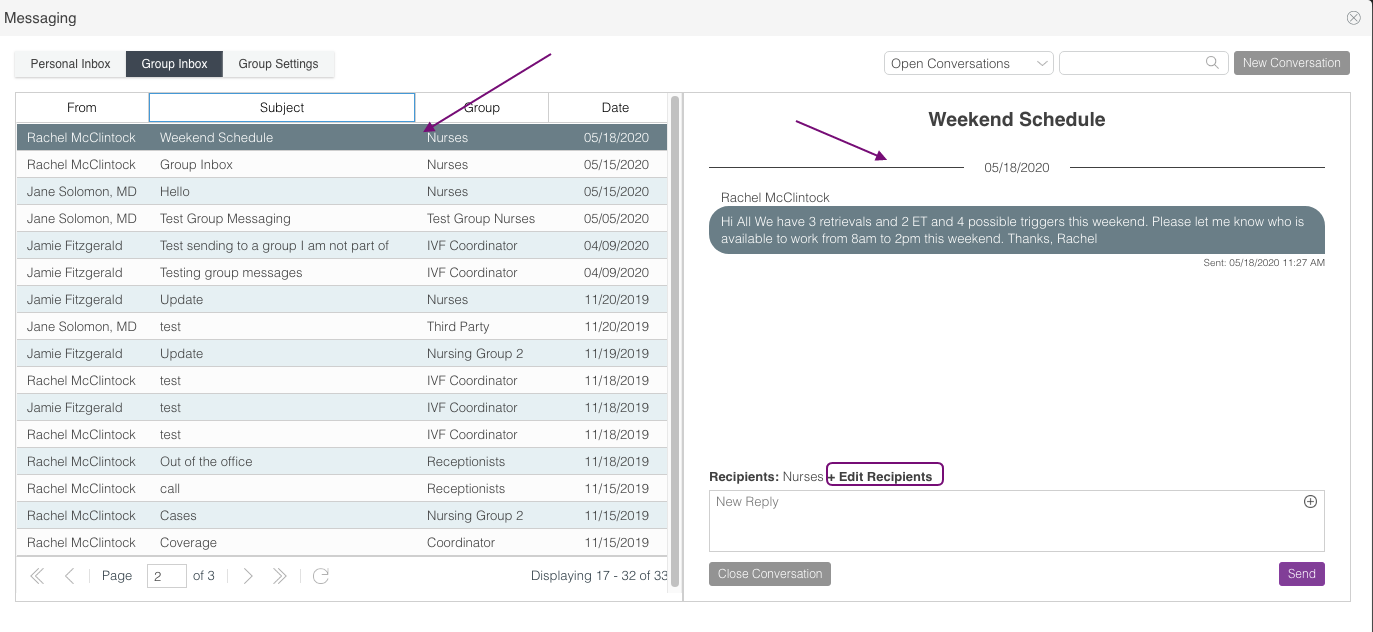
The message that you have sent to the group will appear on your Group Inbox, click the message to view the conversation.
(Optional) Click Edit Recipients to add a Patient, Partner, Donor and Surrogate on the Group Message conversation, if applicable.
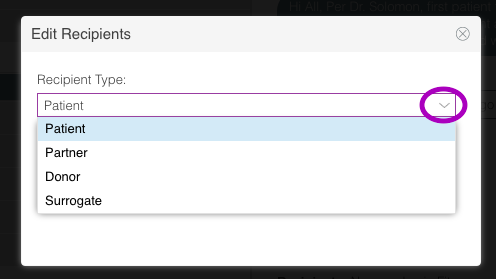
Click the drop down icon to select a Recipient Type.
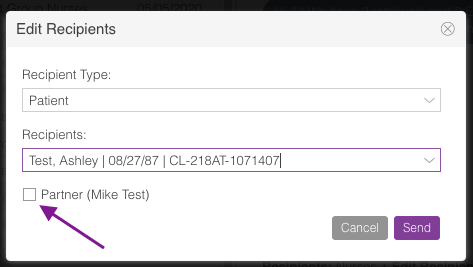
In this example, Recipient Type is Patient and the Recipient is Ashley Test.
If patient has a partner, you have an option to add the partner on the group conversation by checking box ( ▢ ) icon. Click Send button.
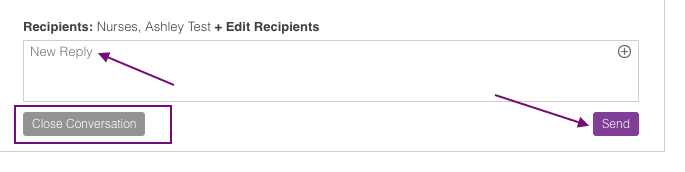
It will take you back to the Conversation screen with the added Recipient. Enter Reply message in the New Reply box then click Send button. To end the the messaging thread click the Close Conversation button.
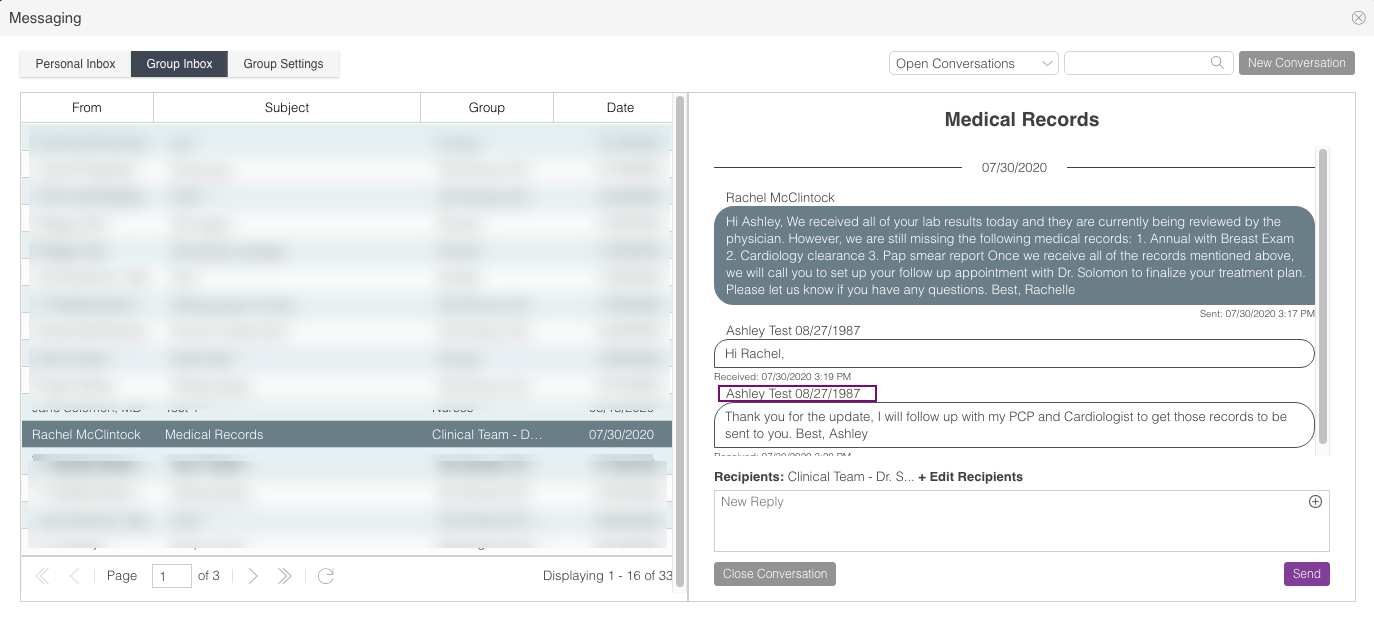
The above screenshot is an example of a Group Message to a patient.
Instant Messaging with Nuance's Dragon Dictation
Nuance's Dragon is a dictation tool provided by Artisan that will allow you to dictate when creating and sending Instant Messages.
If you are interested in using Dragon, please contact Artisan.
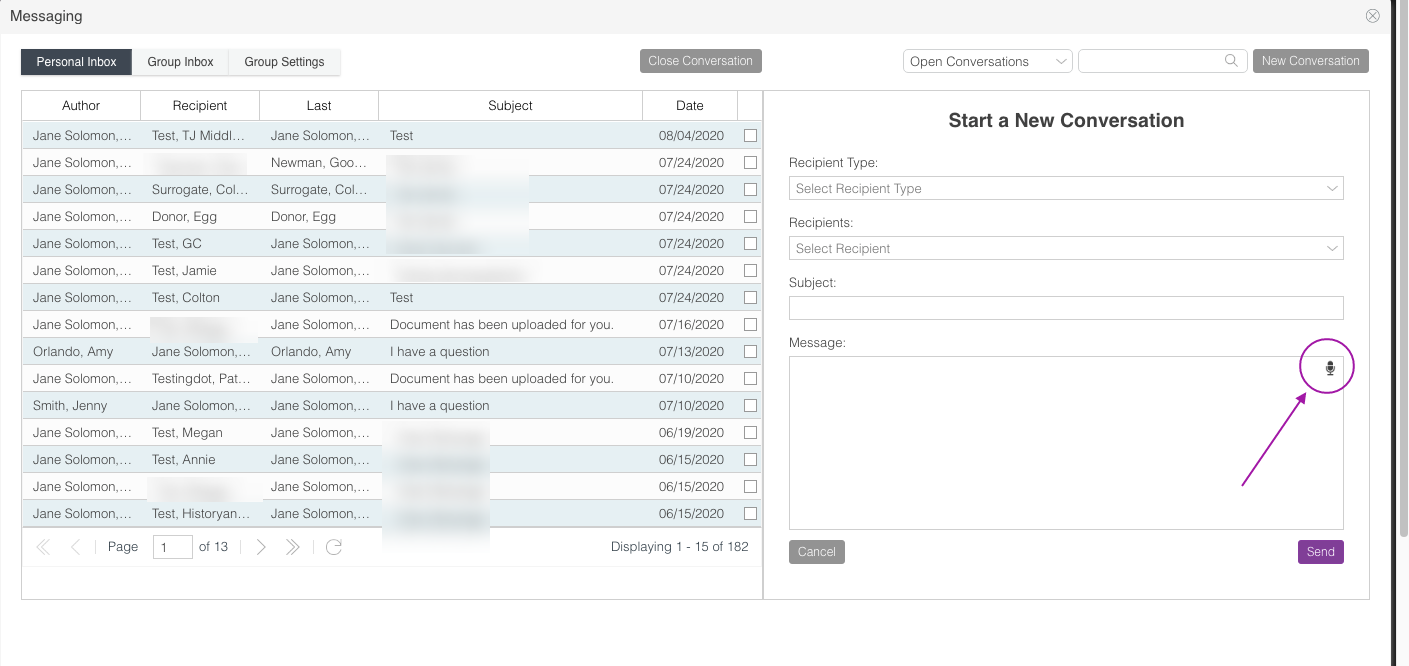
The microphone icon on your Personal or Group Inbox indicates that the Dragon Dictation feature has been enabled for your practice.
After filling out the Recipient Type, Recipients, and Subject field, click the microphone icon.
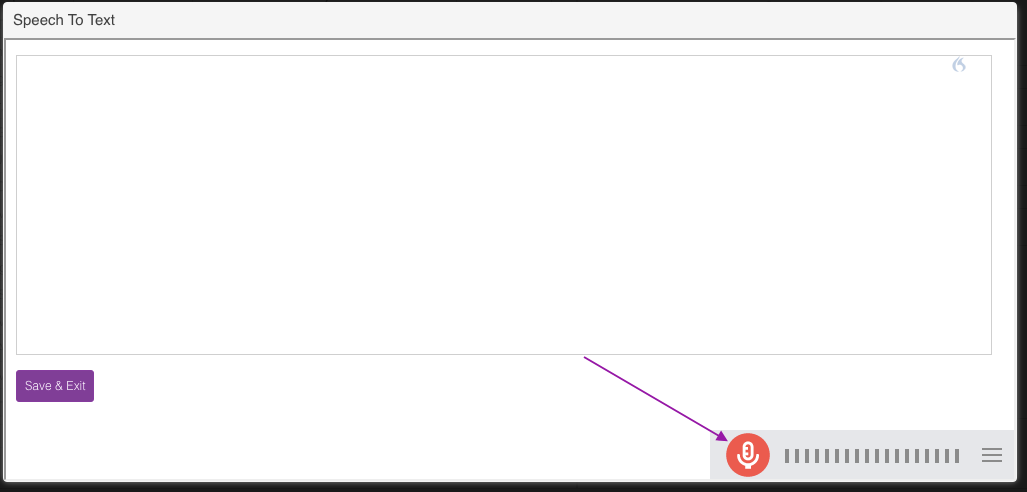
The Speech to Text window will pop up. Click the Microphone icon.

Start dictating then click the Save and Exit button.
Note: Dictation feature will only work if you have a microphone built-in or connected to your computer and laptop.
The dictated message will populate inside the Message box.
Click the Send button.
How to Create a Group Inbox
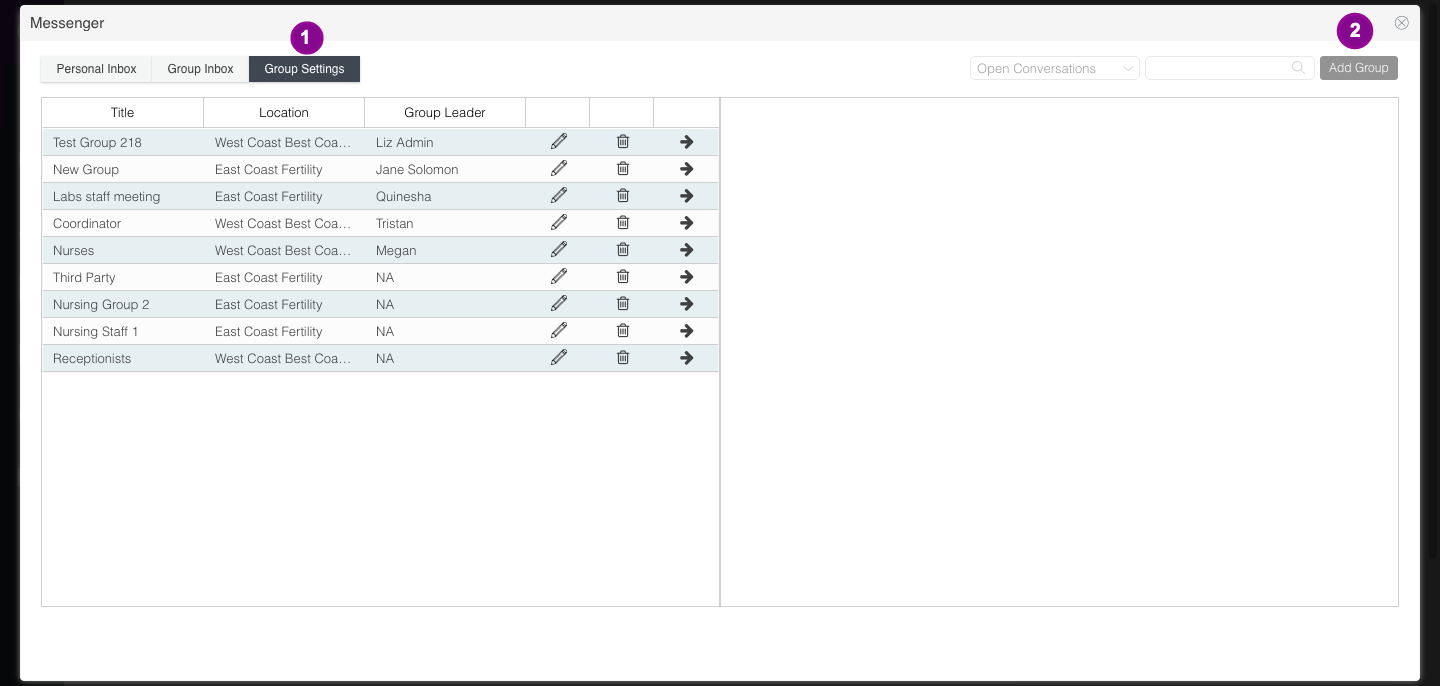
1. Click Group Settings button.
2. Click Add Group button to create a new Group Inbox.
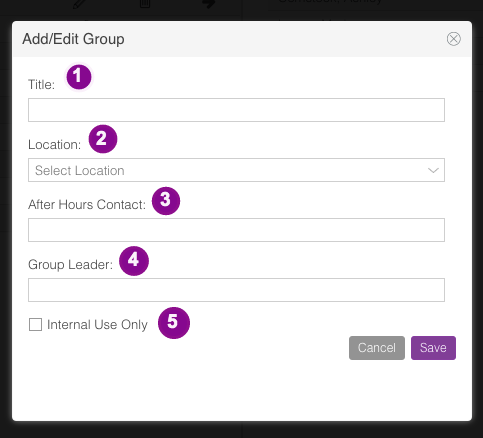
This window will pop up once you click the Add Group button.
1. Title: Enter the Name of the Group Inbox that you are creating.
2. Location: Click the drop down icon to select the location of your practice.
3. After Hours Contact: Enter after hours contact information.
4. Group Leader: Enter the name of the Responsible person.
5. Internal Use Only: Allow users to create the Group Inbox available within your practice only. Unchecking the box icon will allow patients to send messages to the Group.
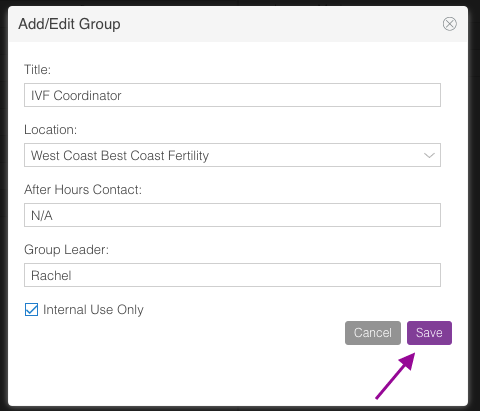
*In this example, an IVF Coordinator Group Inbox is being created for internal use only.
Click the Save button.

You have successfully created a Group inbox.
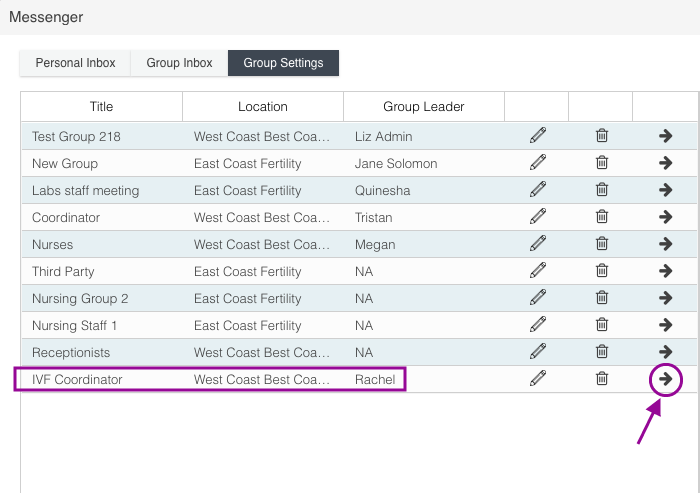
The newly created Group Inbox will appear on your Group Settings. To add members, click the arrow icon.
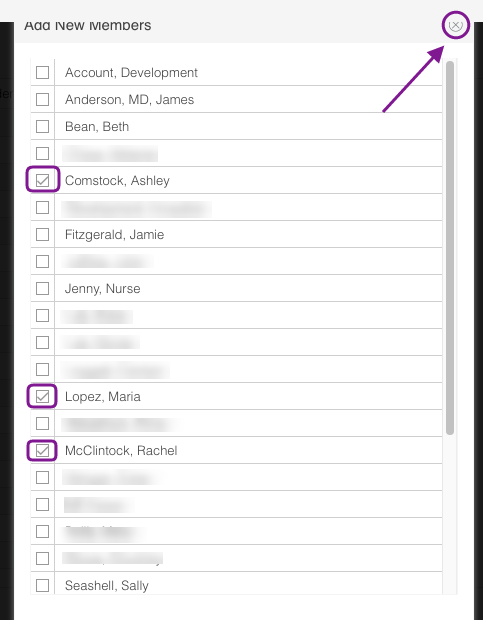
Select the staff members name that you wish to add to the Group by checking the box ( ▢ ) icon . Then click the x icon to save.
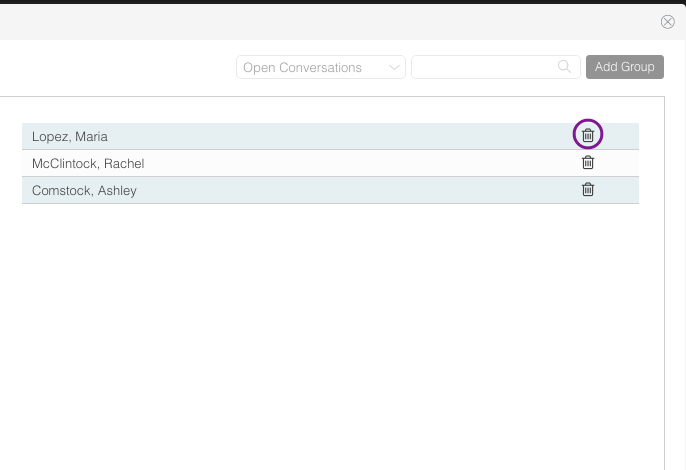
The list of added members will populate to the other side of the screen.
To delete a group member click the Trash can Icon.
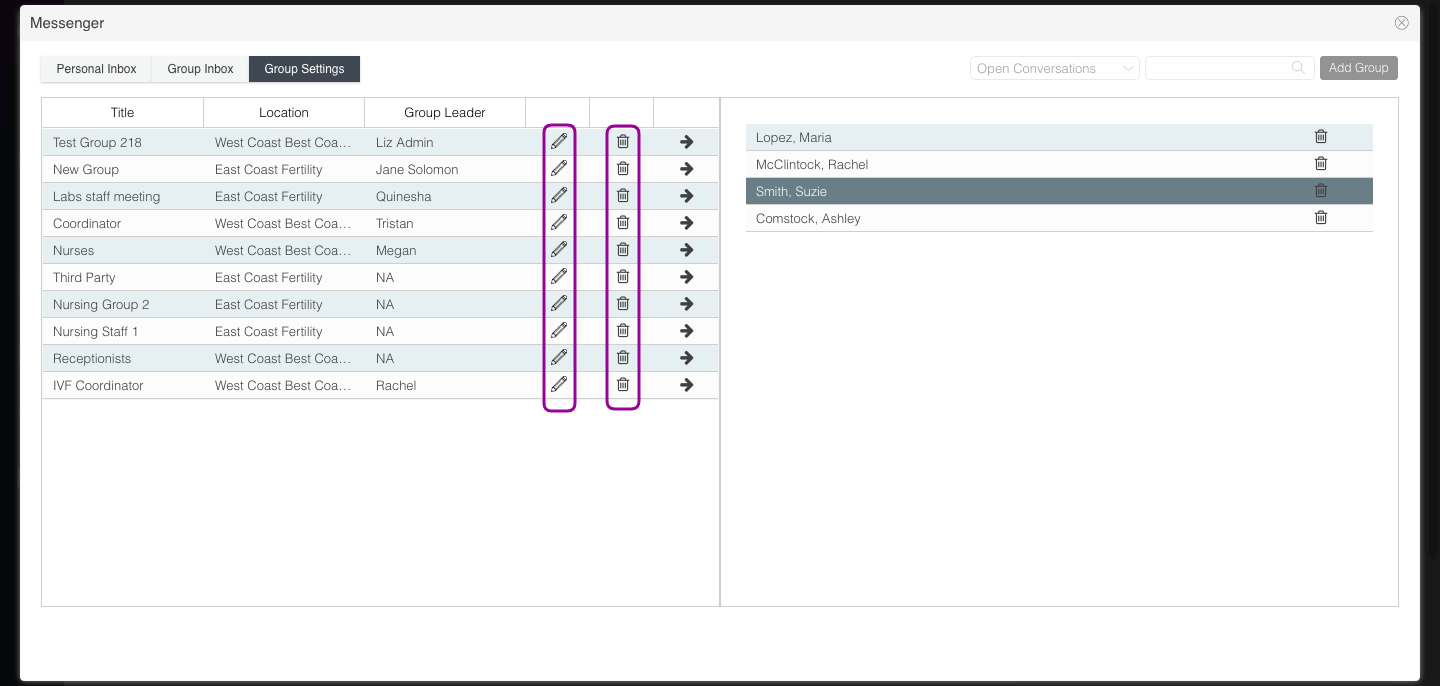
To Edit a Group Inbox click the pencil icon.
To Delete a Group Inbox, click the trash can icon.
Nursing Staff IM Messages
The tab Nursing staff IM messages allow users to view messages sent to other staff. This helpful feature will aid in seamless communication when staff is on call and need to manage communication with patients and/or when staff is out of the office.
Navigation
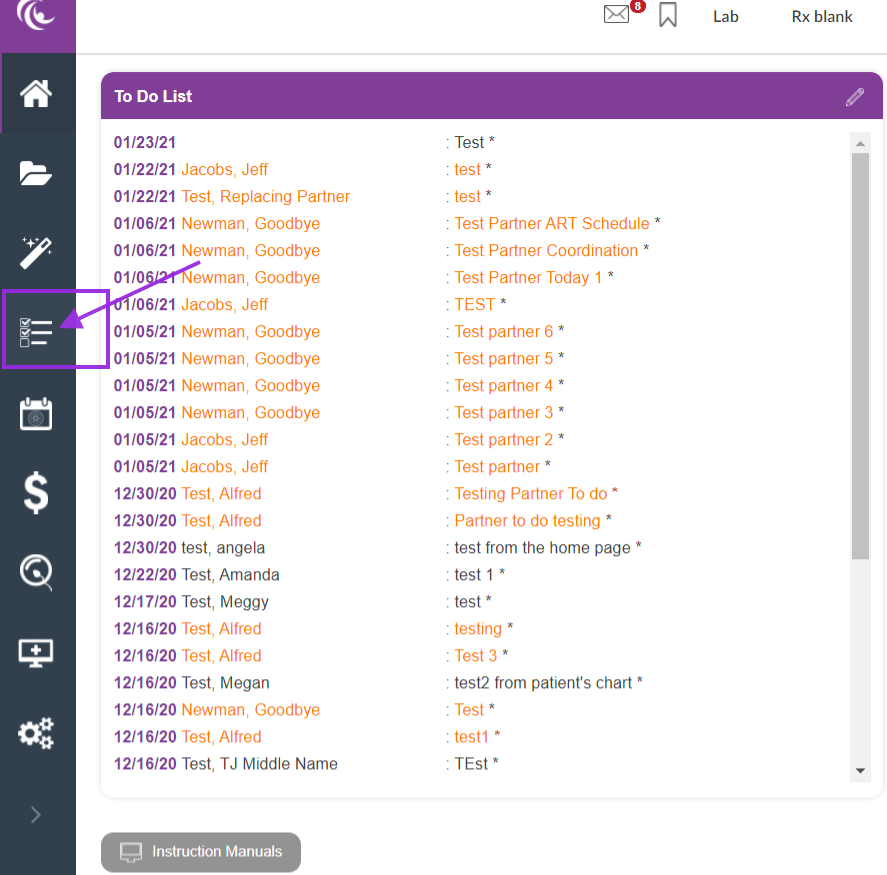
Select the coordination icon
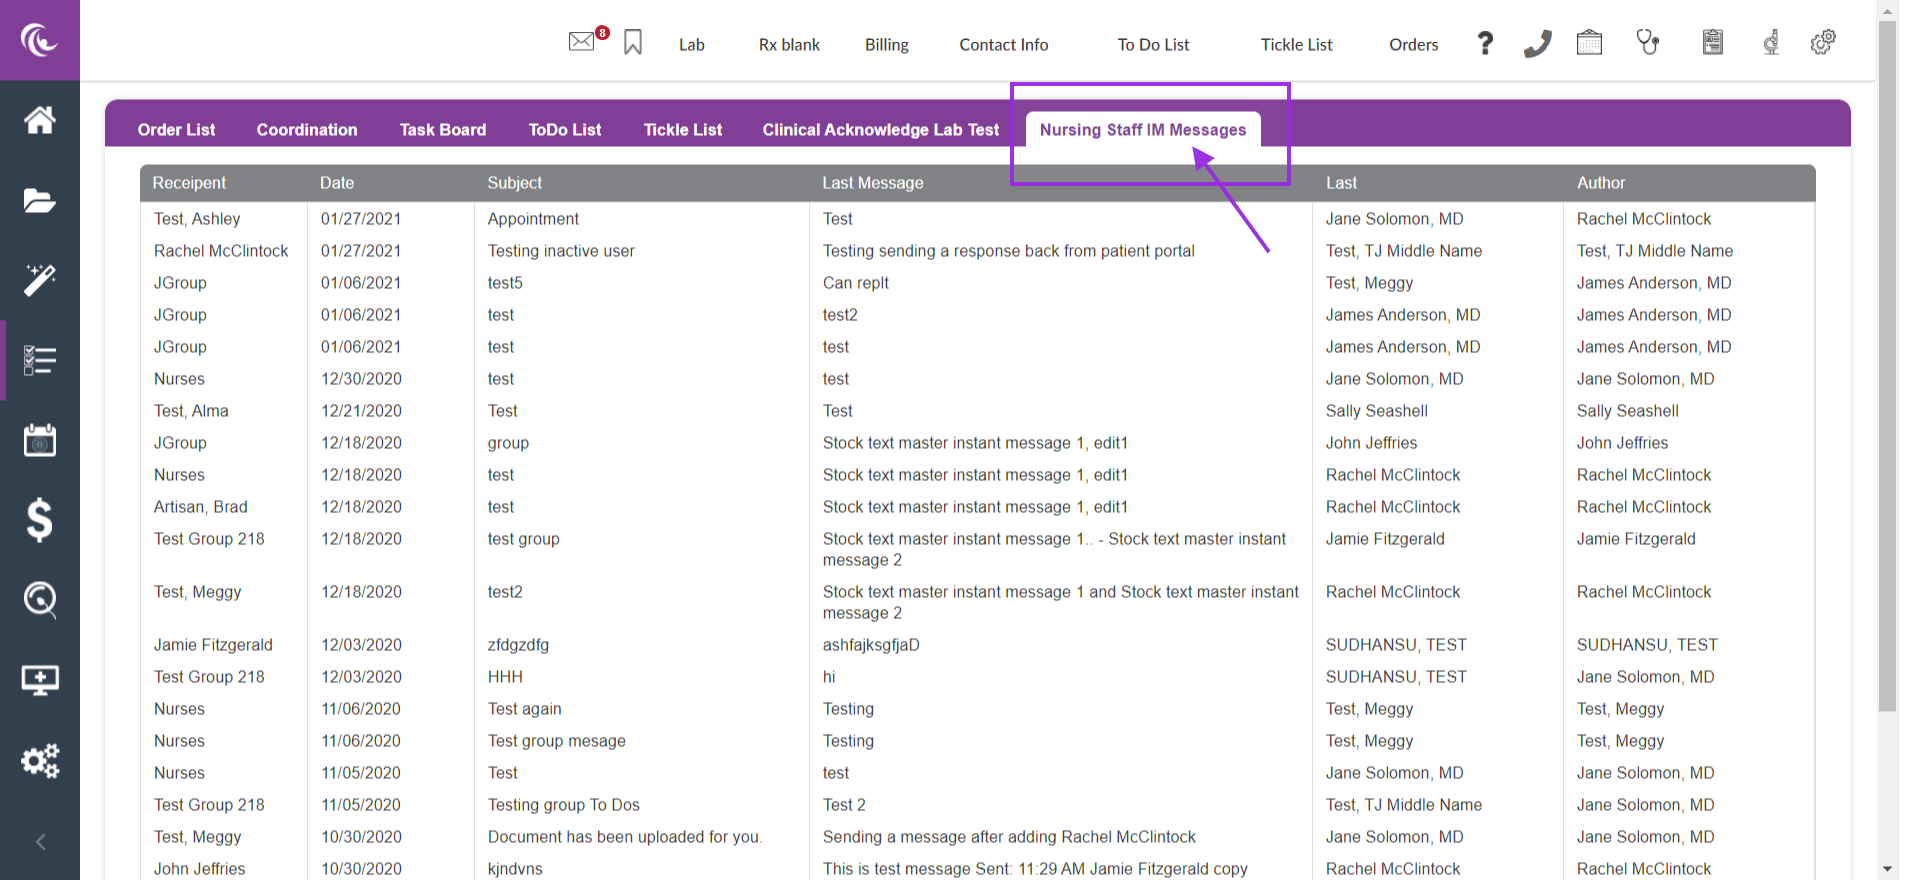
Select Nursing Staff IM messages for other staff messaging view.
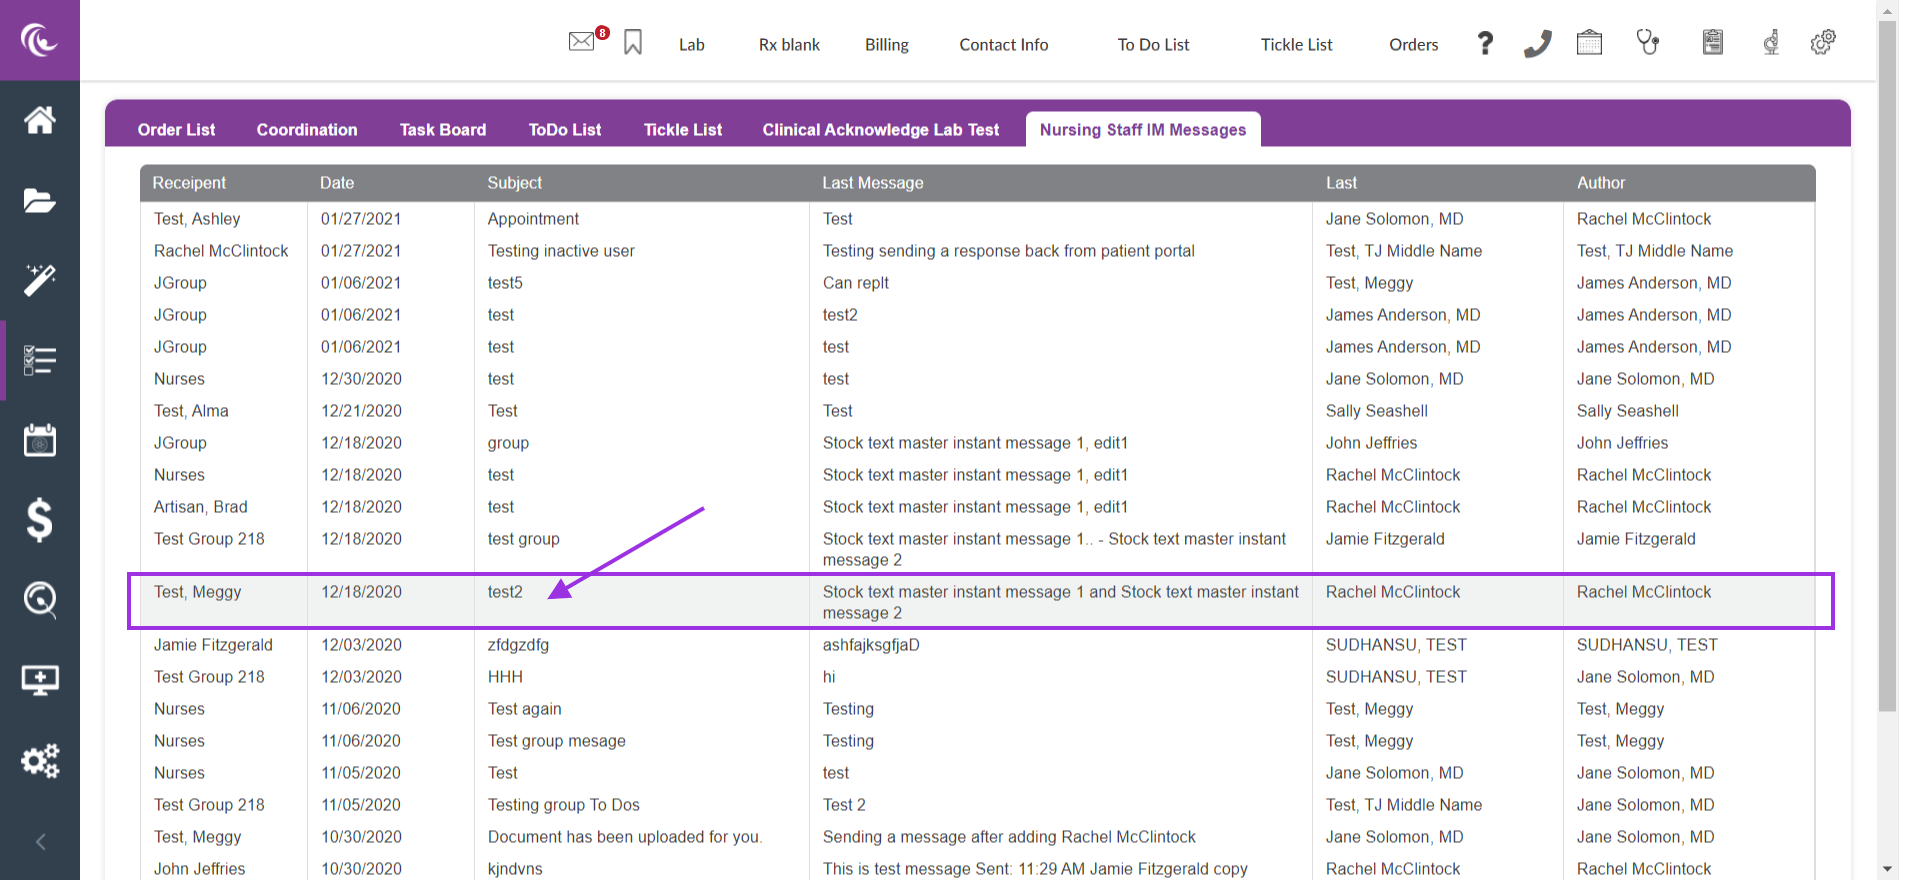
Select the message you wish to view.
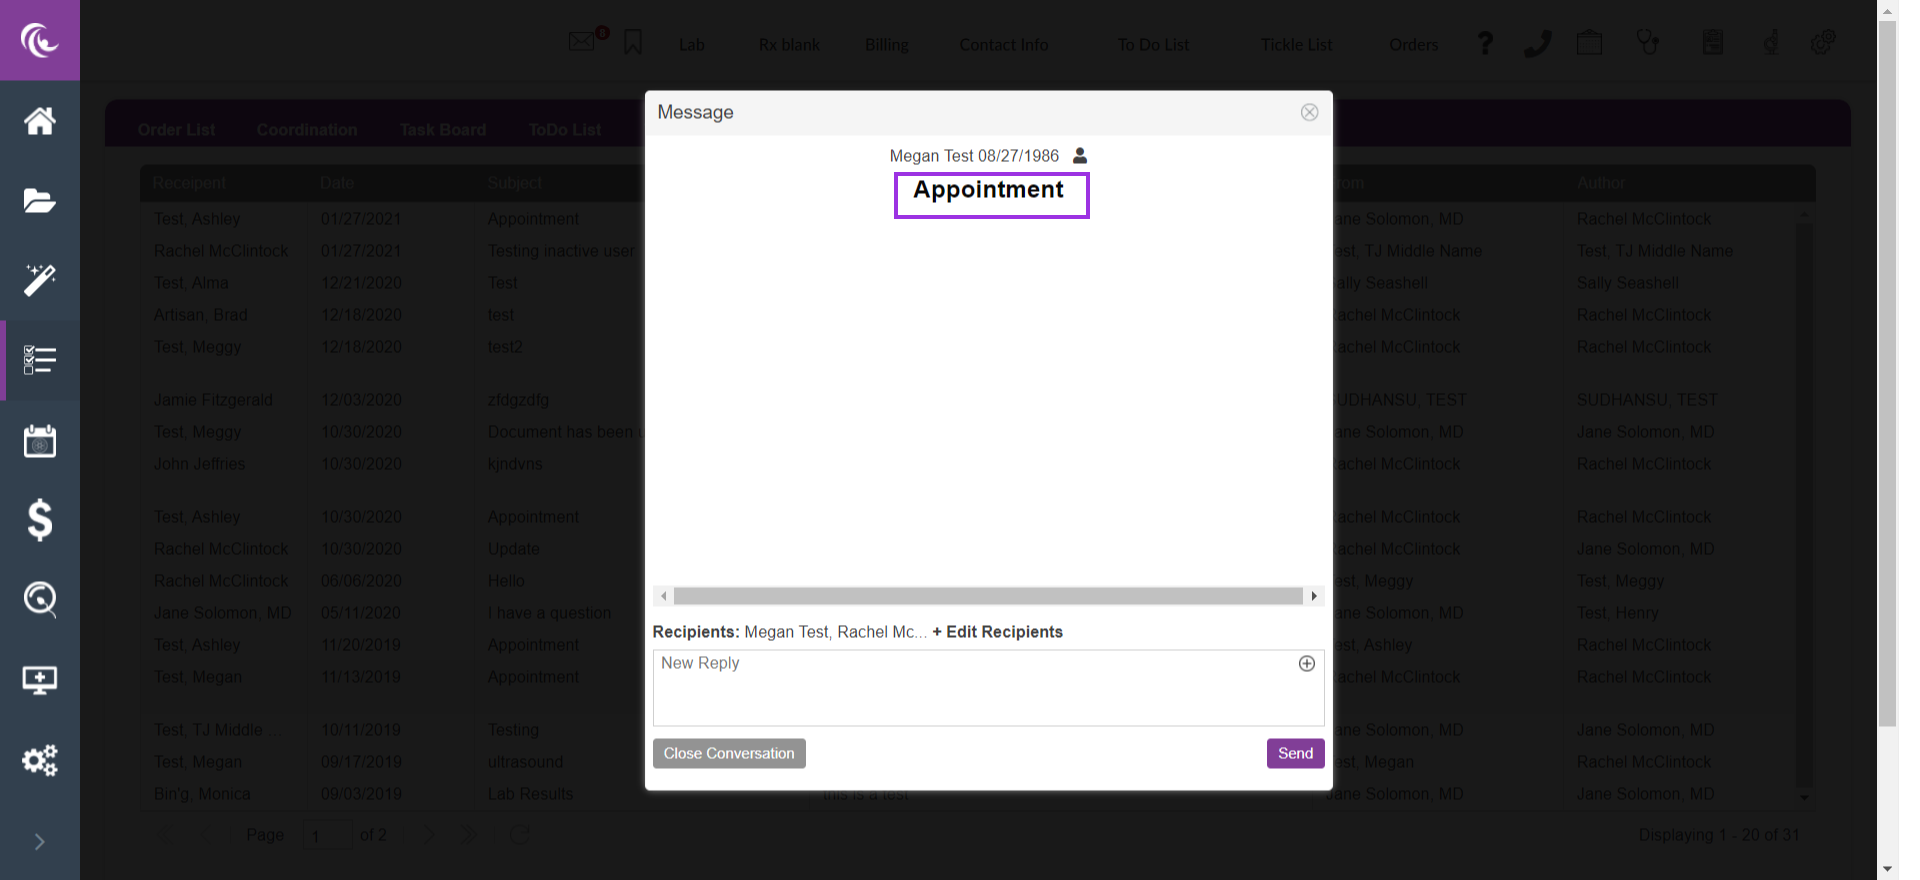
Once the message is selected the message will open and display with the subject.
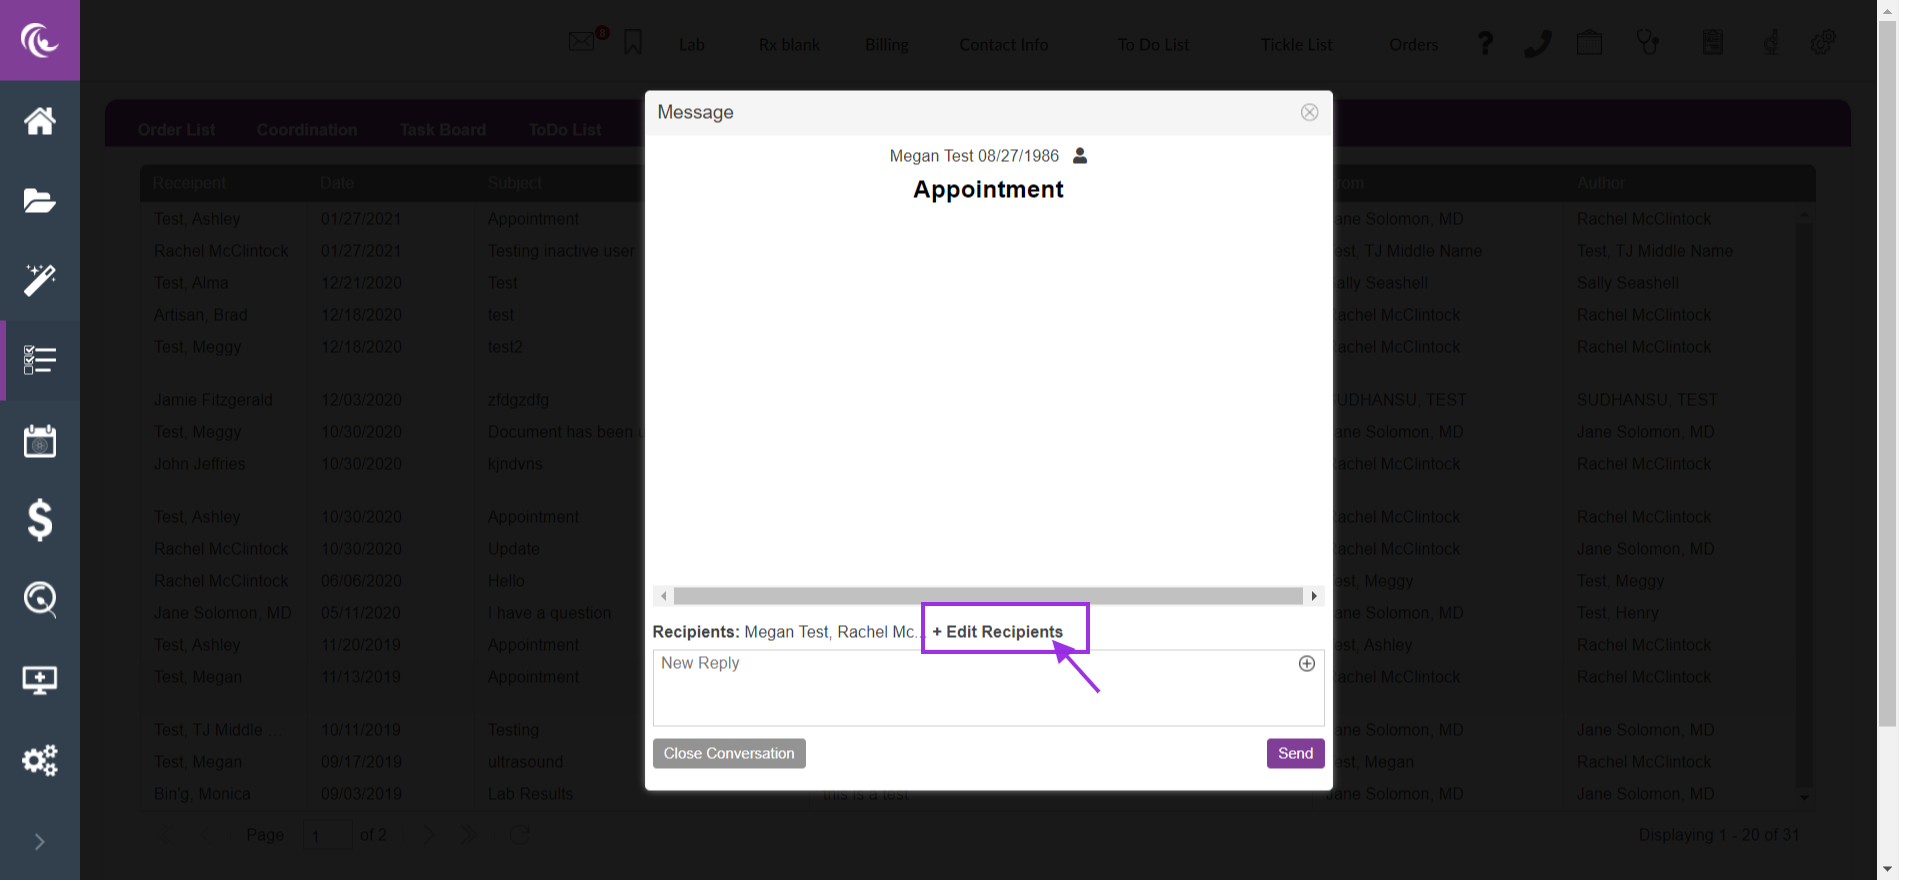

You are now able to respond and edit recipients.
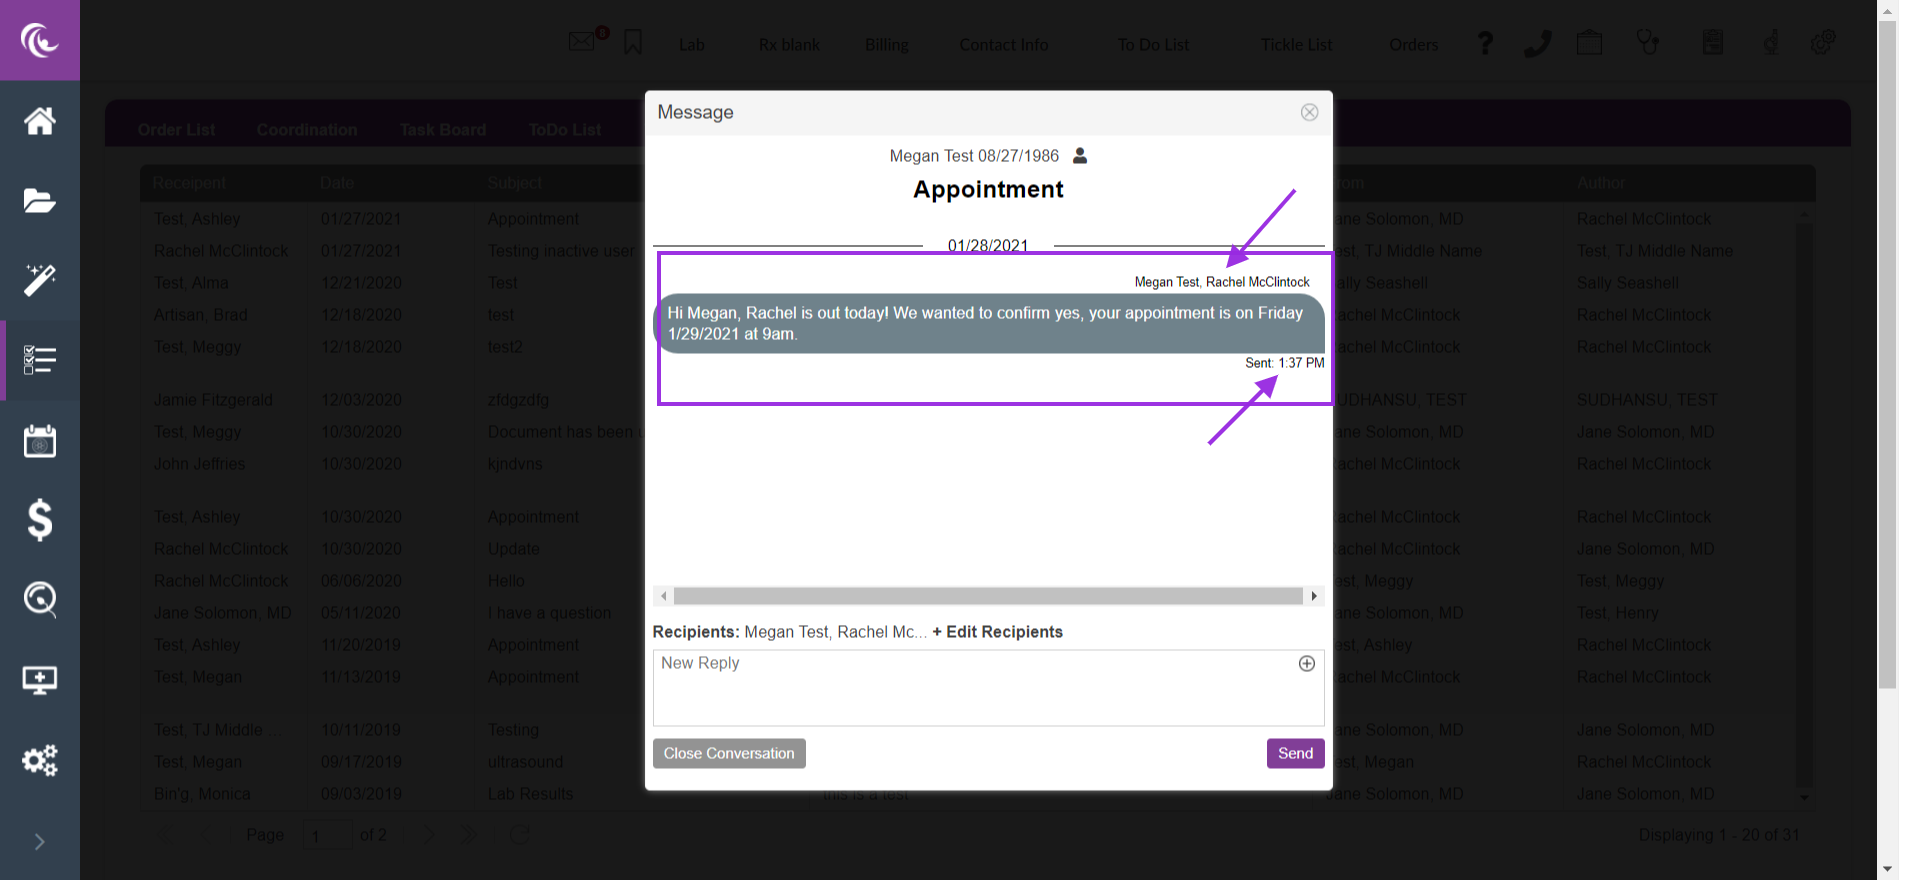
The new message will display under the message subject along with the recipients and time stamp.
This feature is also stock text-enabled. Select the (+) to select your stock texting templates.

Once you have responded to the message the system will move the message up arranged by the date sent and received.
Select close conversation to close out the message.
The system will display a validation pop-window asking for you to confirm the closeout of this message. Select Yes to close or No to keep the conversation active.

The system will confirm the conversation has been closed.
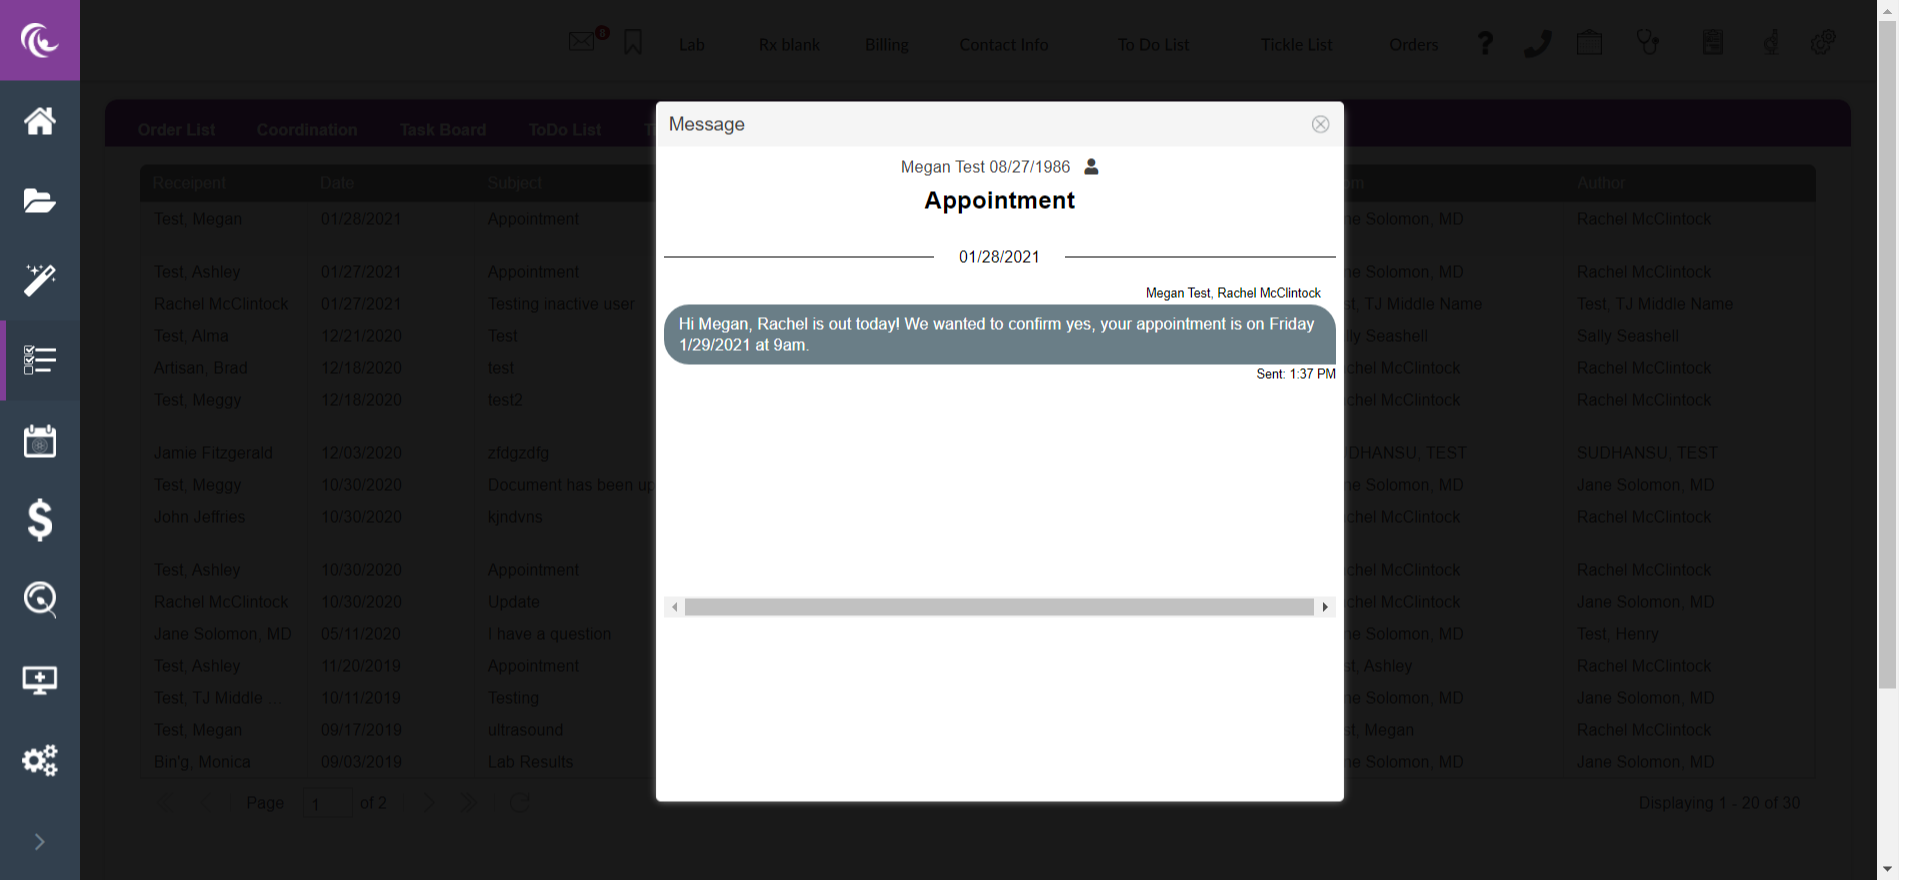
Once closed only the messages sent and received will show under the message title.
Select the person icon to go to the patient chart.
**All manuals are compliant with HIPPA regulations. No patient information has been released. All screenshots above were taken from a test clinic with fake patient information.
Artisan Support
Comments