The Scribe System will allow designated clinic staff to create a a progress note draft under a physician, send it to the physician for review, allow the physician to publish it to the patient chart, and make edits to the note. The Scribe System will also allow designated clinic staff to update the H&P from the Scribe Portal.
Enabling Scribe User
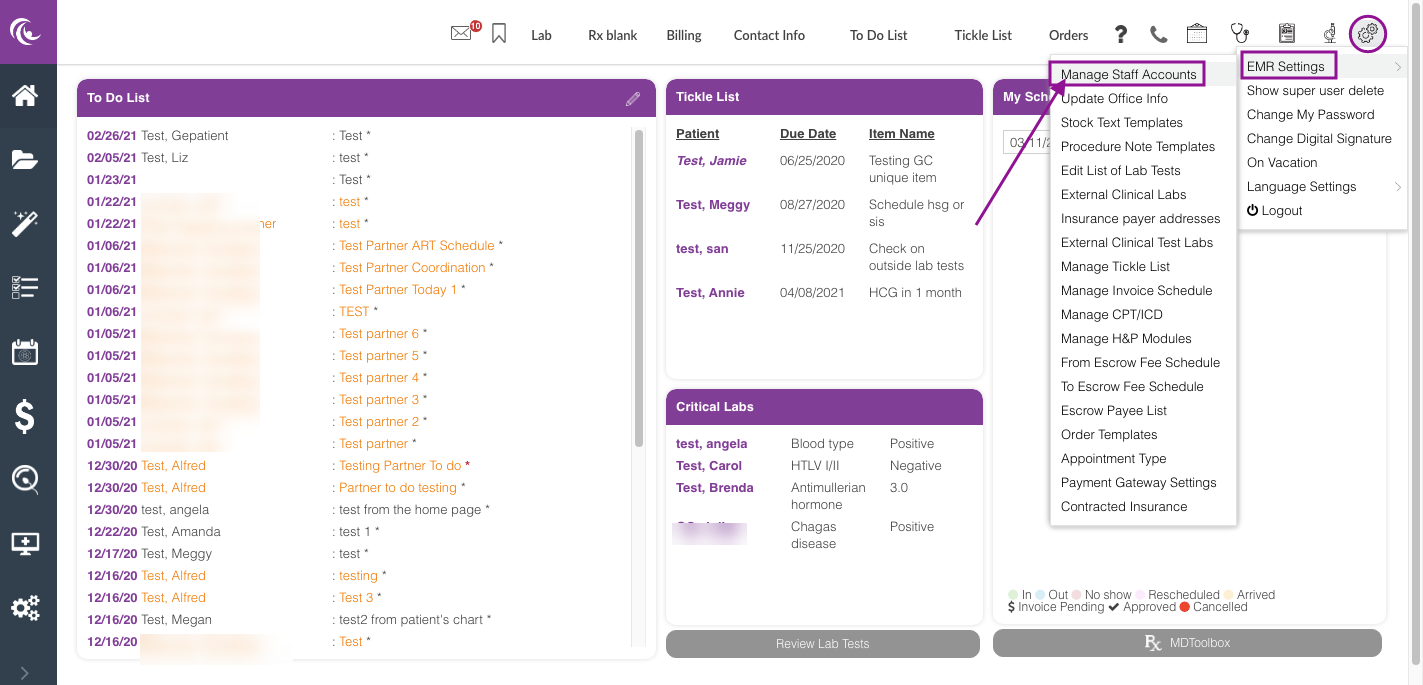
From the System Settings, hover over EMR settings, then select Manage Staff Accounts.
Only Clinic Admin and Practitioner user has access to Manage Staff accounts.
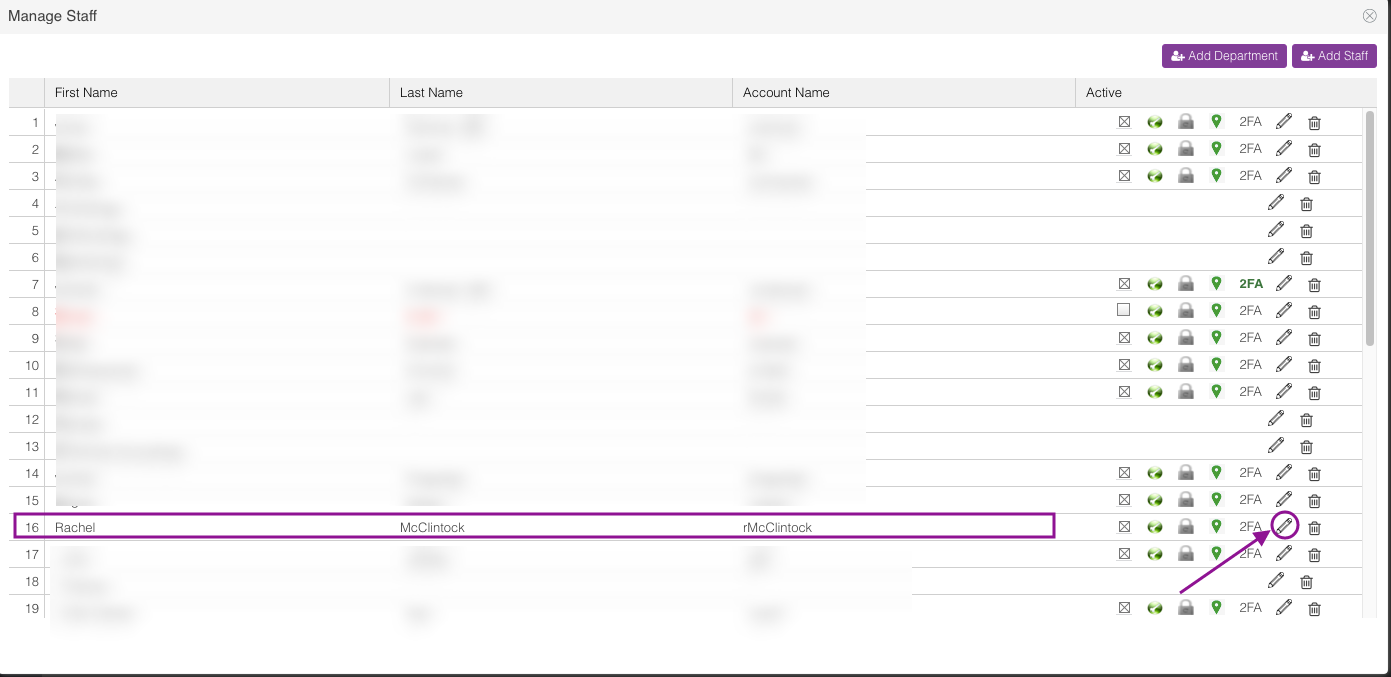
In the above example, a clinic staff user is selected and will be given access to the scribe system feature. Click the pencil icon.
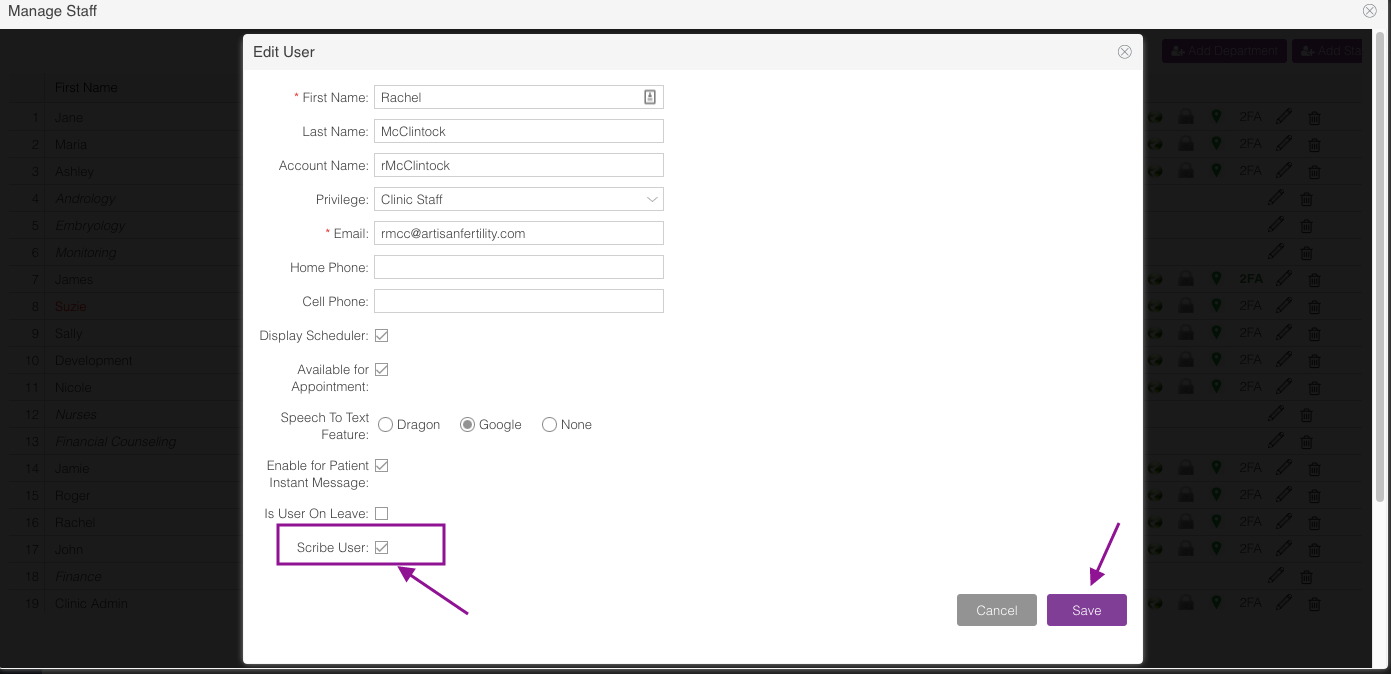
Mark the staff as a scribe user by checking the box. Then, click Save.
Scribe user Navigation
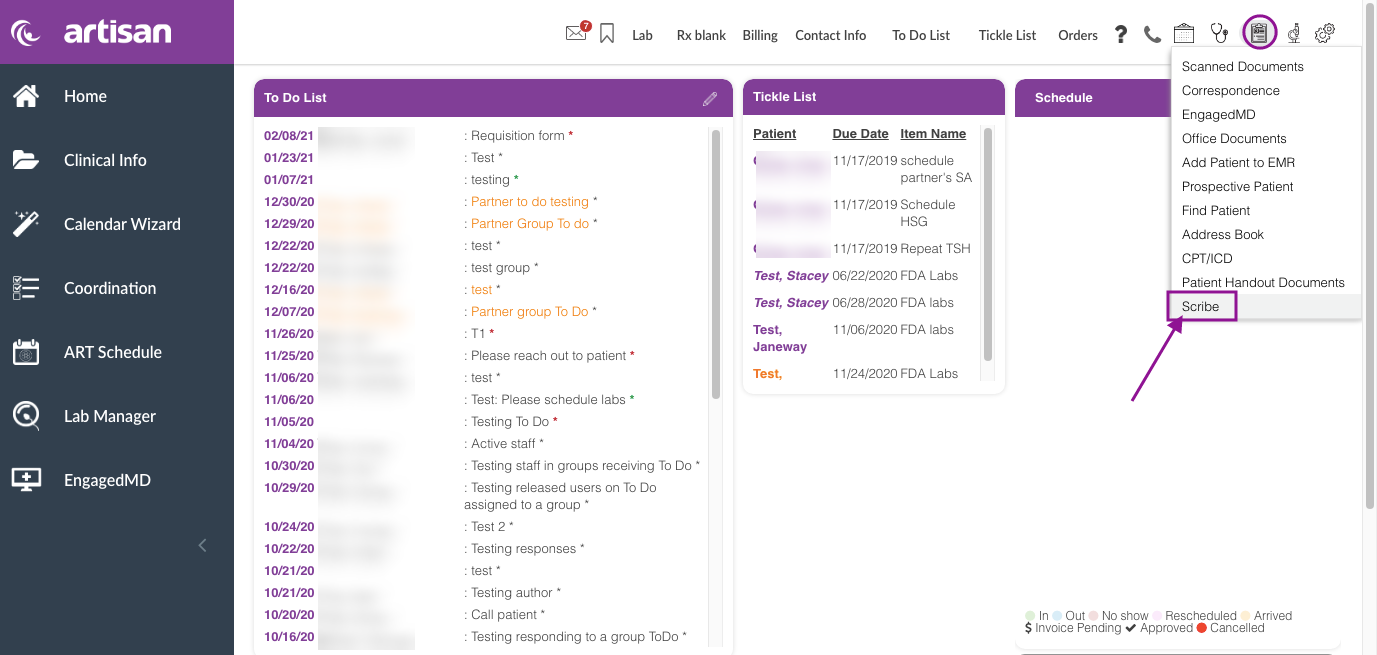
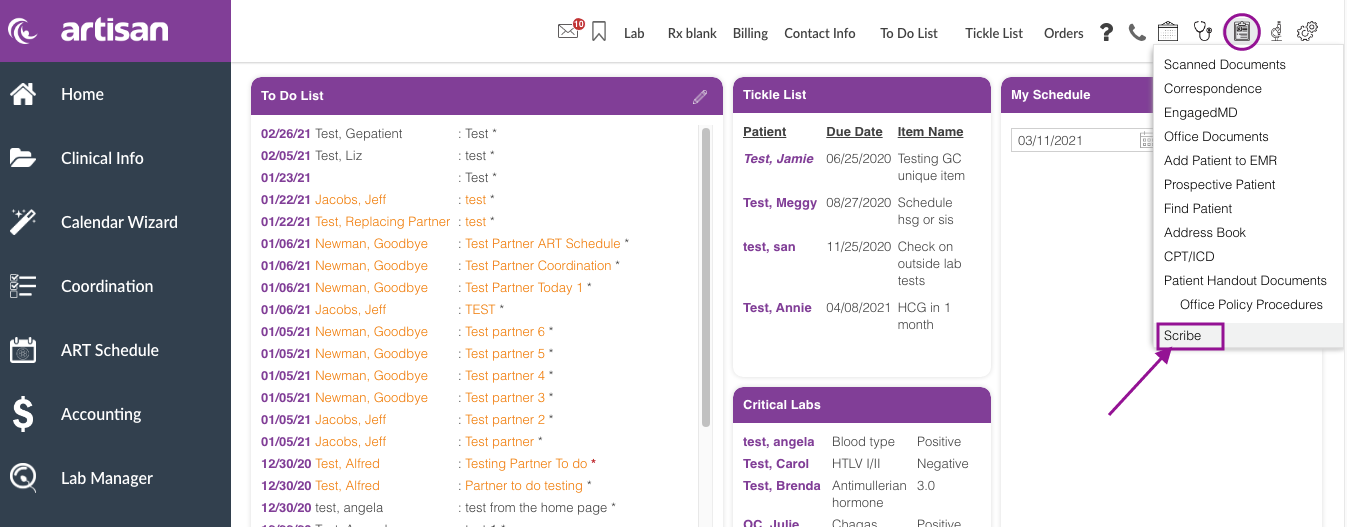
On your Home Page, click the Admin Tools icon. Select Scribe.
Progress Notes
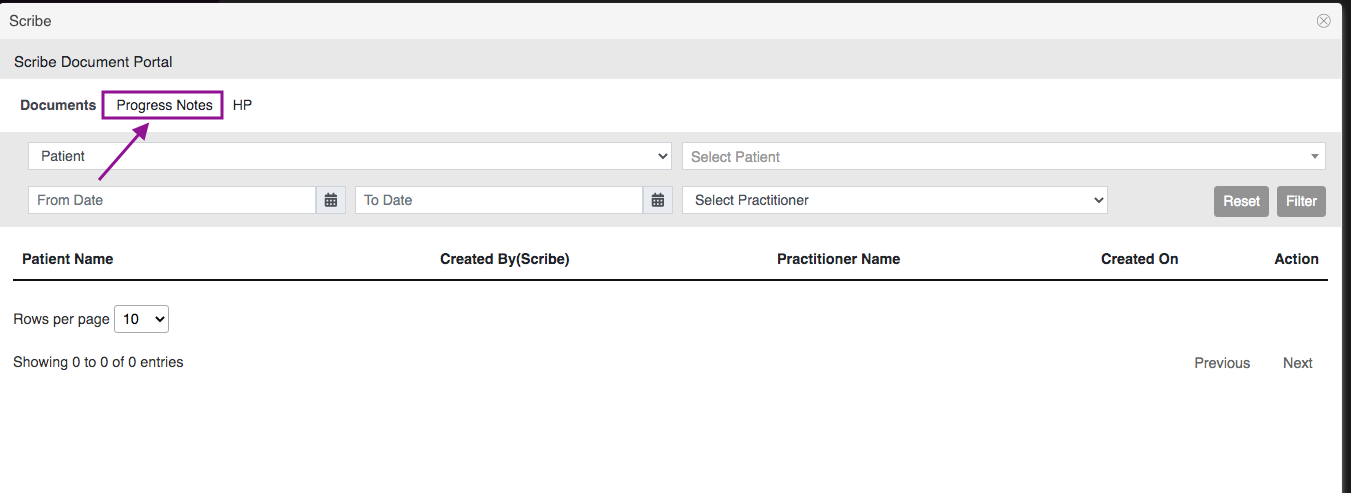
It will take you to the Scribe Document Portal.
Click Progress Notes.
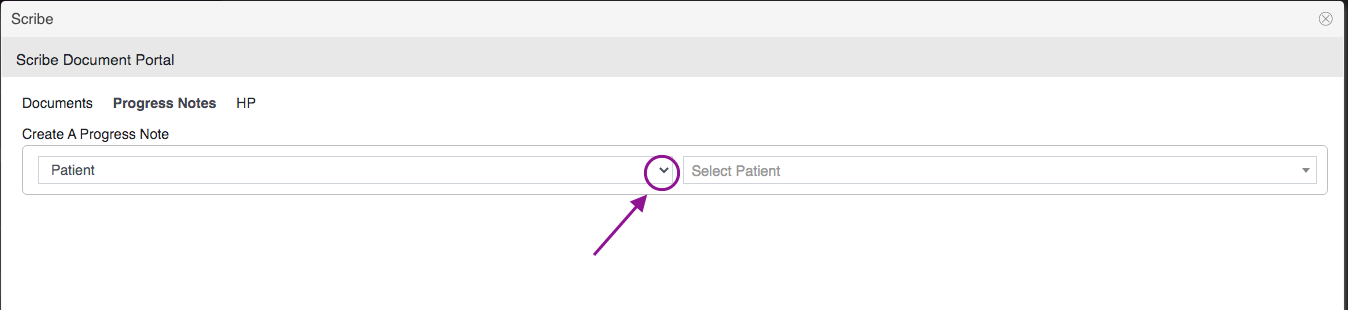
Select a Patient Category by clicking the drop-down icon.
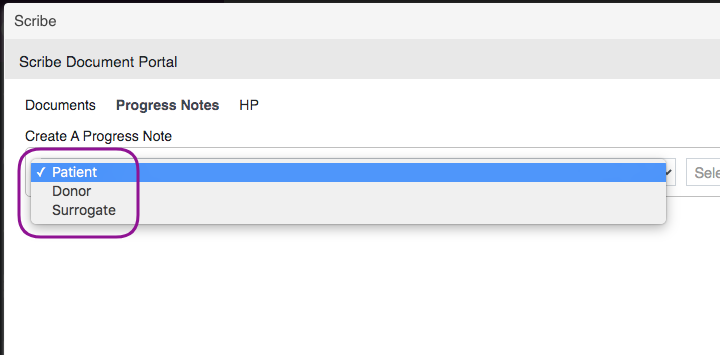
In this example, we selected "Patient."
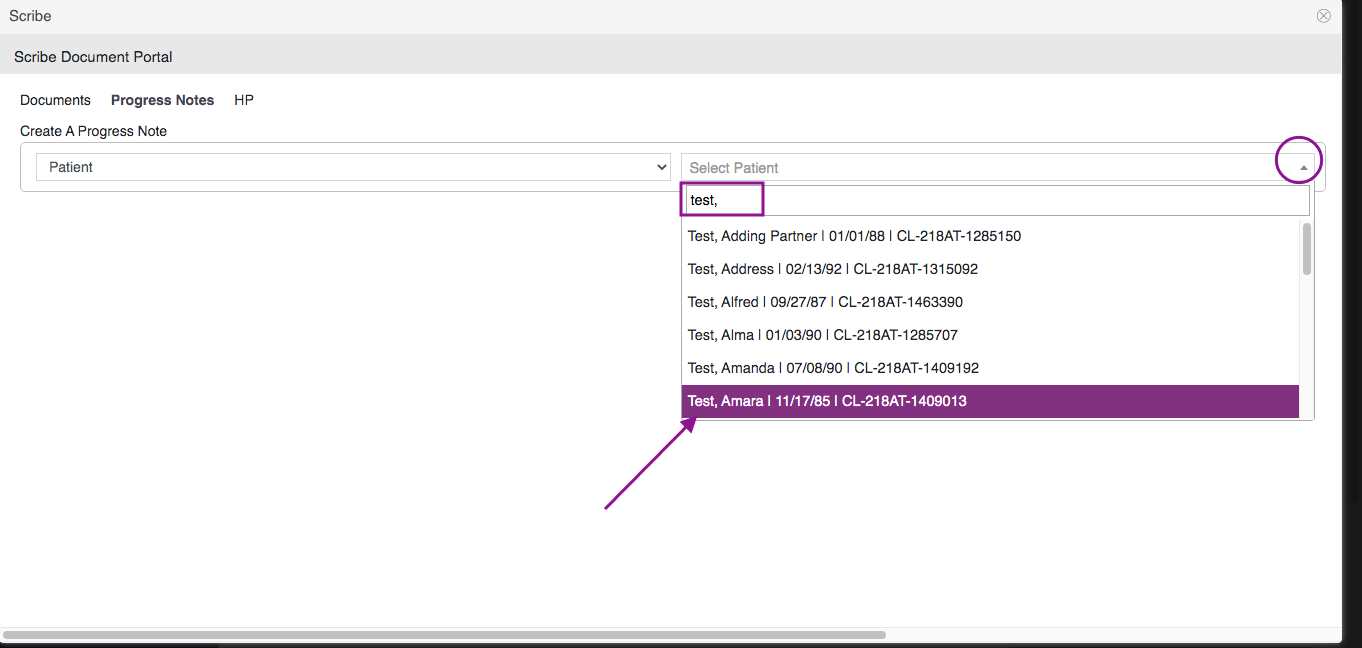
Click the drop-down icon to select the patient's name. In this example, we selected Test, Amara.

After selecting the patient category and patient's name, fill out the appropriate fields:
1. Date - This will default to today's date.
2. Select Practitioner - Click the drop-down icon to select a practitioner.
3. Note For - Mark the progress note appropriately.
4. Category - This is optional. Click the drop-down icon to select a category.
5. Basic Progress Note - Click the drop-down icon to select an Advanced Progress Note template.
6. Enter the scribe notes by freely typing in the documentation. Click the plus sign and microphone icon if you wish to use the stock text feature and dictation feature in Artisan.
7. Click the Edit button once scribe notes have been completed.

In the above example, the clinical staff is scribing for Dr. Solomon. A Procedure note template has been selected and prepped for the physician. Click the Edit button to proceed.
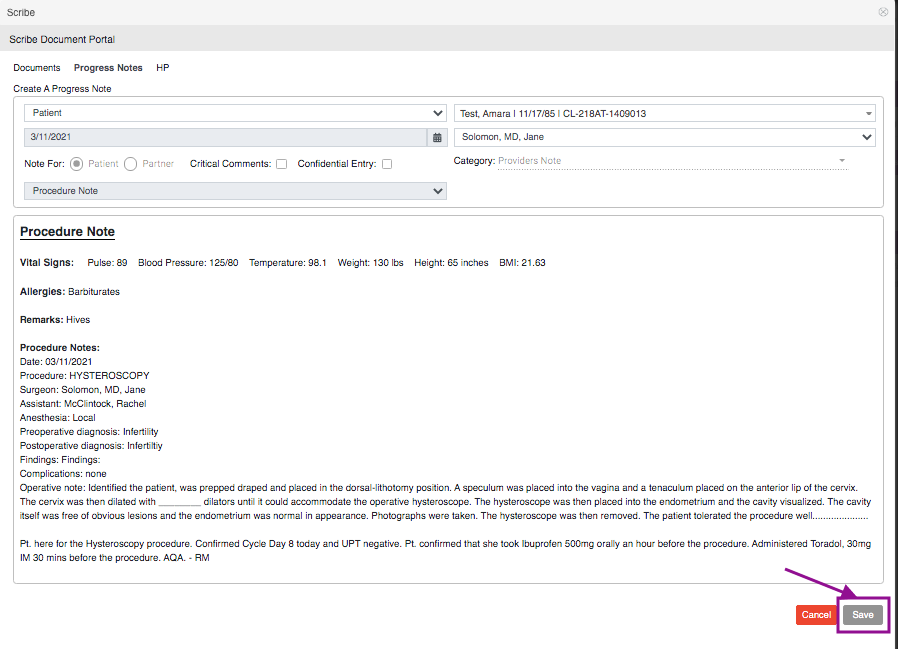
Click Save.
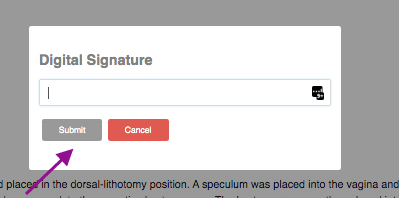
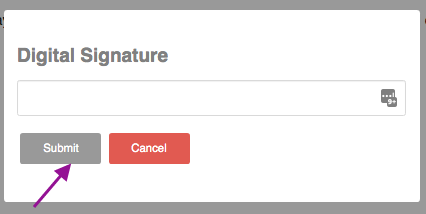
Enter your Digital Signature. Then, click Submit.
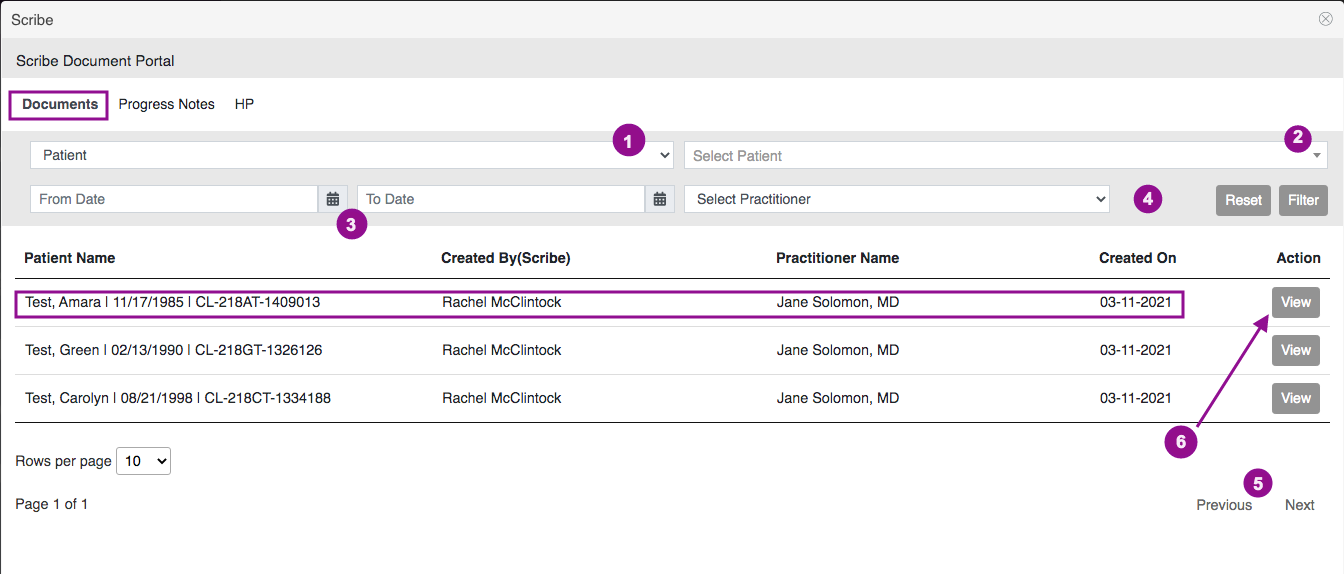
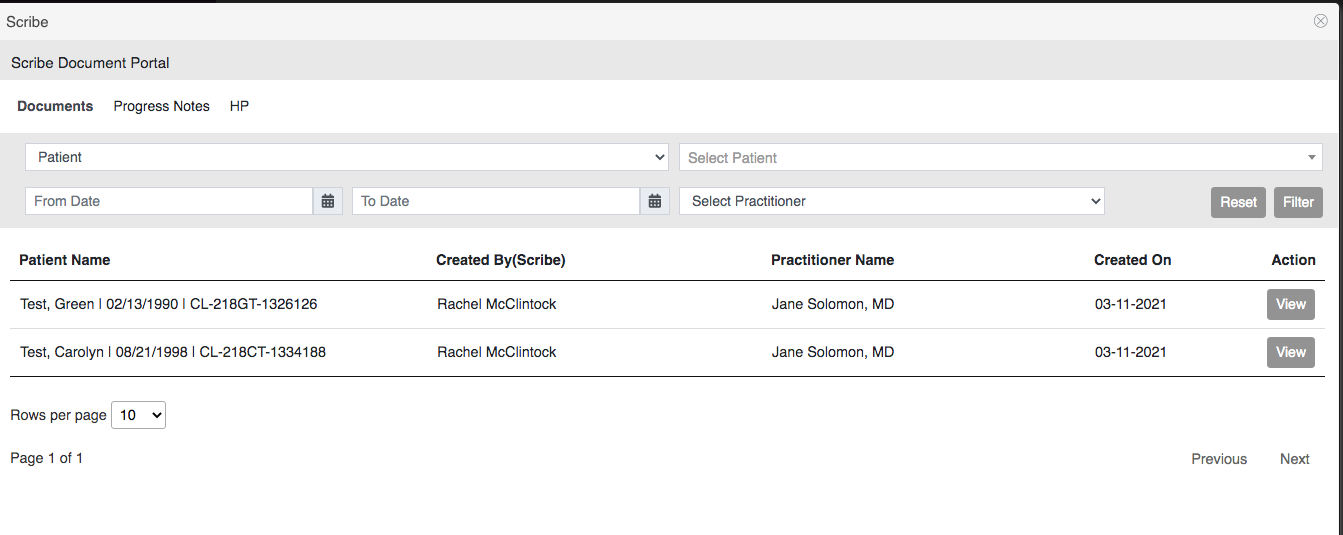
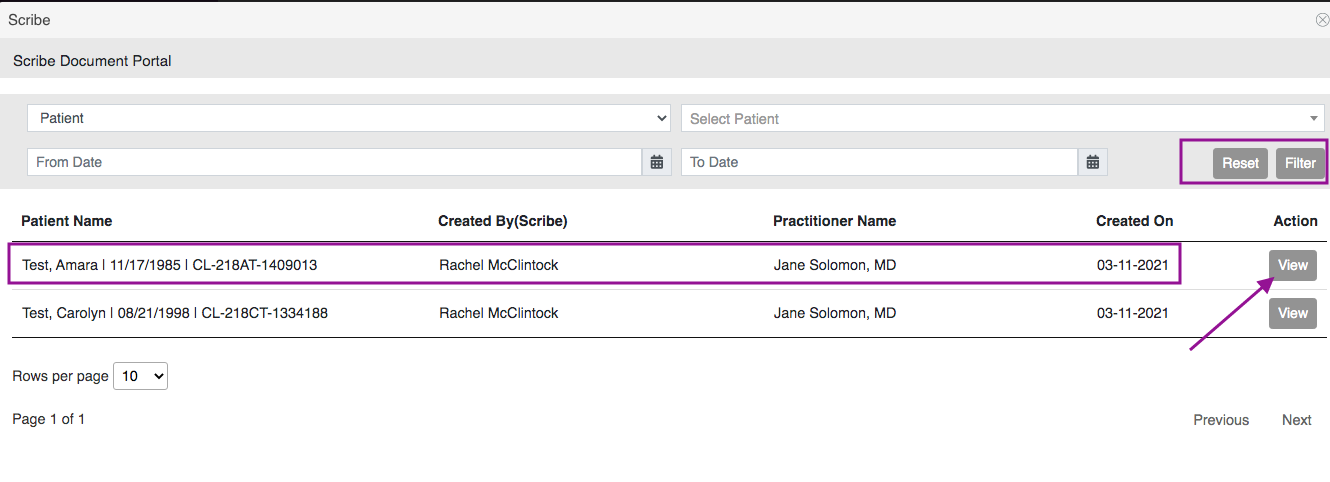
Scribed notes created will flow into the Documents tab. It will allow you to filter by:
1. Patient - including Egg Donor and Surrogates.
2. Select Patient - Patient, Egg Donor, and Surrogate Name.
3. Dates of creation
4. Practitioner
5. Previous and Next allow you to toggle back and forth to different pages.
6. Click the view button to present the scribe notes to the practitioner.
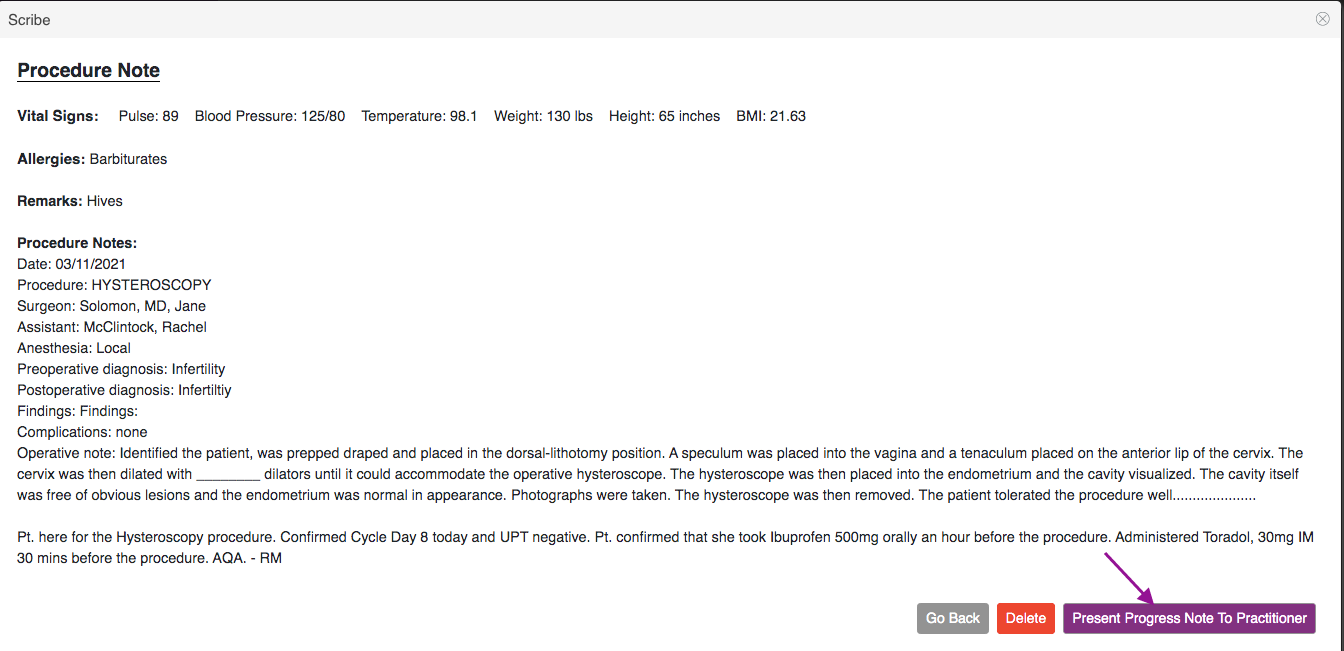
Click the Present Progress Note to Practitioner button if you wish to send this to the physician for review and sign off. Click the go back button to cancel and delete button to delete the scribe note.
Enter your Digital Signature. Then click Submit.
The note presented to the Practitioner will fall off on the Documents tab list.
H&P
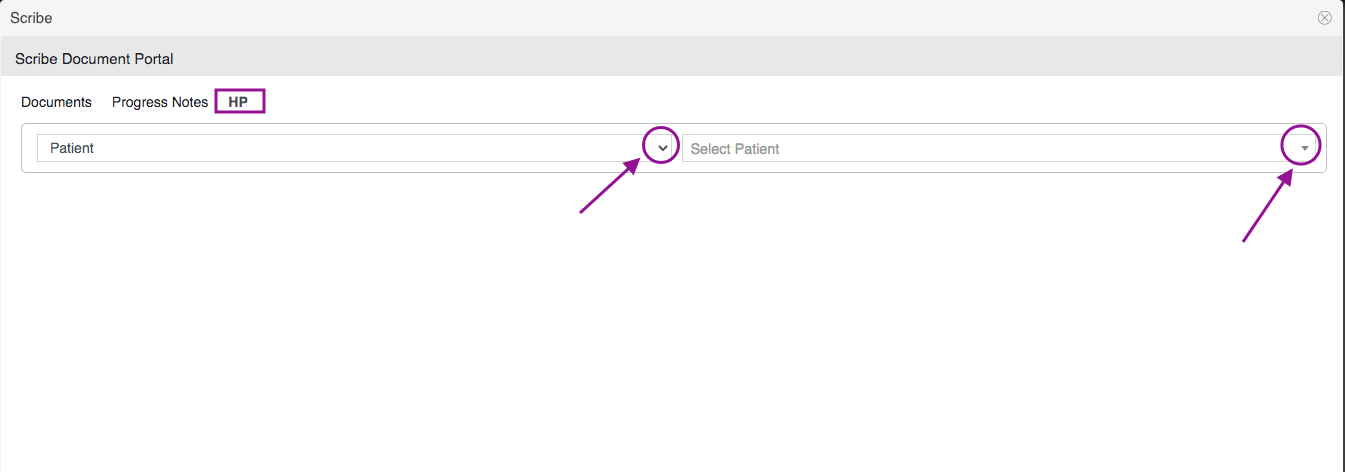
Select the Patient Category and Patient Name.
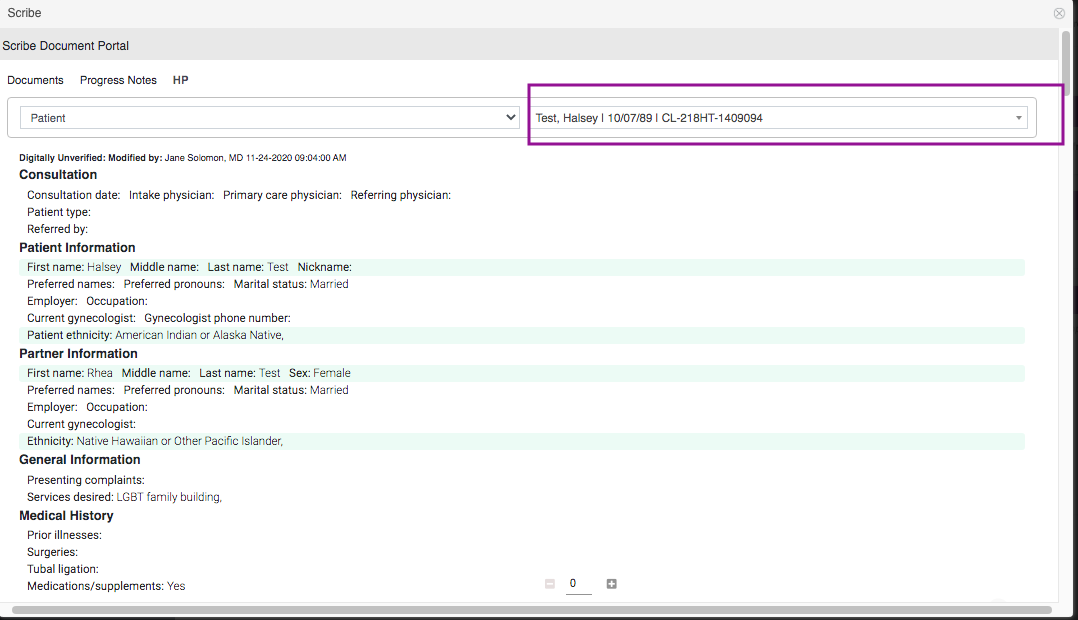
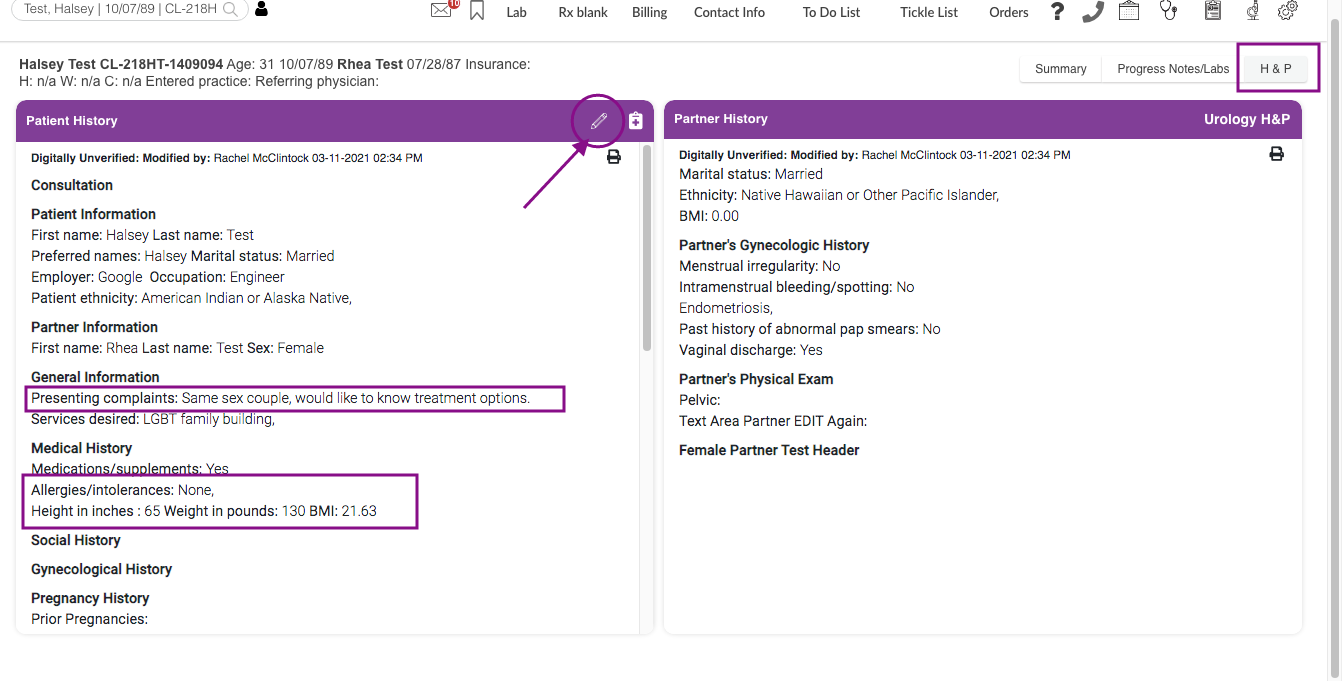
In the above example, Test, Halsey has been selected.
Scribes will allow you to fill out fields ahead of time for the practitioner prior to the New Patient consultation.
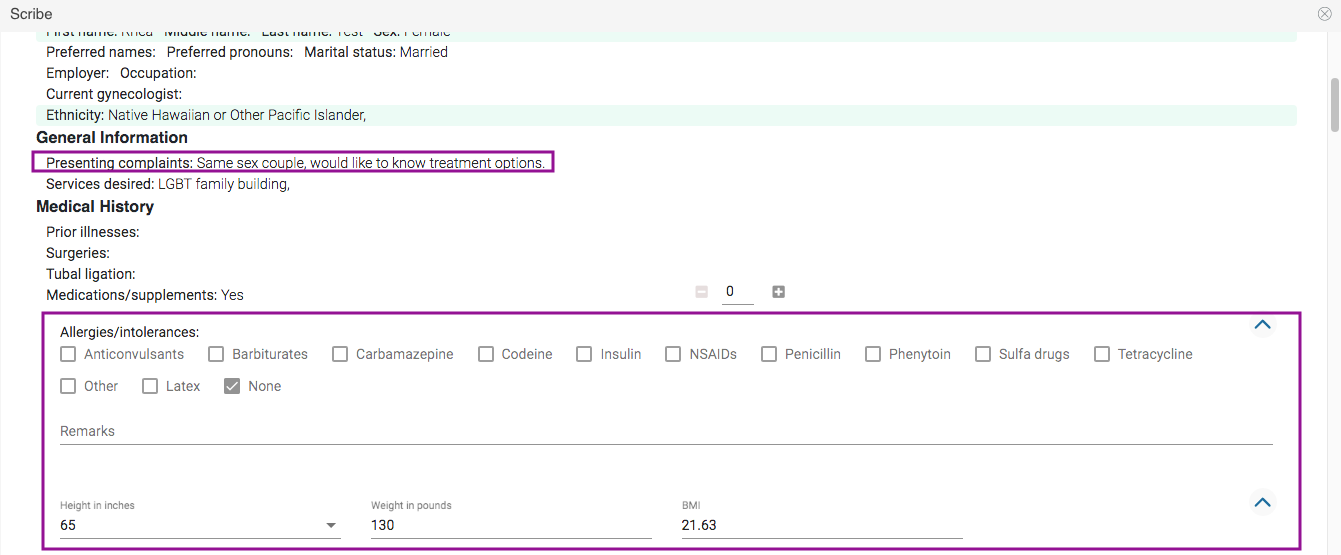
In this example, the scriber updated the presenting complaints, allergies, and patient's BMI.
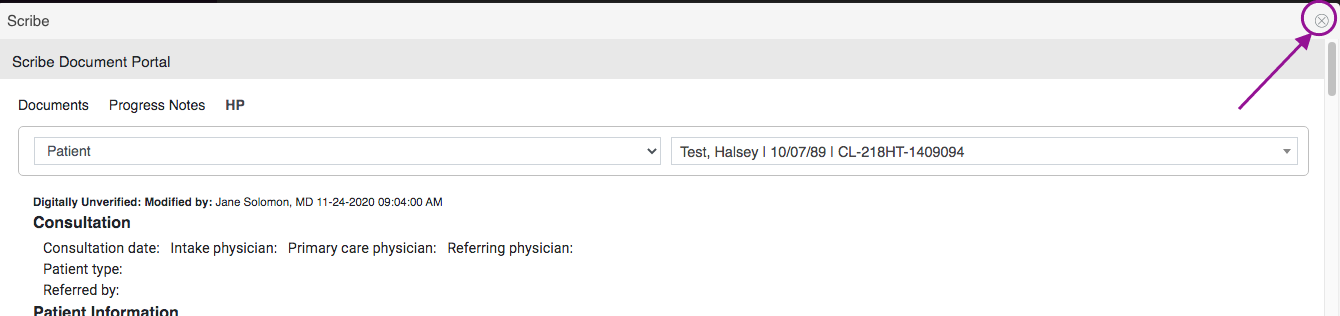
Click the "x" icon once completed.
Practitioner Navigation
From the Practitioner's Home Page, click the Admin Tools icon, then select Scribe.
All scribe progress notes will populate into the Practitioners Scribe Document Portal for review and sign-off with the patient and scribe's name and creation date.
Practitioners are also able to filter by Patient category, Patient Name, and Dates.
To review the scribed progress note, click the View button.
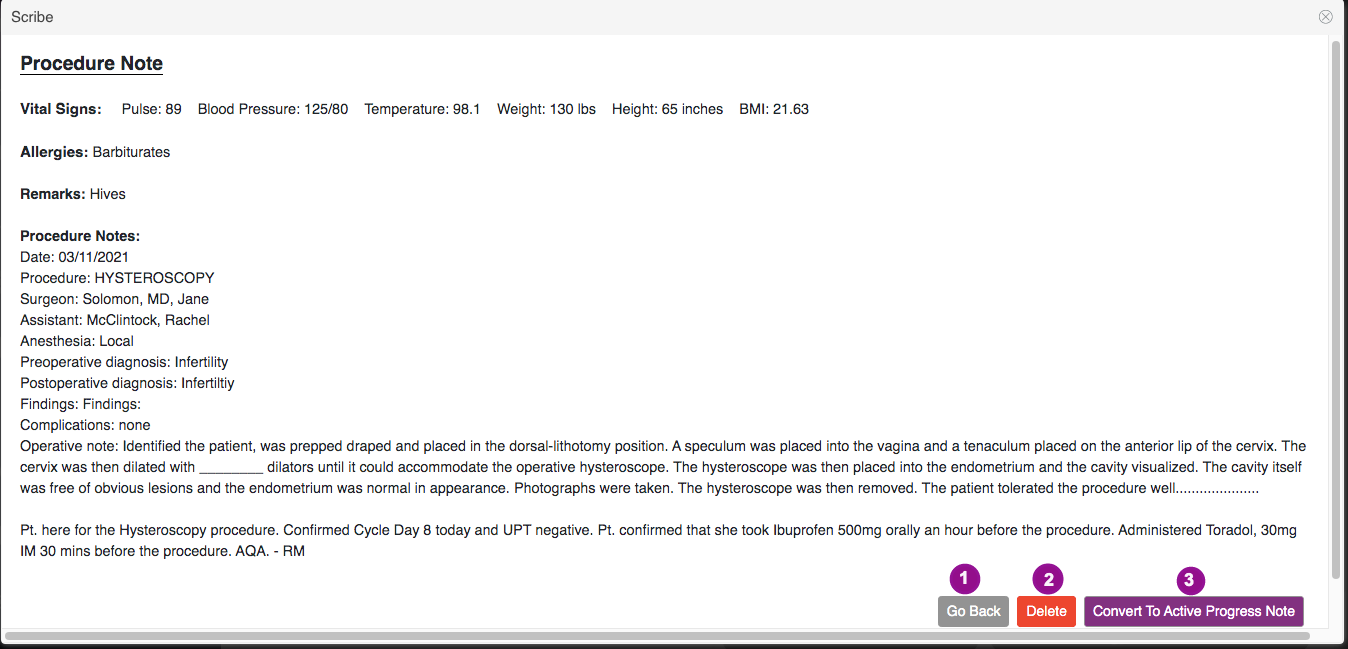
1. Click the Go Back button to view the previous page.
2. Click the Delete button, to delete the scribe notes
3. Click the Convert to Active Progress note button if you wish to add the scribed notes into the patient's chart.
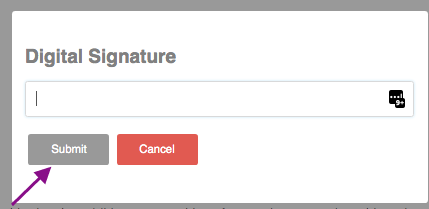
Enter Digital Signature, then click Submit.
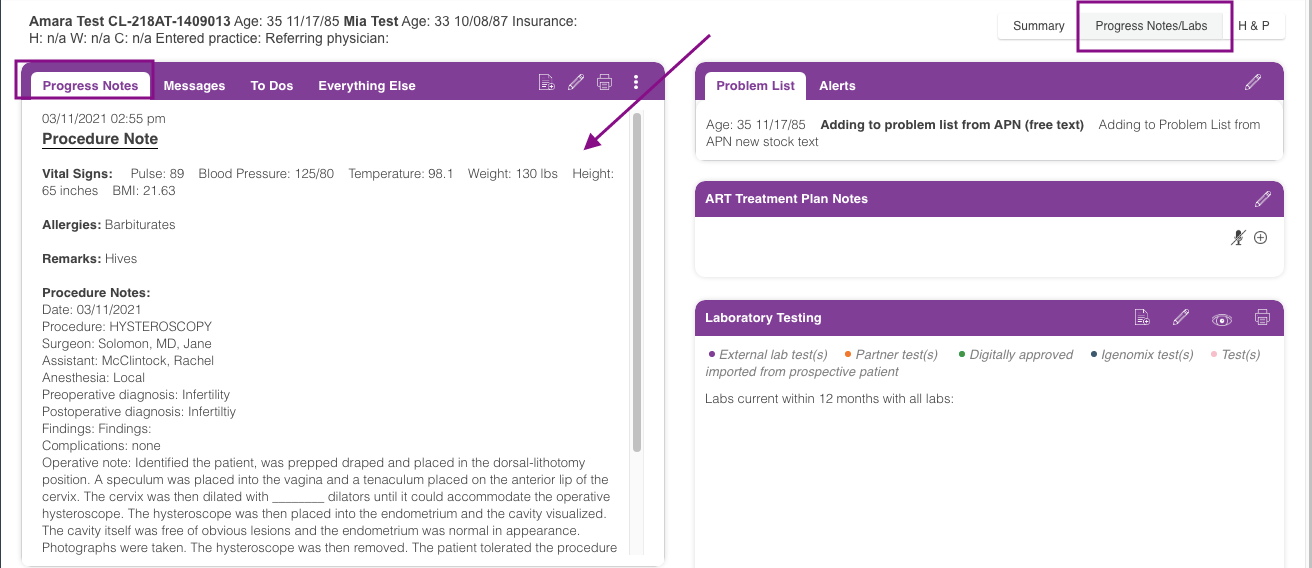

Once converted, the scribed notes will flow into the patient's progress note with the Practitioner's signature and time-stamped
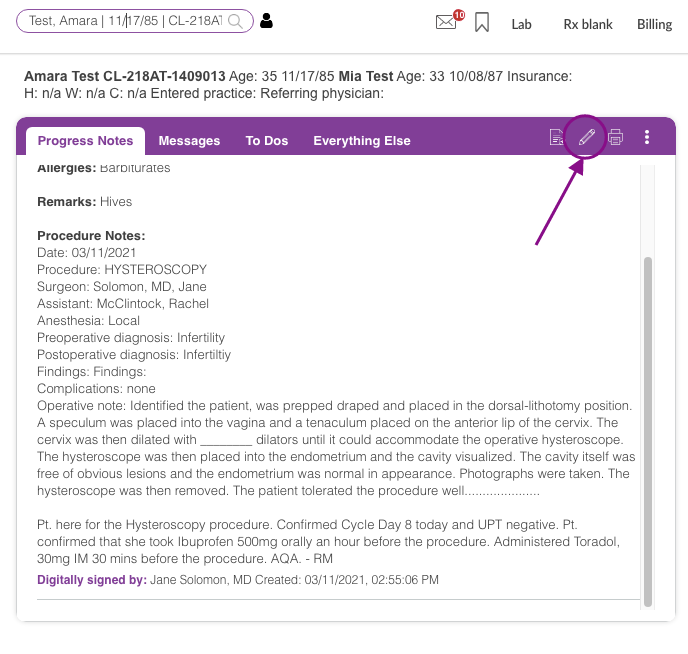
Click the pencil icon to edit the progress note.
The practitioner will have 72 hours to edit the progress note.
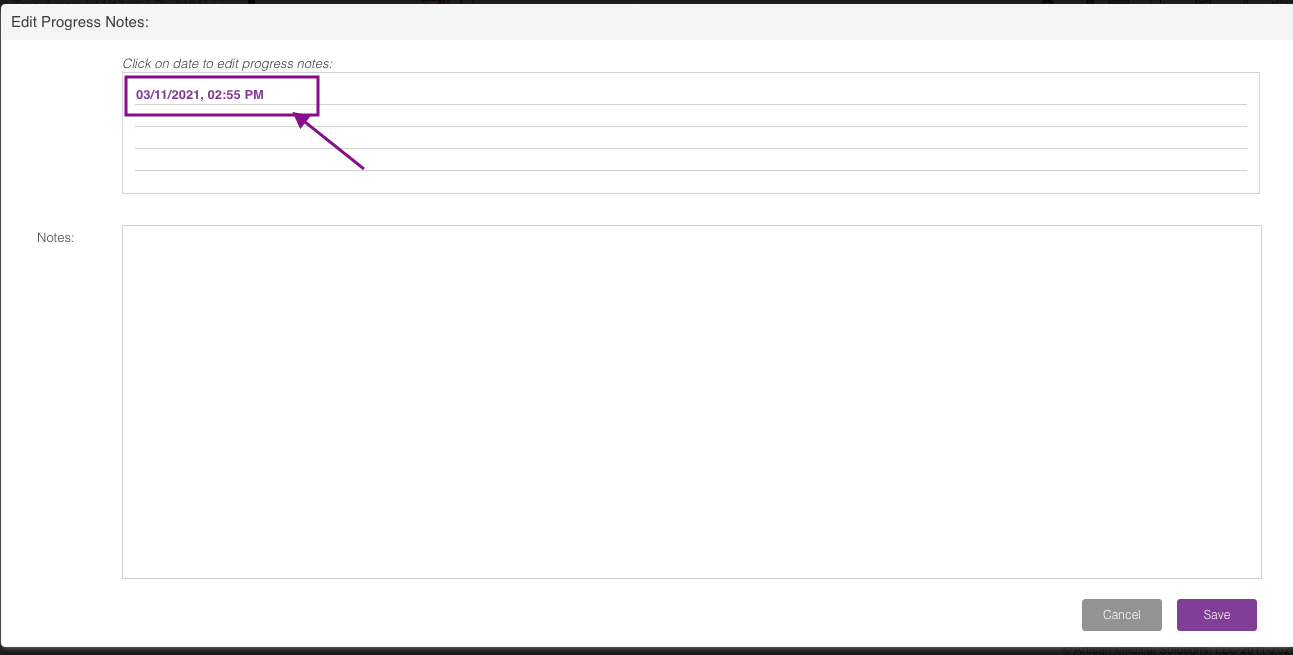
Click the progress note that you wish to edit.
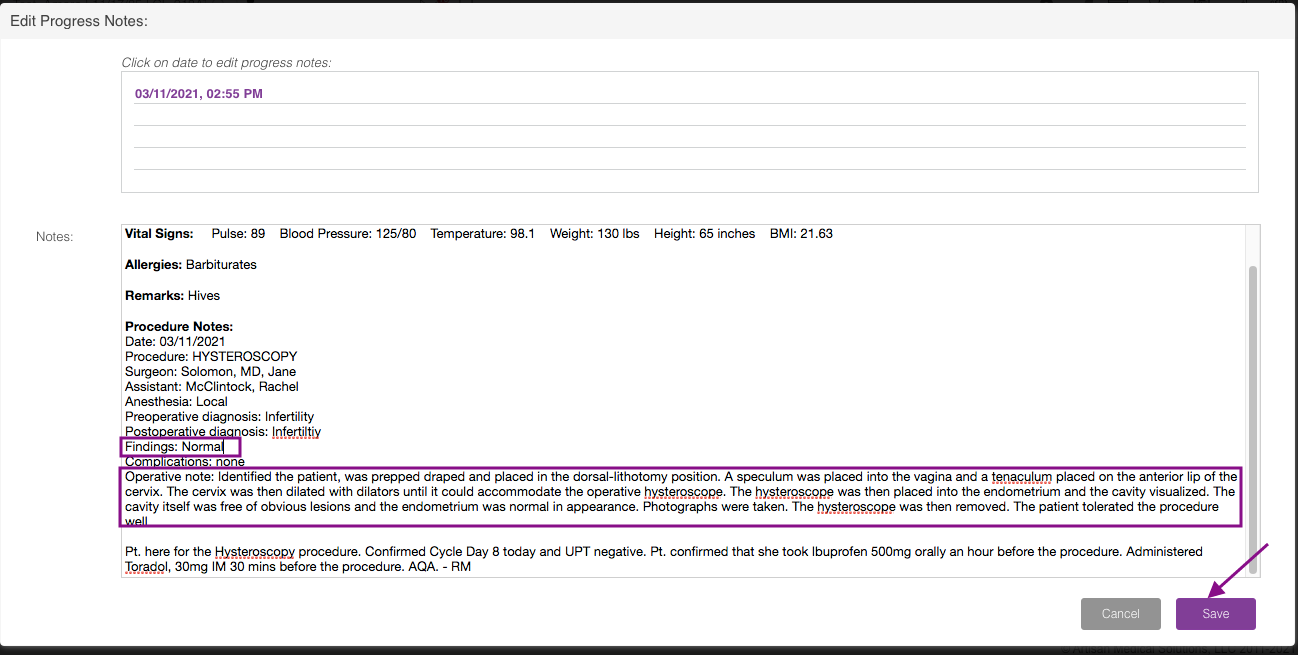
In the above example, the practitioner can update his/her Findings and Operative Note. Click the Save button.
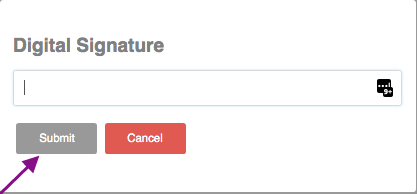
Digitally Sign the update note then click Submit.
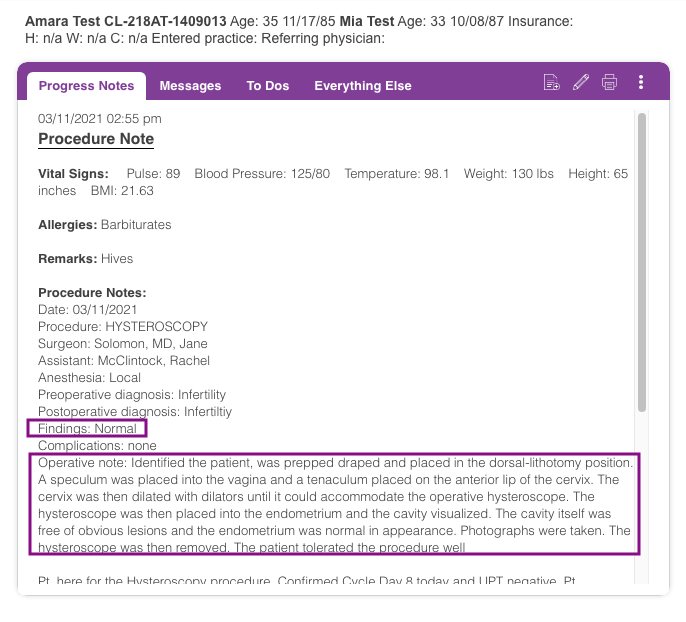
The scribed progress note has now been updated.
The scribed H&P notes will flow into the H&P form of the patient's chart.
Click the pencil icon to write your New patient Intake notes. See How to write an Intake History and Physical manual to learn more.
**All manuals are compliant with HIPPA regulations. No patient information has been released. All screenshots above were taken from a test clinic with fake patient information.
Megan Borja
Comments