One of our key design concepts is to eliminate typing wherever possible. You can create/edit medication instructions (creating stock text) to enable the user to update patient calendars with just a few mouse clicks.
Updating the Patient's Treatment Calendar can be achieved on the Cycle Sheet section of the treatment cycle.
Overview of the Cycle sheet
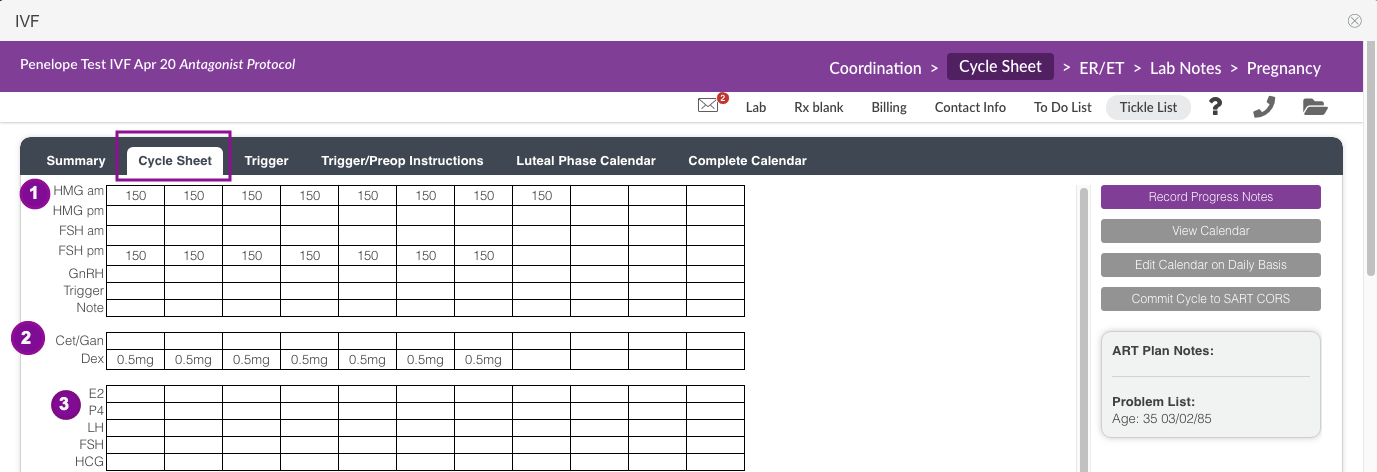

1. Medication Grid - displays the medication dosages.
2. Custom Medication Grid - displays the additional medication and dosages.
3. Lab Grid - displays all lab results from within the treatment cycle.
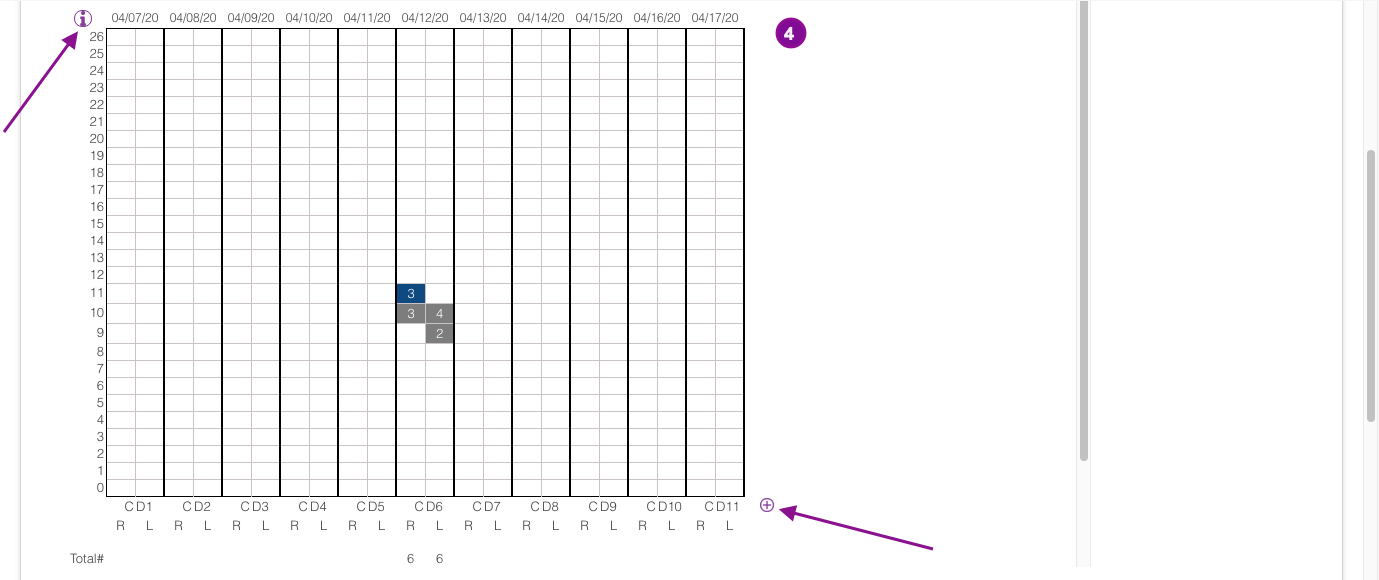
4. Ultrasound Grid - displays follicle measurement information. The eye icon allows you to view an ultrasound measurement prior to the patient's stim start or cycle day 1. The plus sign icon allows you to create an additional day to the ultrasound grid.
5. Endometrium Grid - displays lining measurement information.
6. Cycle Progress Notes - displays the monitoring progress notes within a treatment cycle. An option to print the notes is available in this section by clicking the printer icon.
Navigation
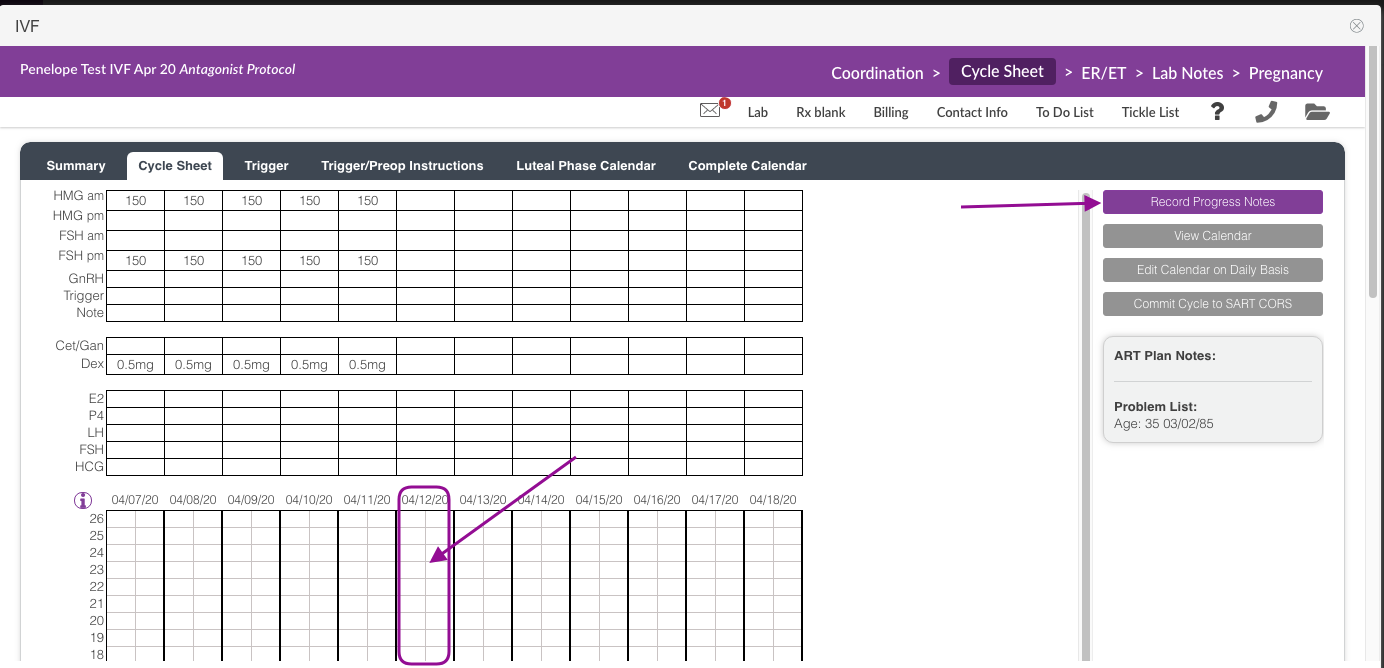
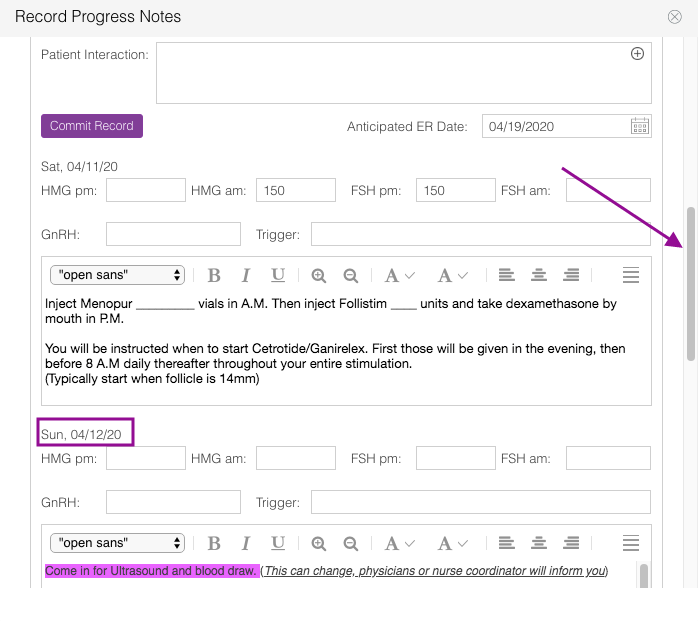
Let's pretend that today is cycle day 6 of stimulation. To open a cycle progress note, click on the Date in the ultrasound grid or click Record Progress Notes button to open the Cycle Progress Notes.
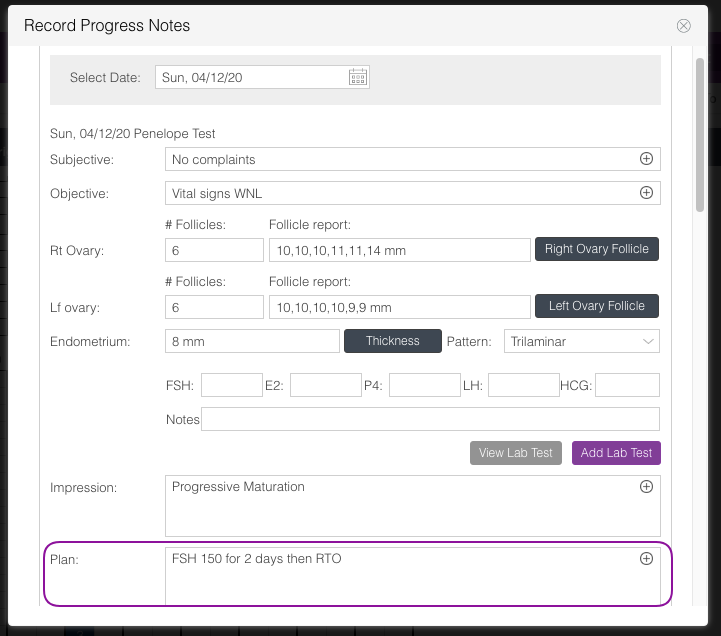
Now that we have entered our progress note, the clinician has opted to treat the patient with FSH 150 for two days.
Edit the Patient's ART Treatment Calendar
To update the patient's IVF Treatment Calendar, scroll to the base of the Progress Notes dialog box.
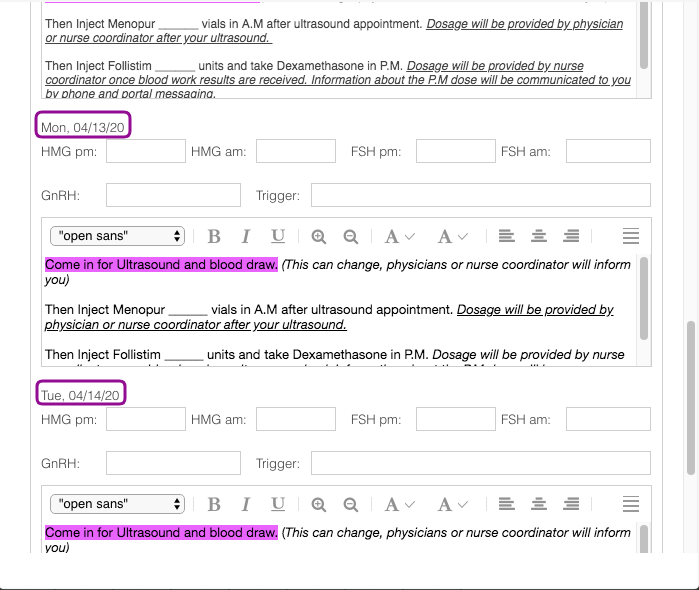
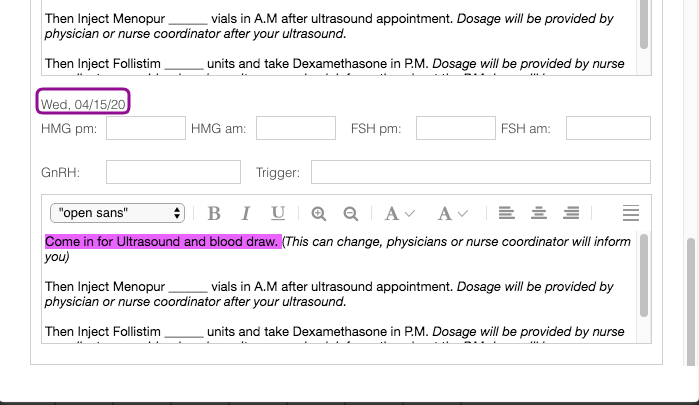
You will find five sets of fields for data input. These fields display information for:
- The prior day's stimulation
- The current date
- 1, 2, and 3 days into the future
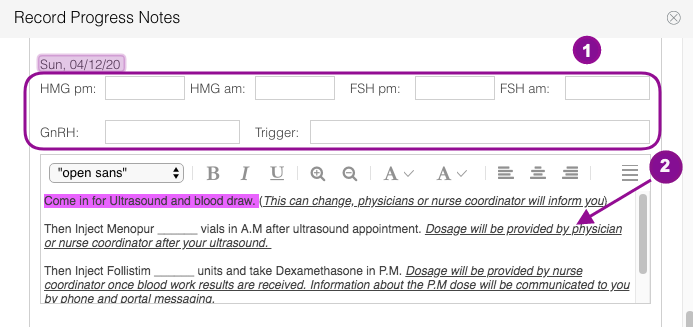
Let's say that we wish to update the treatment instructions for Sun, 4/12/20.
1. Medication Grid: Enter the dosage to the appropriate medication box.
2. Clicking into the box will open an interface with quick pick values for stimulation instructions.
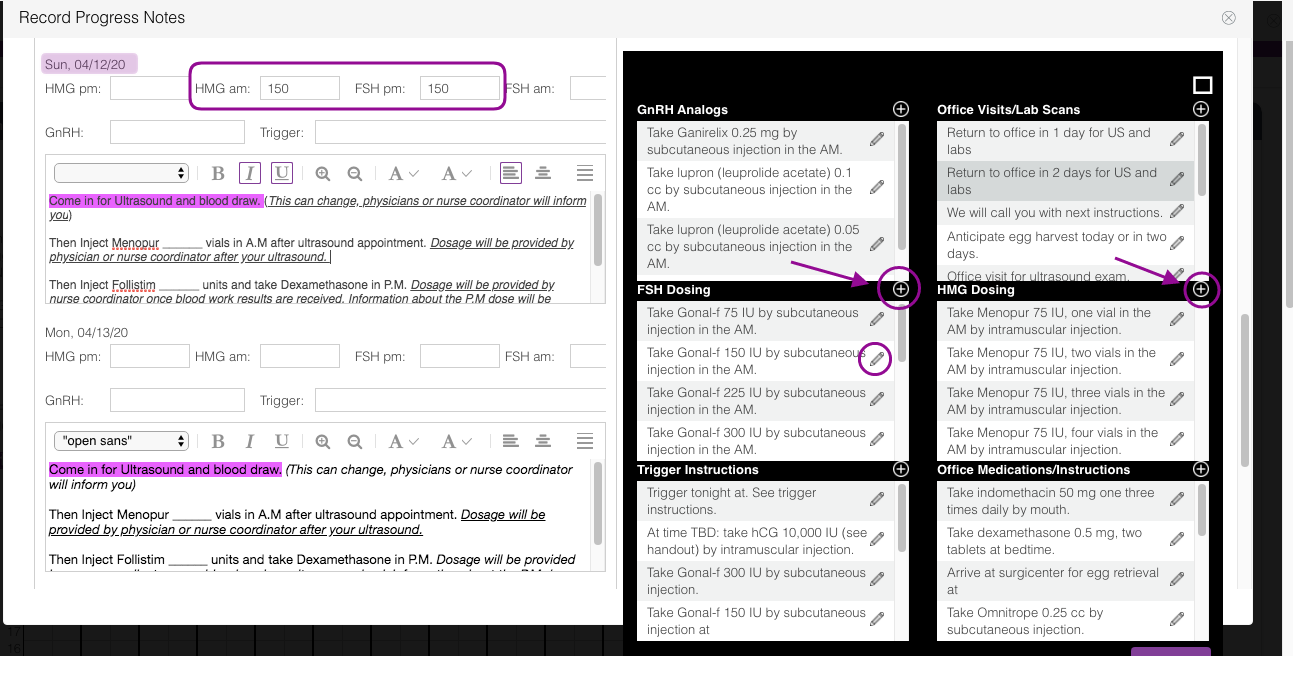
Stock meds can be created by clicking on the + icon within each medication category.
Stock meds can be edited by clicking on the pencil icon within each medication category.

Create your stock medication instruction and click Save.
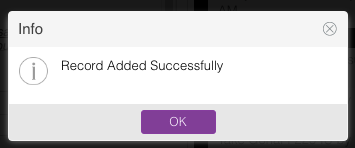
This window will pop up letting you know the stock text you have created has been saved successfully. Click OK.
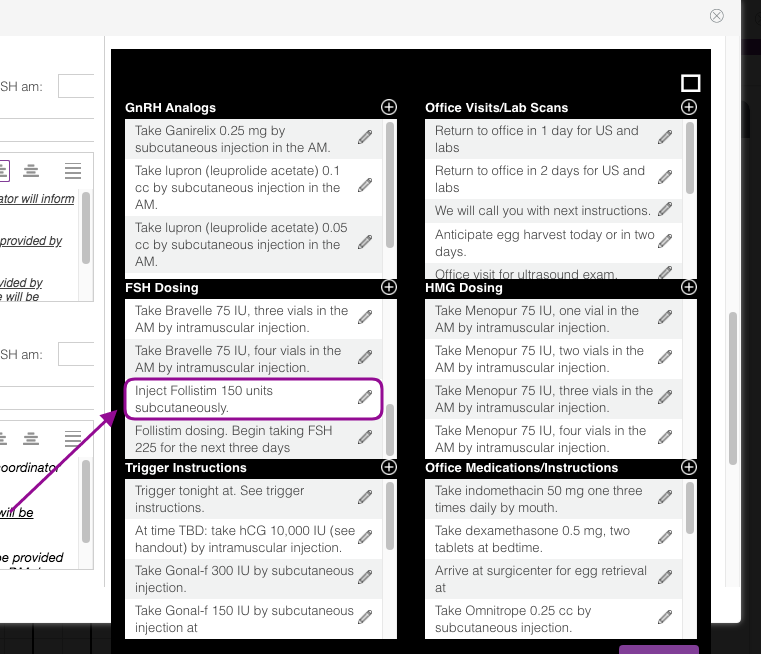
You can choose the desired stock text medication by clicking on the instruction line within each medication category or manually edit the instructions box.
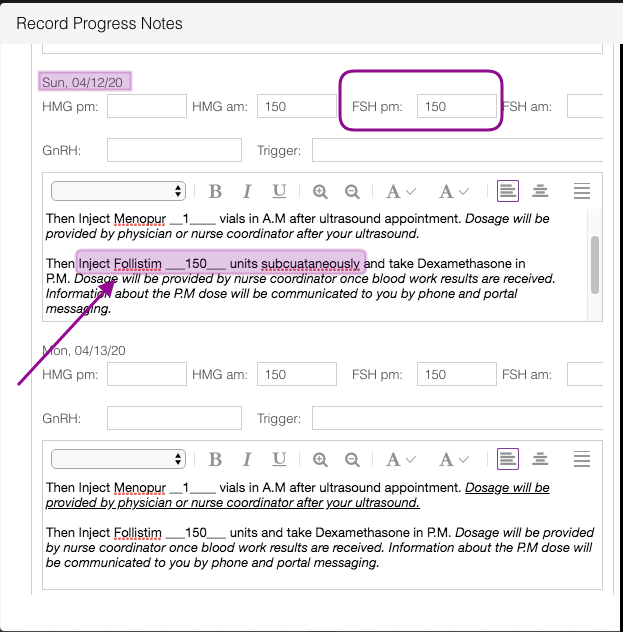
Once the stock text has been added, you can edit and format the instructions as needed.
Do the same process on the appropriate dates that you wish to edit. Take note that whatever changes you add on the medication grid will have to be updated inside the instructions box or vice versa.
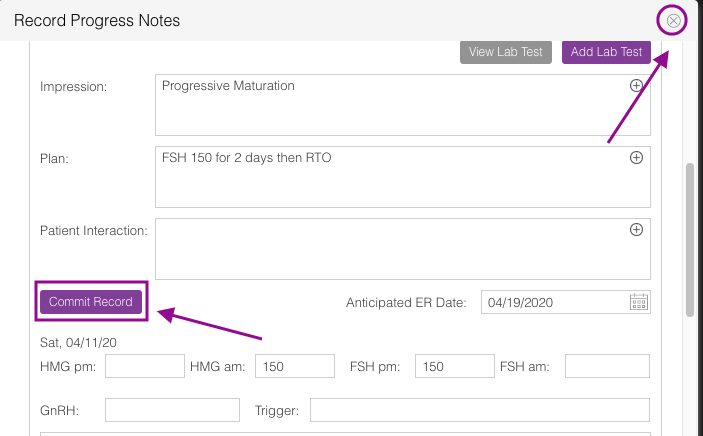
Once the changes have been made, click the Commit Record button under the patient interaction text box. Then, click the x icon.
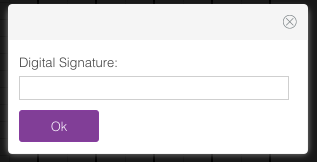
Enter your Digital Signature then click Ok.
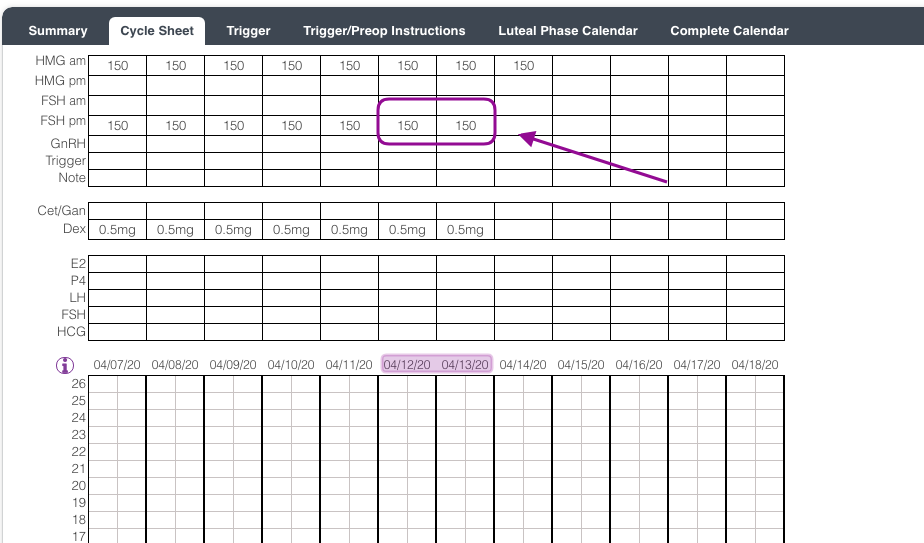
The medication dosage update will show on the cycle sheet medication grid section.
Updated Instructions Reflected on Patient's Cycle Treatment Calendar
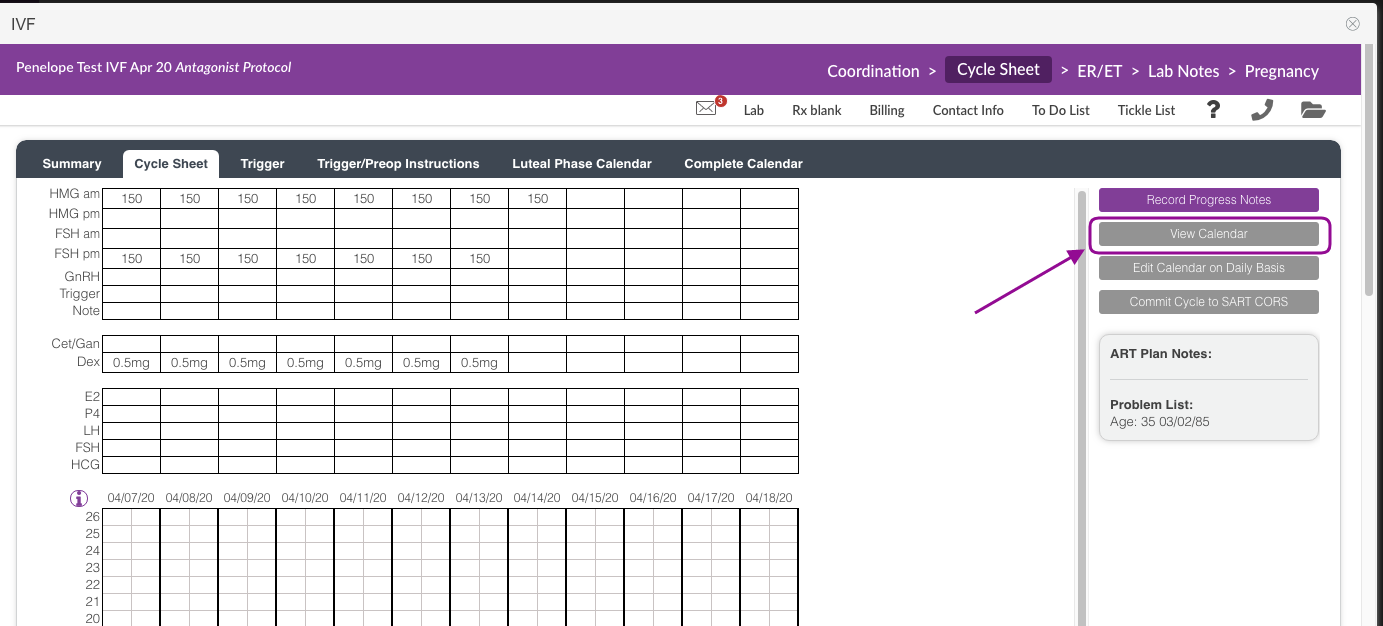
Click the View calendar button to pull up the the updated calendar instructions.
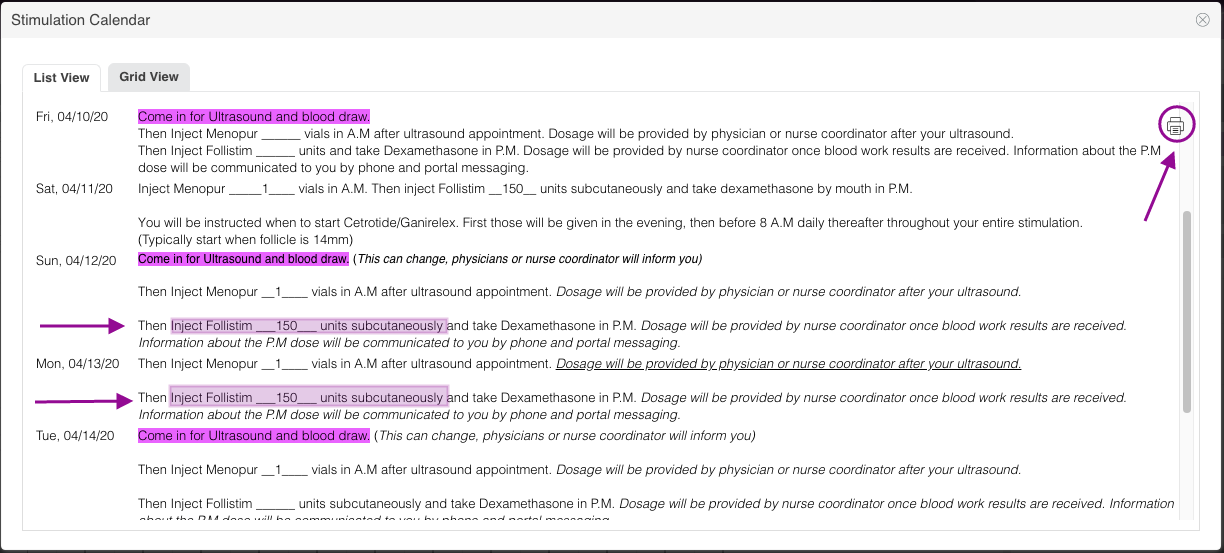
The updates will be instantly displayed on the patient's Calendar on your computer in a list and grid view. Click the printer icon.
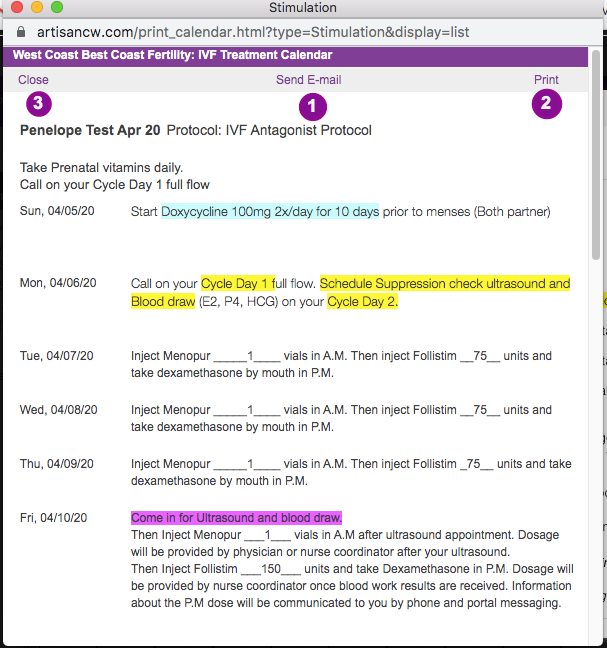
1. Click Send Email to send a push notification to the patient for them to log into the patient portal to view the updated calendar.
2. Click Print if the patient is requesting a hard copy or as needed.
3. Hit Close to exit.
Artisan Support
Comments