Super Users are selected users in the system who have the ability to manage selected system operations. The Clinic Administrator has the ability to assign super-users within the practice. A super user accessibility allows staff to archive Progress Notes, Lab Results, Scanned Documents, Ultrasound Report, and edit payments within Invoices and Escrow items.
NAVIGATION
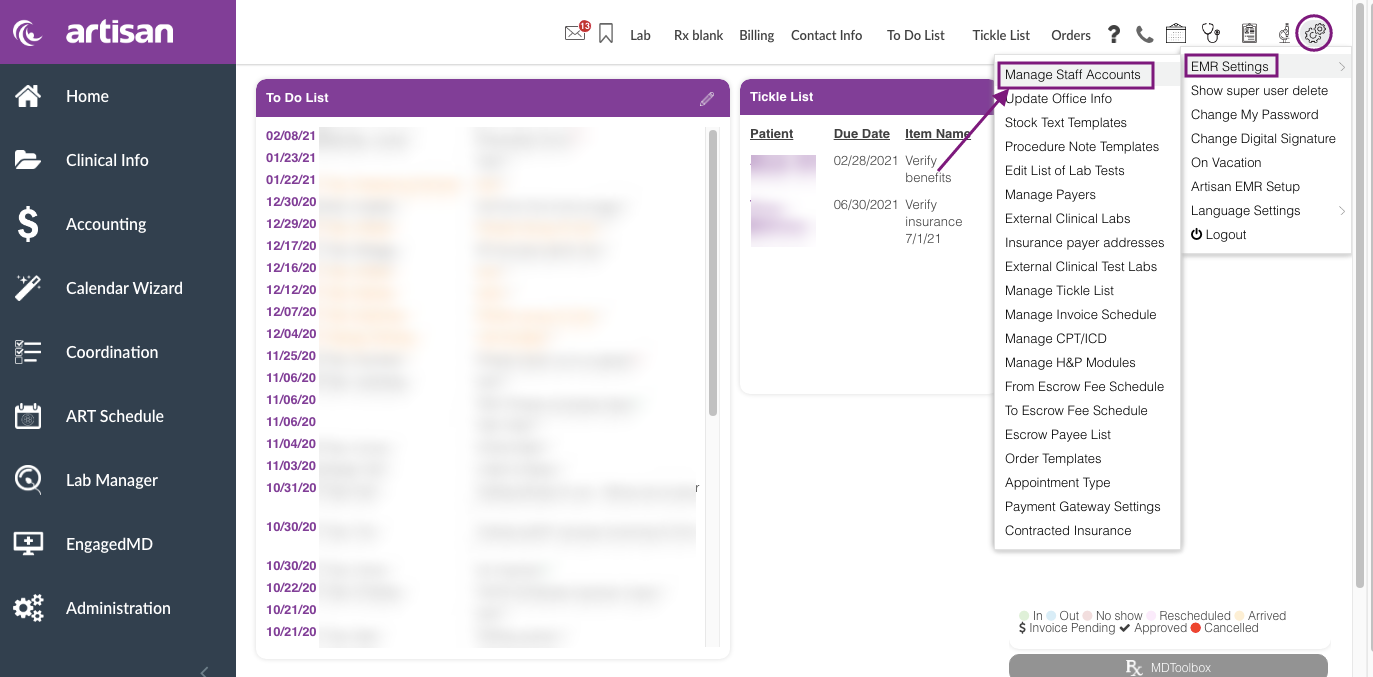
From your Home Page, click System settings. Hover over EMR settings, then select Manage Staff Accounts.
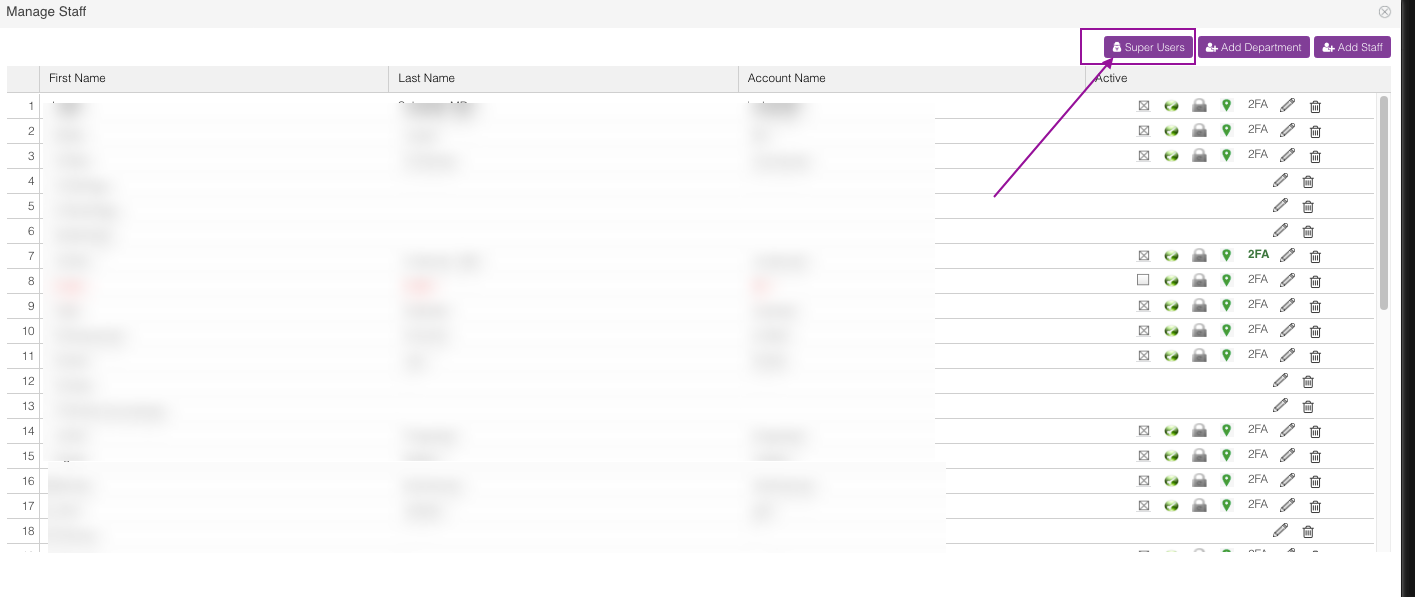
Select the Super User Button.
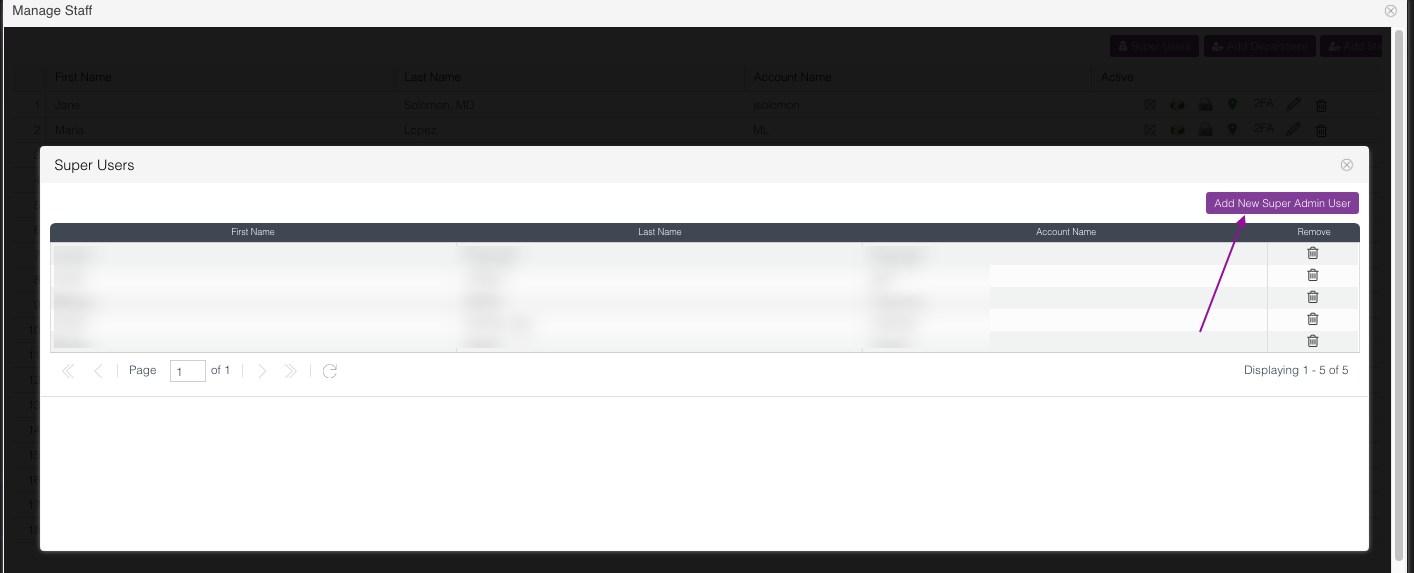
Select Add New Super Admin User.
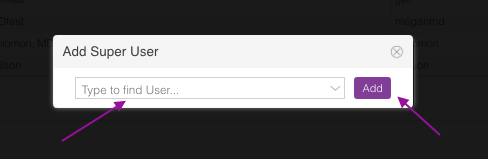
Next, search for the staff name by typing their last name, first name.
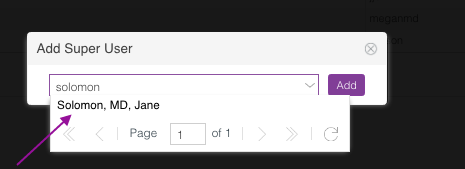
Select the Staff name you wish to add as a super User. In the above example, we selected Solomon, MD, Jane.
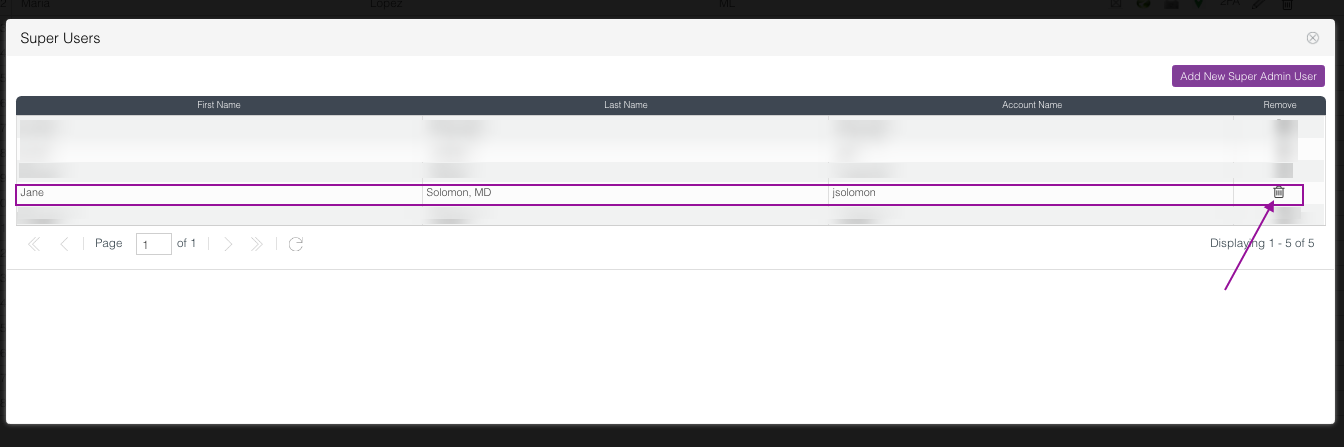
You will now have a list of all of the Super Users. Click the trash can icon to delete a Superuser staff from the list.
Super User Navigation
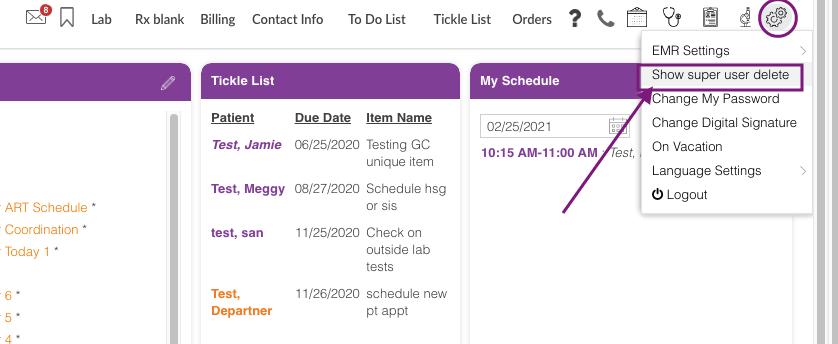
Go to System Settings then select Show super user delete.
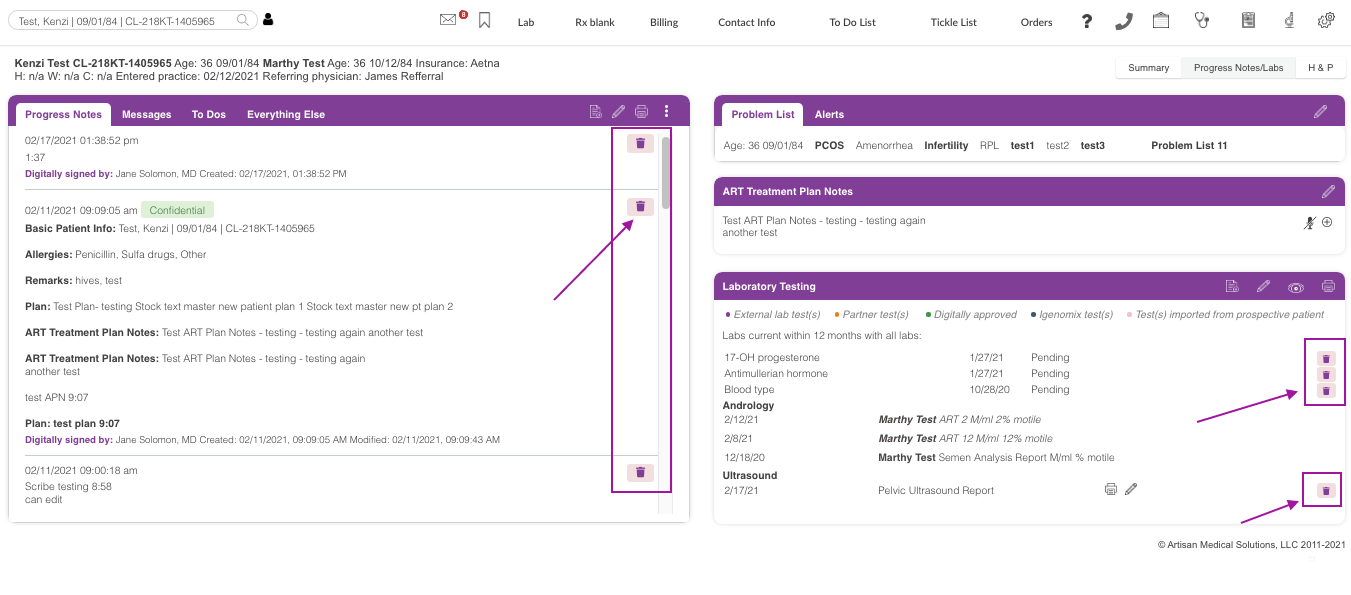
From the Super user-patient chart view, a trash can icon will be visible on the progress notes and Laboratory Testing Section of the patient's chart.
In this example, a practitioner user type was given a Super User Access.
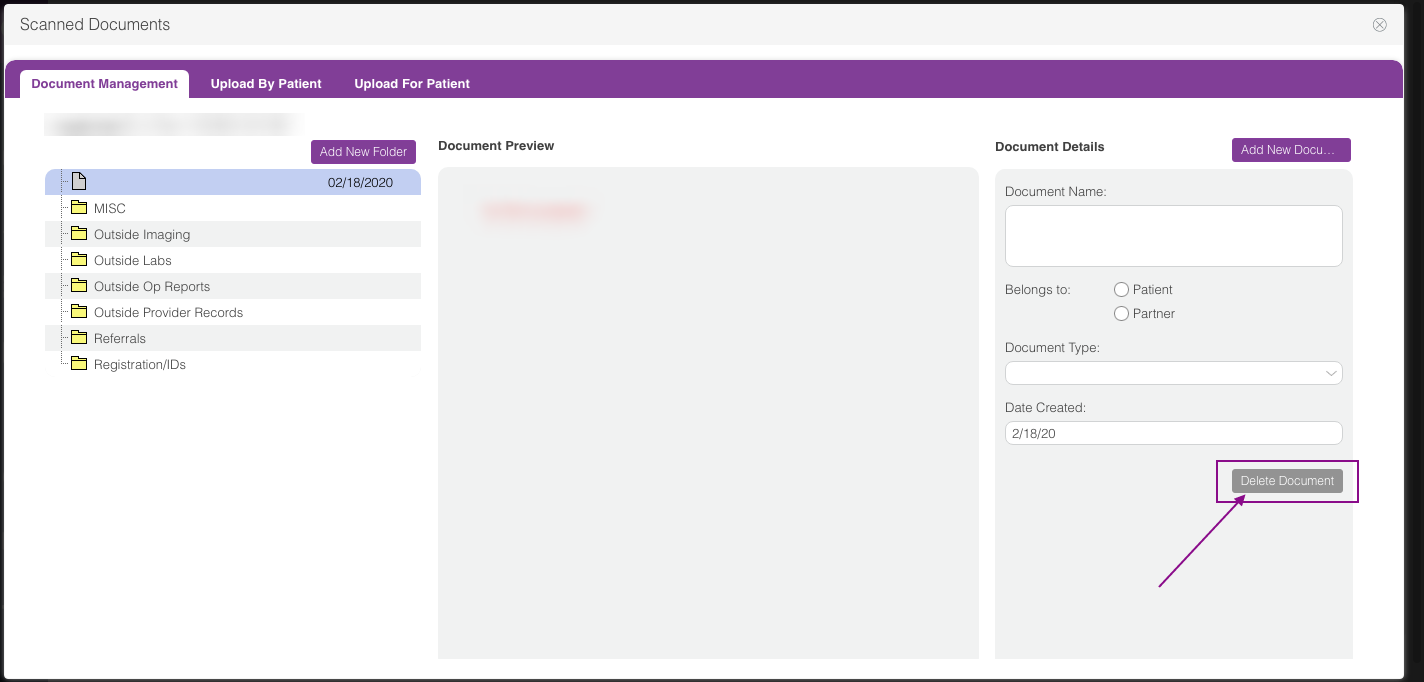
In the Scanned Documents, the Delete Document icon will allow the super user to archive records from the Document Management tab and from the Upload for Patient tab.

From the Accounting Tools, click on the dollar icon to view the invoice payment.

The Superuser will have the ability to edit (pencil icon) and delete (trash can icon) the invoice payment after 72 hours of creation.
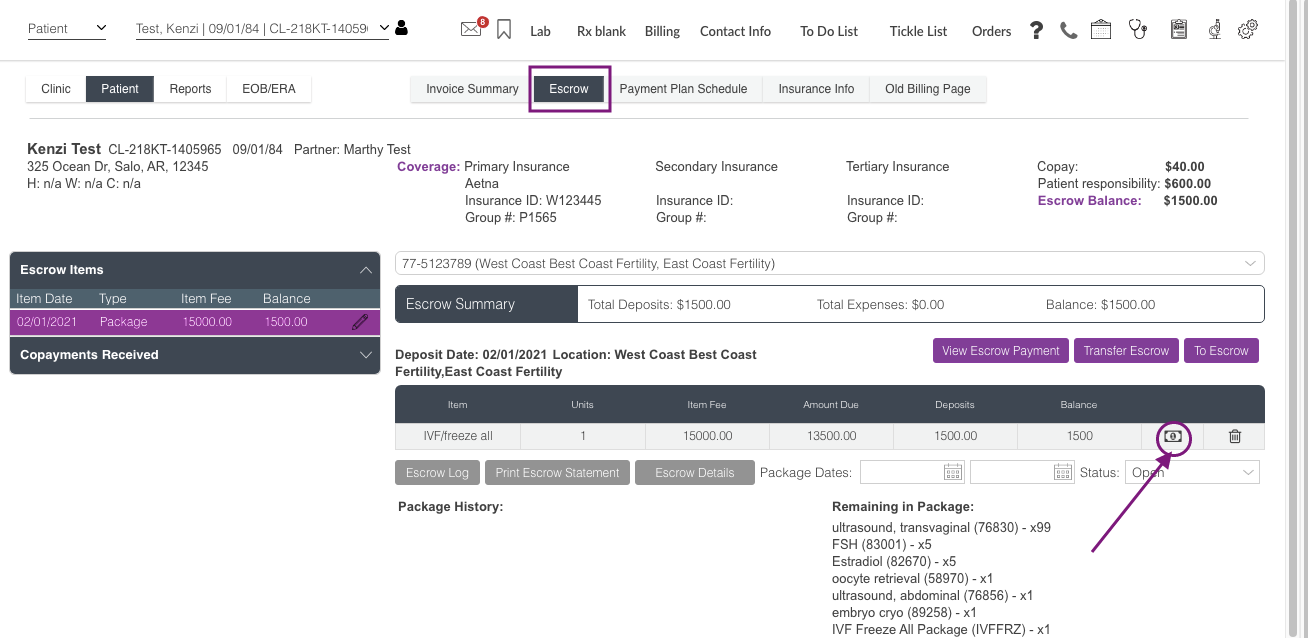
From the Escrow tab, click the dollar icon to view the Escrow payment.
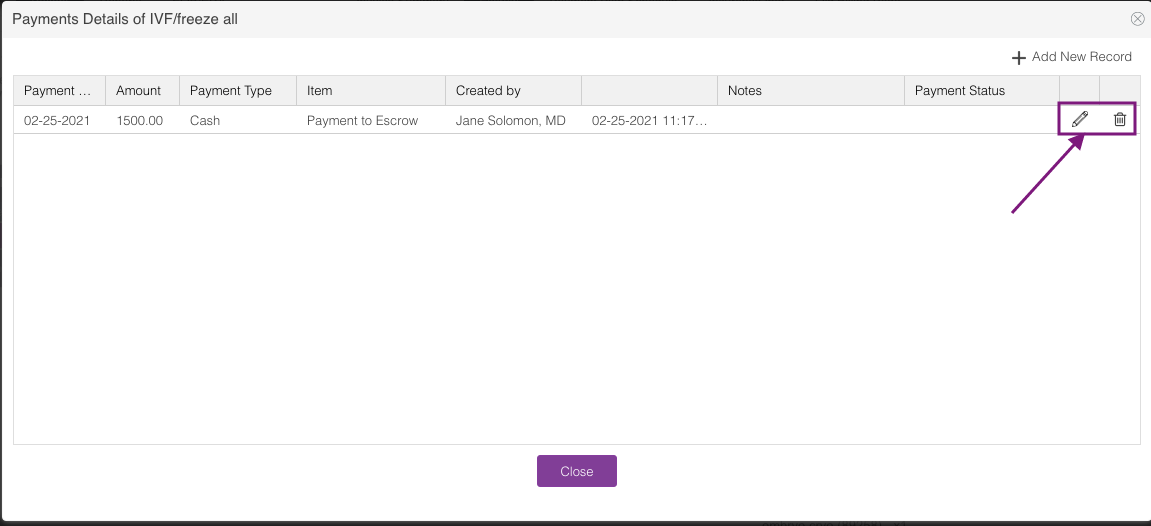
The Superuser will have the ability to edit (pencil icon) and delete (trash can icon) the Escrow payment after 72 hours of creation.
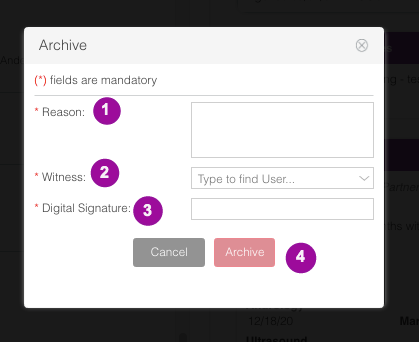
The above window will pop up after clicking on the delete icon. All fields that have a red asterisk are required to be filled out.
1. Reason - Enter the reason why the record is being deleted.
2. Witness - Select from the dropdown to add another staff as a witness.
3. Digital Signature - Witness is required to enter their Digital Signature.
4. Archive - Click the Archive button to proceed.
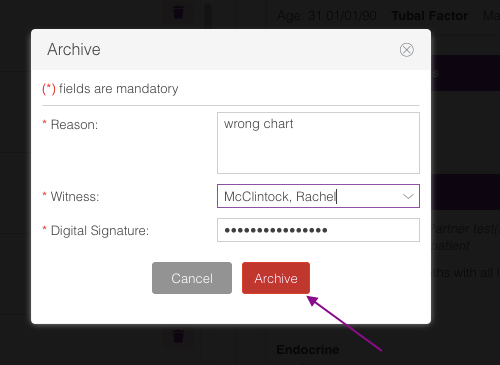
In this example, we are deleting a progress note added to a wrong patient chart. Click the Archive button after filling out the required fields.
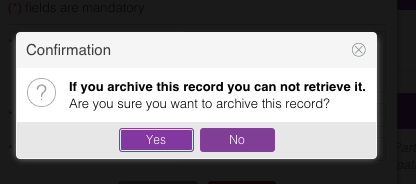
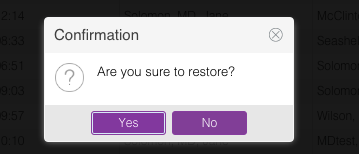
A confirmation window will pop up. Click Yes to proceed. Click No if you wish to go back to the first screen.
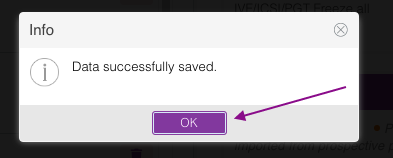
Click Ok.
Clinic Administrator Navigation
All Archived Records will live in the Administration, Manage Data, and Archive Data section of Artisan except for the Invoice and the Escrow payment records. Only the Clinic Administrator has access to this area.
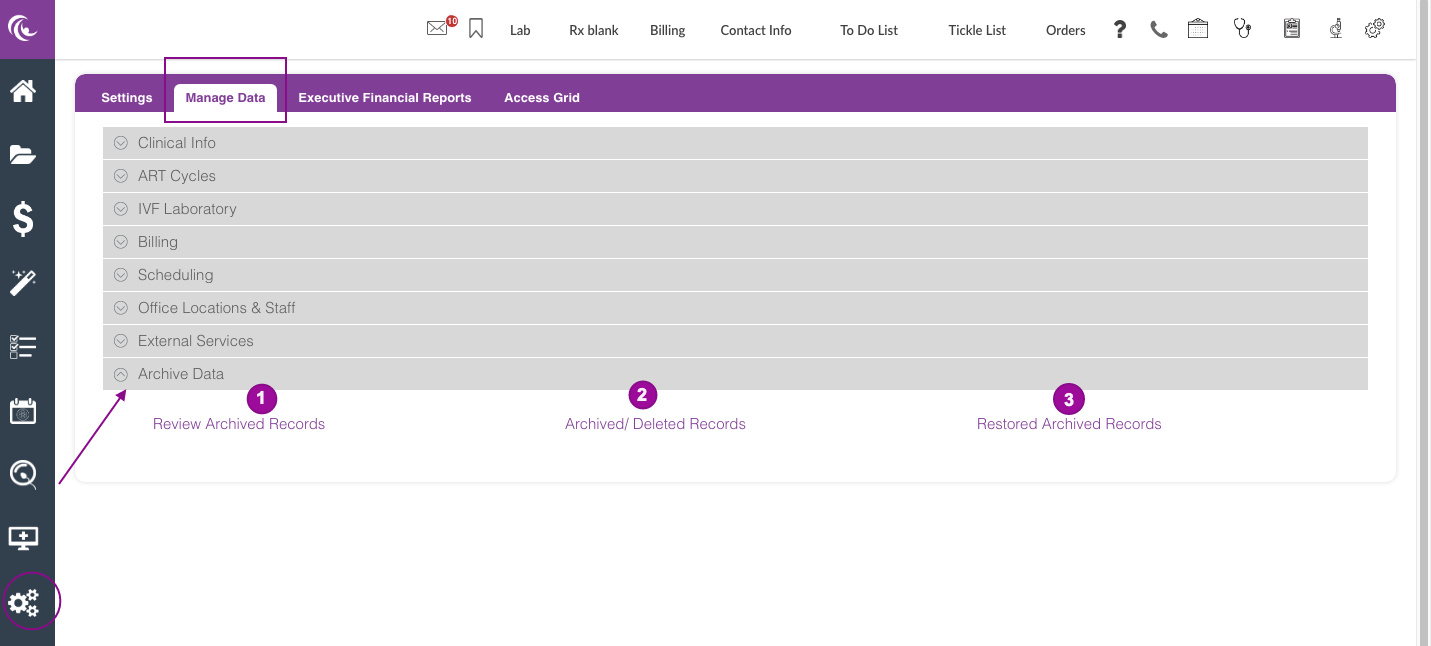
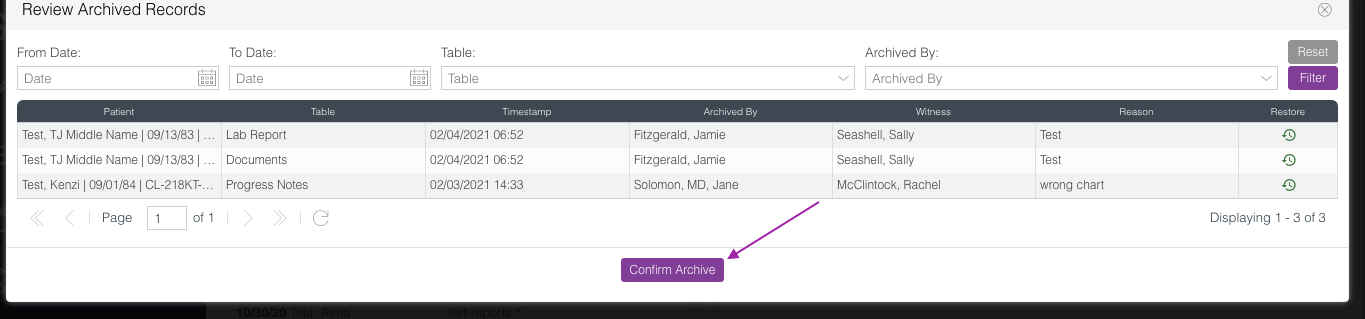
1. Review Archived Records
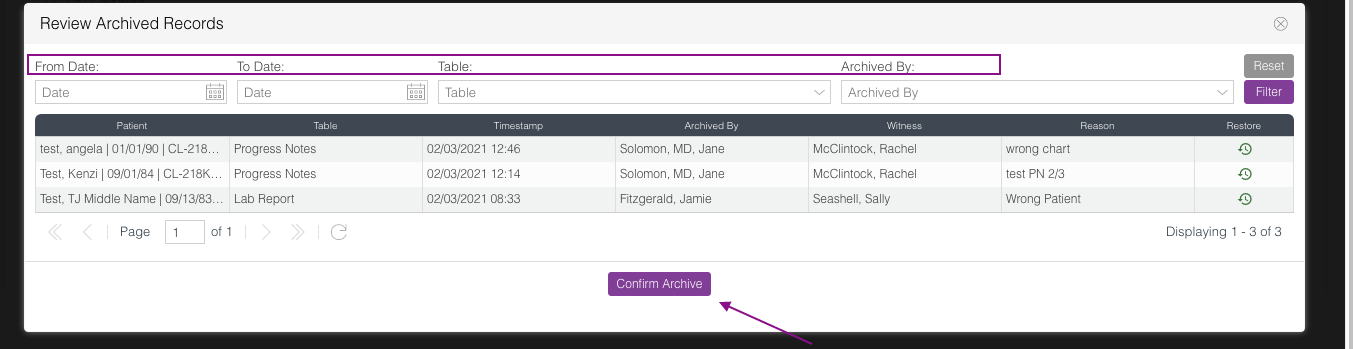
The Clinic Administrator will review archived records from this window and have the ability to filter by dates, table, and Archived by. After reviewing, click the Confirm Archive button.
Click Yes to confirm.
Enter your Digital Signature then click Ok.
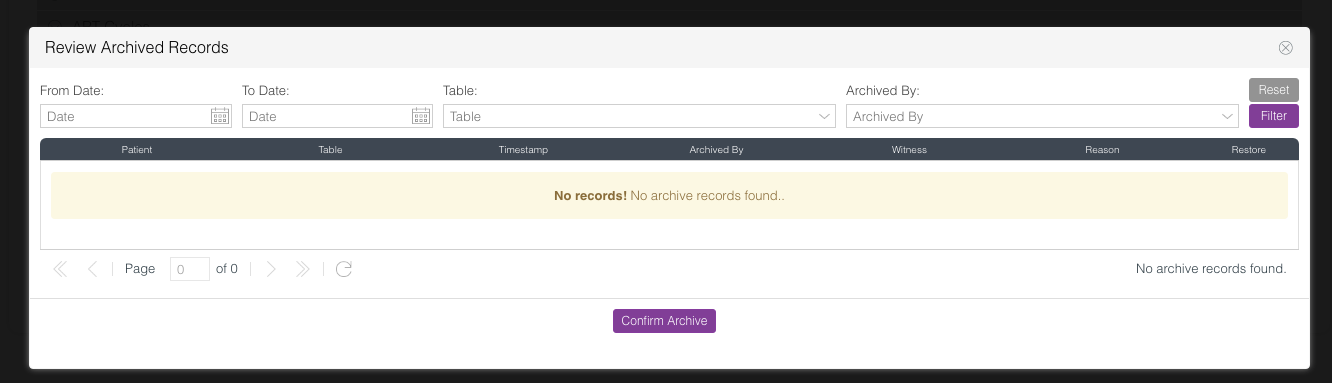
All Archived records to be reviewed will fall off on the Review Archived Records list.
Note: A Superuser clinic administrator will get a notification pop up every 7 days to review all archived items.
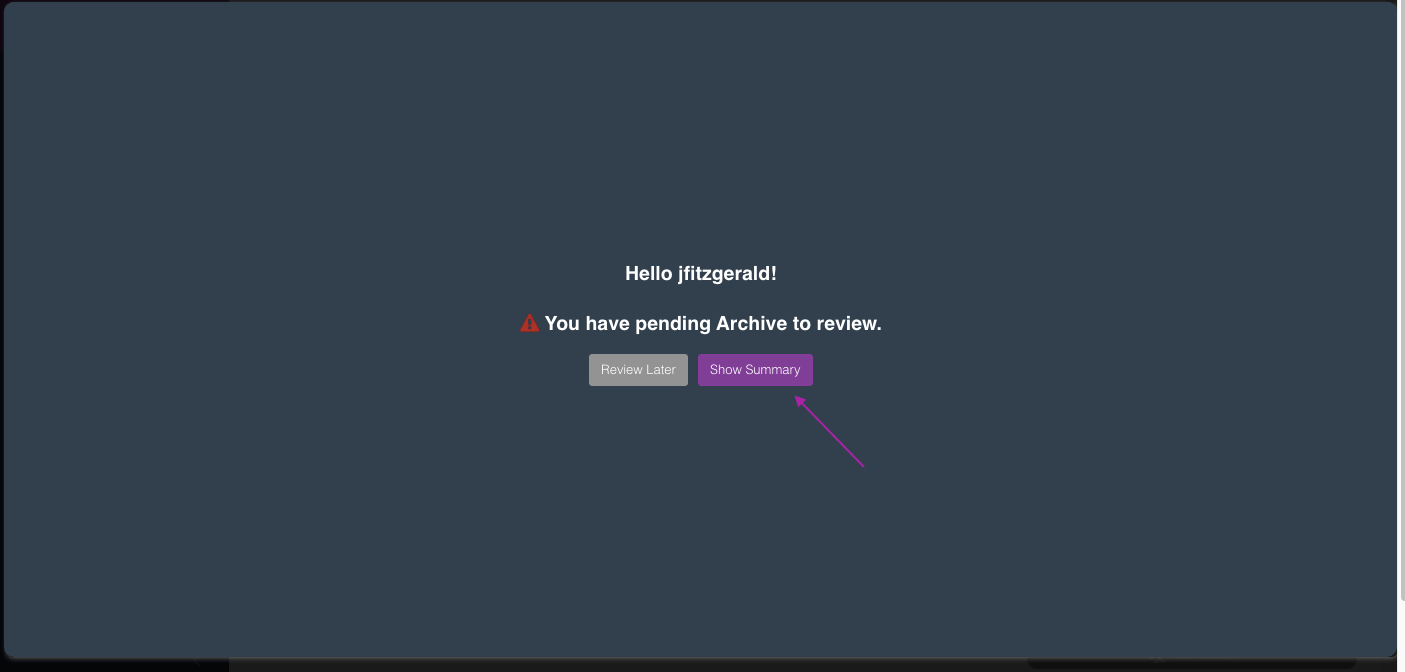
The Show Summary will take you to the Review Archived Records Screen.
2. Archived/Deleted Records
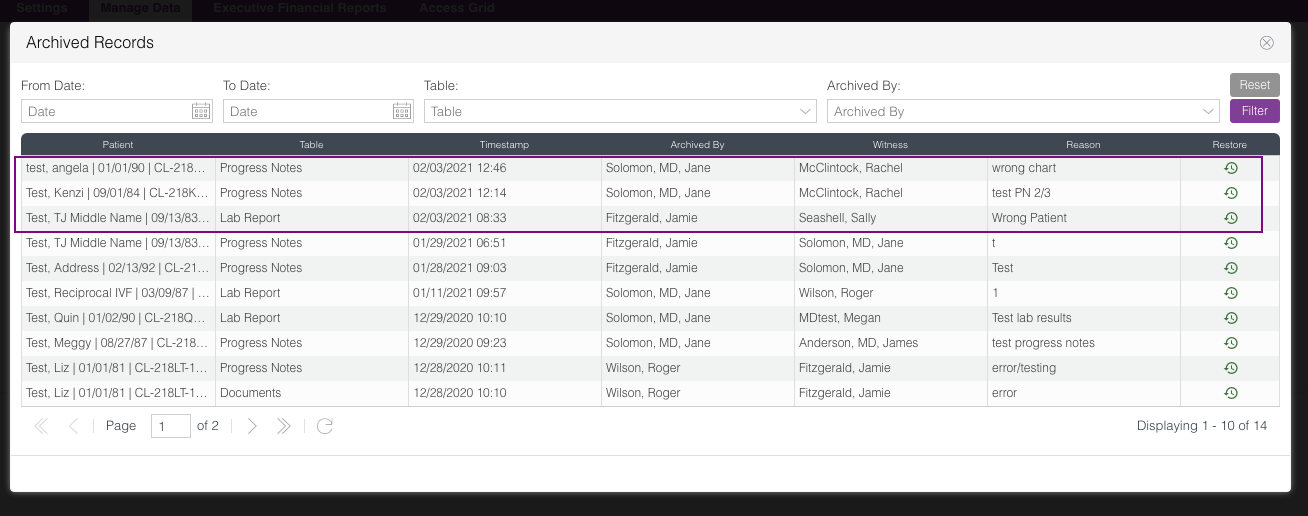
The Archived Records will save all deleted records within your practice.
3. Restore Archived Records

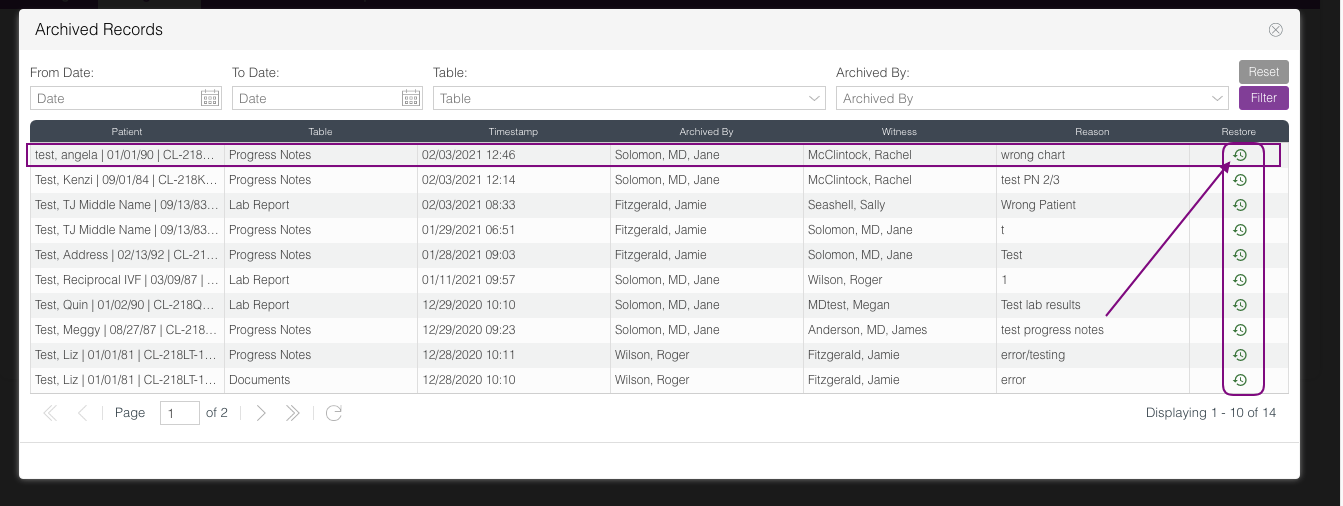
From the Review Archived Records and Archived/Deleted Records, the clinic administrator has the ability to restore archived records by clicking the restore icon.
In the above example, we are restoring a progress note deleted on Test, Angela's chart from the Archived Records window.
After clicking the restore icon, a confirmation window will pop up. Click Yes to Continue.
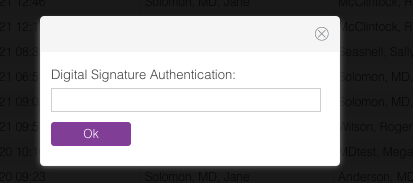
Enter your Digital Signature then click Ok.
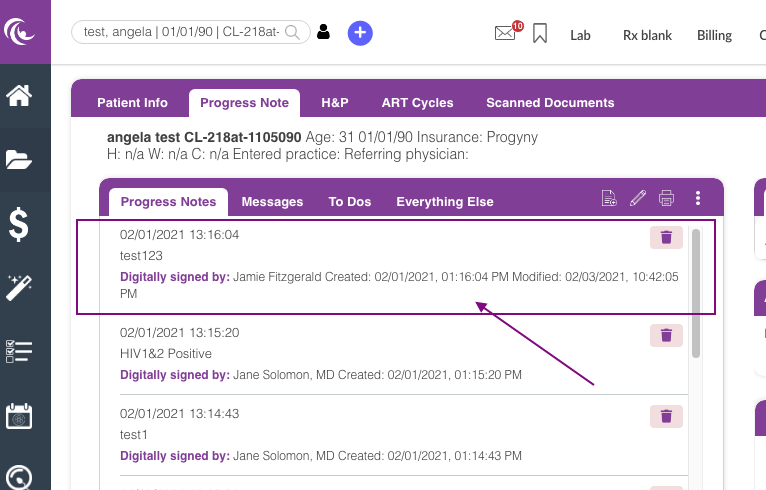
The deleted record (in this example a progress note) will now be restored back into the patient's chart.
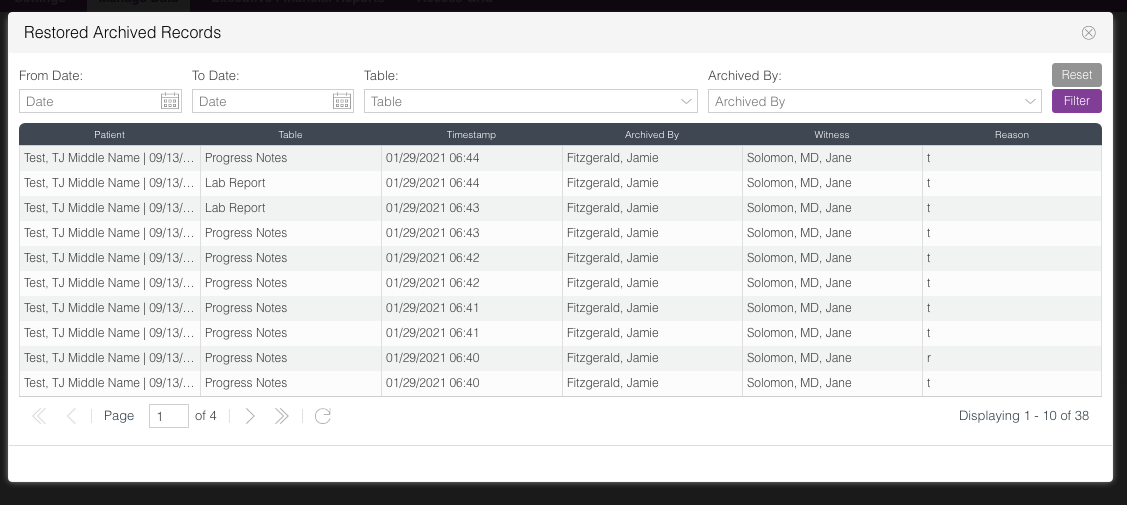
For record-keeping, a list of all restored items will live in the Restored Archived Records.
**All manuals are compliant with HIPPA regulations. No patient information has been released. All screenshots above were taken from a test clinic with fake patient information.
Megan Borja
Comments