Blocking may be used to prevent a resource from being scheduled for any given period of time. This may be a singular or repetitive event, lasting hours or days. Blocking exists on a resource level only. A block prevents any appointments from being scheduled during that respective "blocked time".
Creating a Block for a Resource
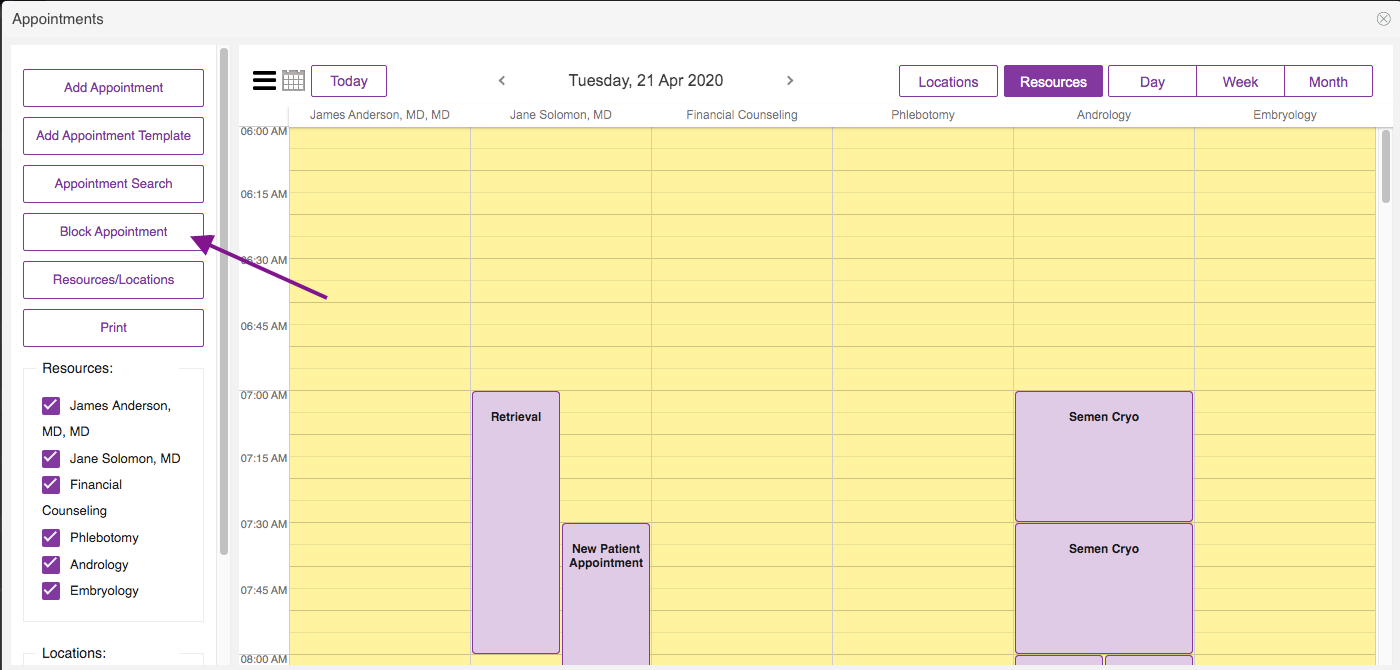
From the appointments calendar, click the Block Appointment button.
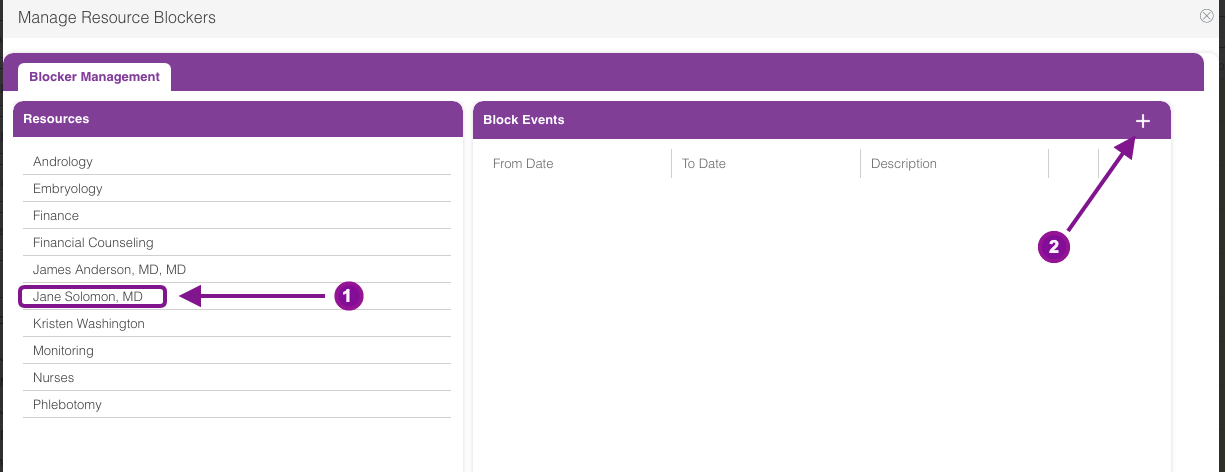
This will land you on the Blocker Management Screen.
1. Select the resource you wish to create a block for by clicking on their name.
2. Click the + sign icon to create the block event.

Fill in the fields to build your block for the selected resource in the Add/Edit Block event dialog box.
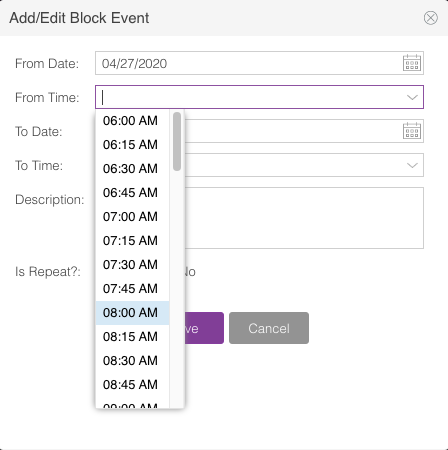
For the times, you may use the drop down menu or type in.
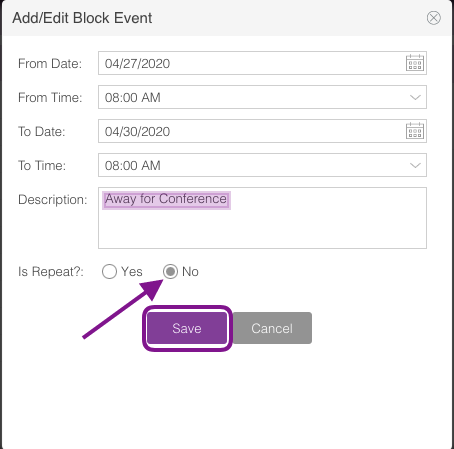
If this is not a repeat event, select No and click Save.

If this is a repeat event, select Yes and define the type of repeat event.

The options include: Daily, Weekly, Monthly and Yearly.
After saving the block event this info window will pop up. Click Ok.
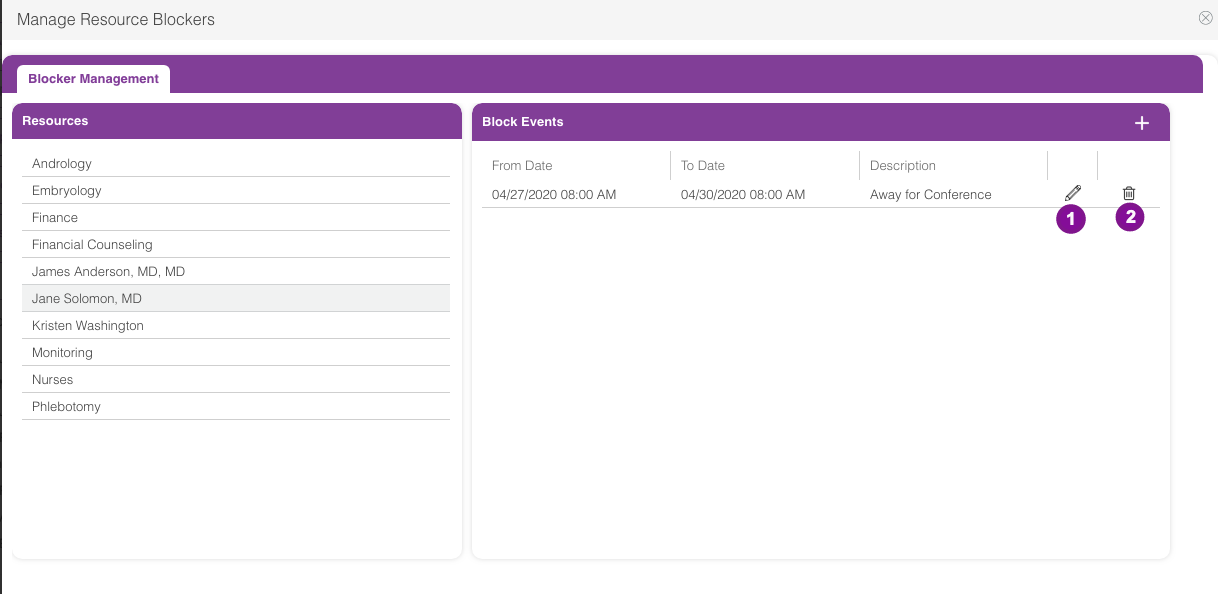
All blocks associated with the resource will appear.
1. To edit a block click the pencil.
2. To delete a block click the trash can.
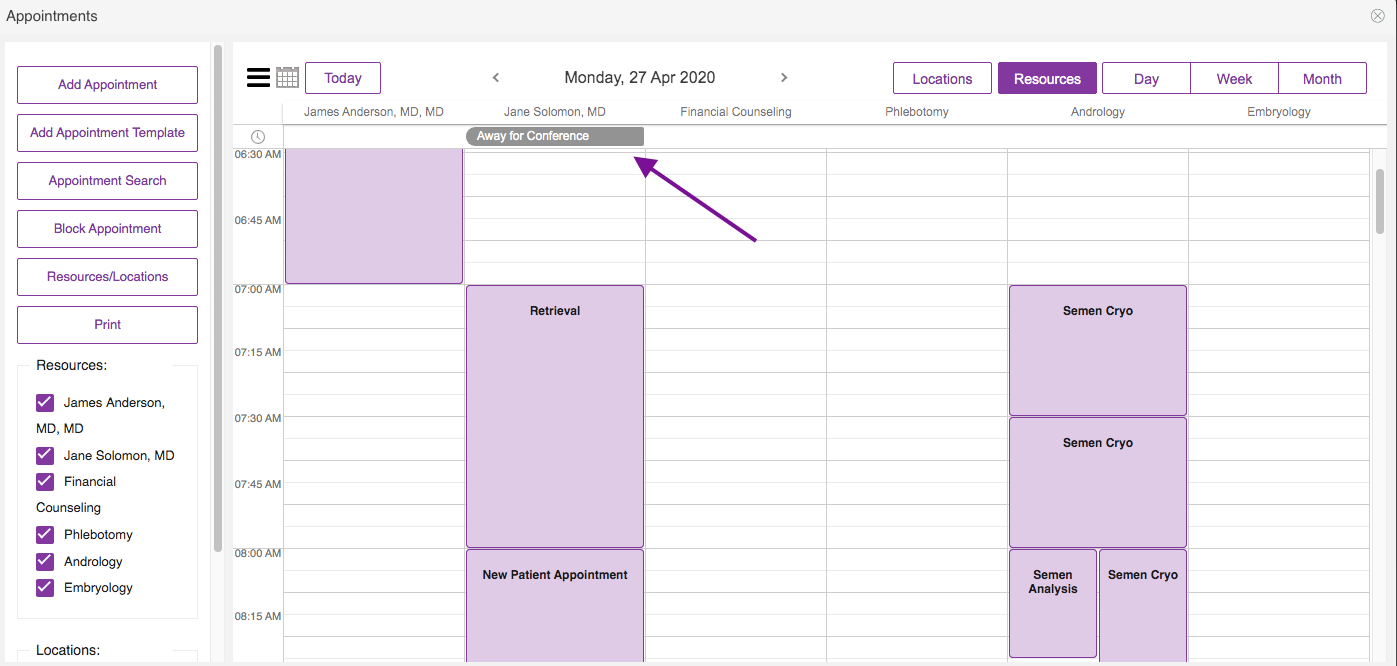
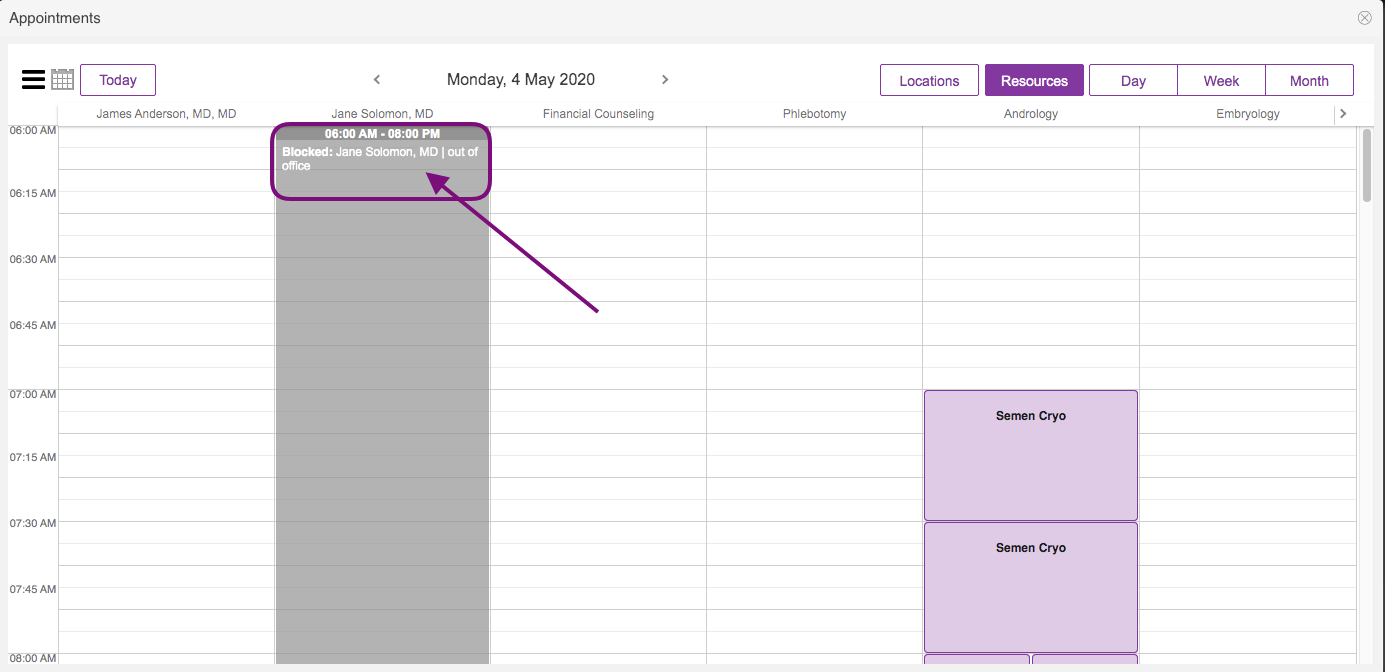
The block event will then appear on the different views of the calendar.
On the resource view, it will appear that only the selected resource is blocked. If staff attempt to schedule appointments over the block, it will not allow it.

Here is the week view.
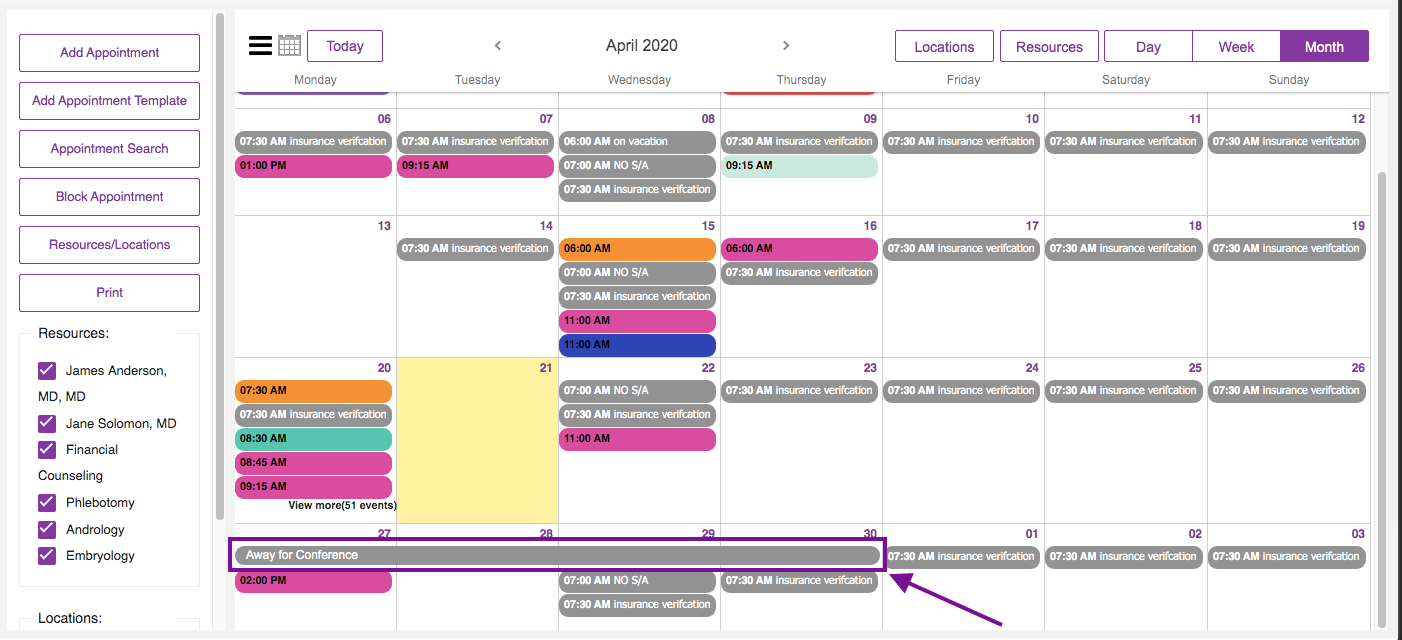
An example of the month view.
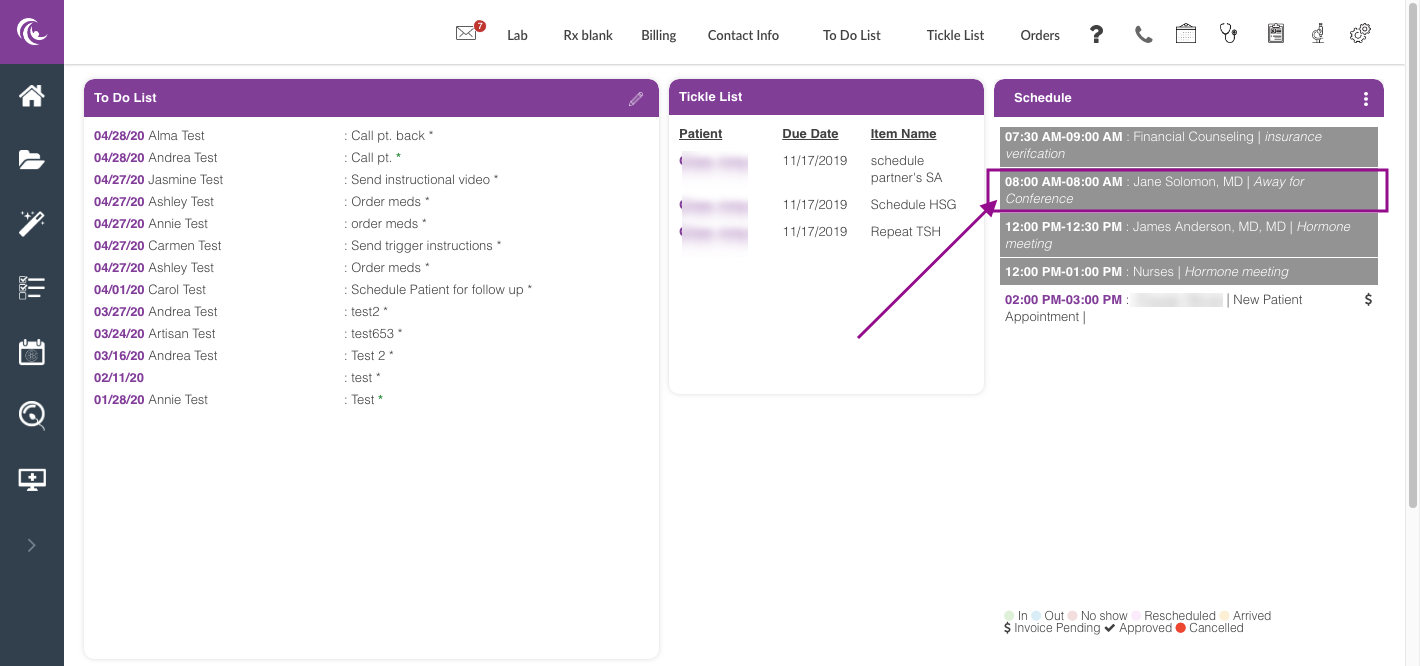
All block event will also appear on your Home Screen under the Schedule section.
Blocking an Entire Resource Column
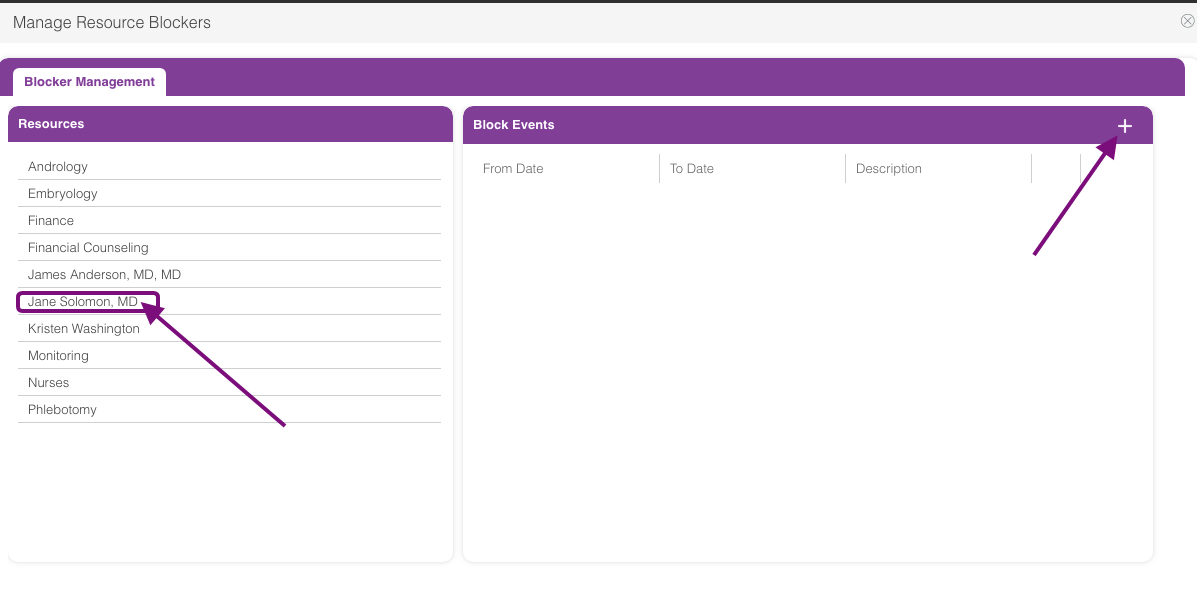
From within the Manage Resource Blockers, first, select the resource then click the plus sign icon.

Enter the date then select the time. In this example, we are blocking Dr. Solomon's schedule on May 04, 2020, for the entire day.

Enter the "To Date" then select the end time. The appointments calendar is coded to start from 6:00am to 8:00pm clinic wide.
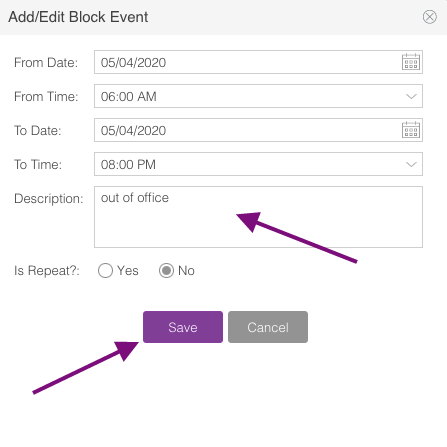
Enter the Description and click save.
Click the Ok button.
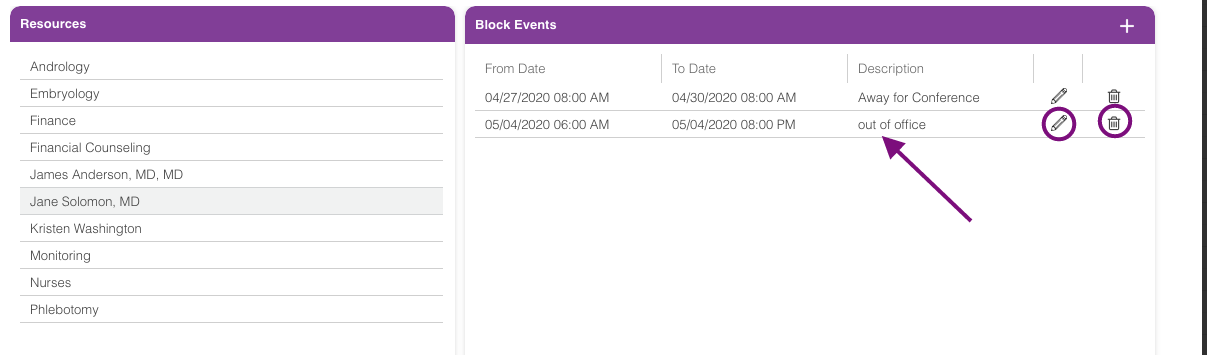
The created event will appear on the block events list for the specific resource. Click the pencil icon to edit and click the trash can icon to delete the block event.
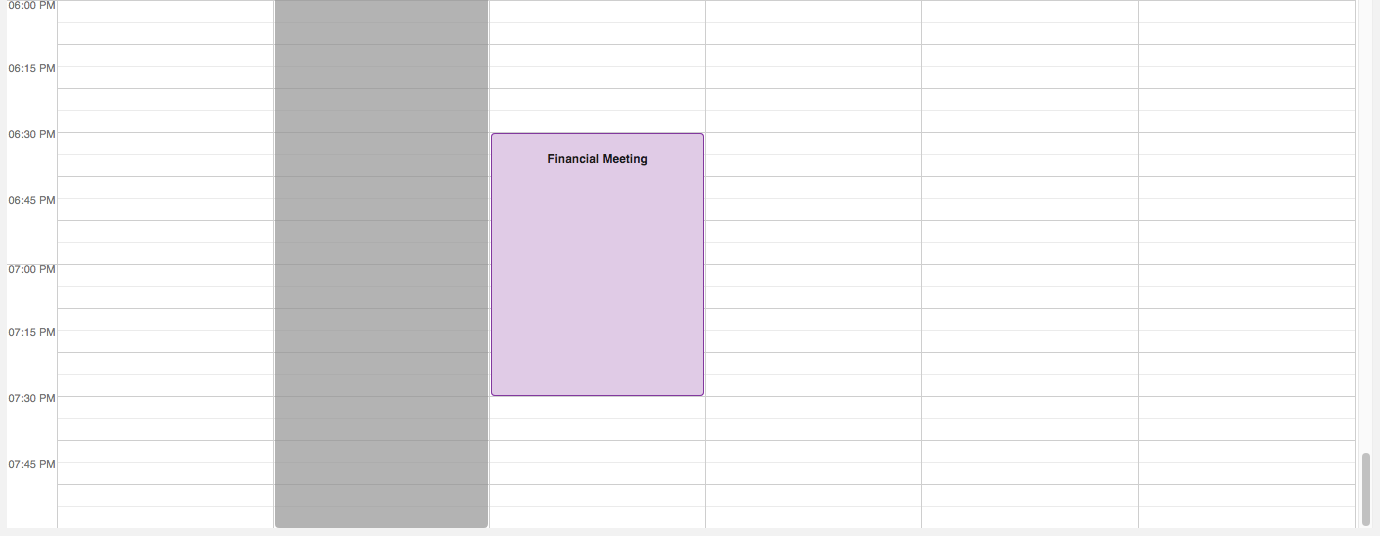
You have now successfully blocked an entire day for a specific resource. The block will also appear on the day, week, and month view.
Editing a Block Event
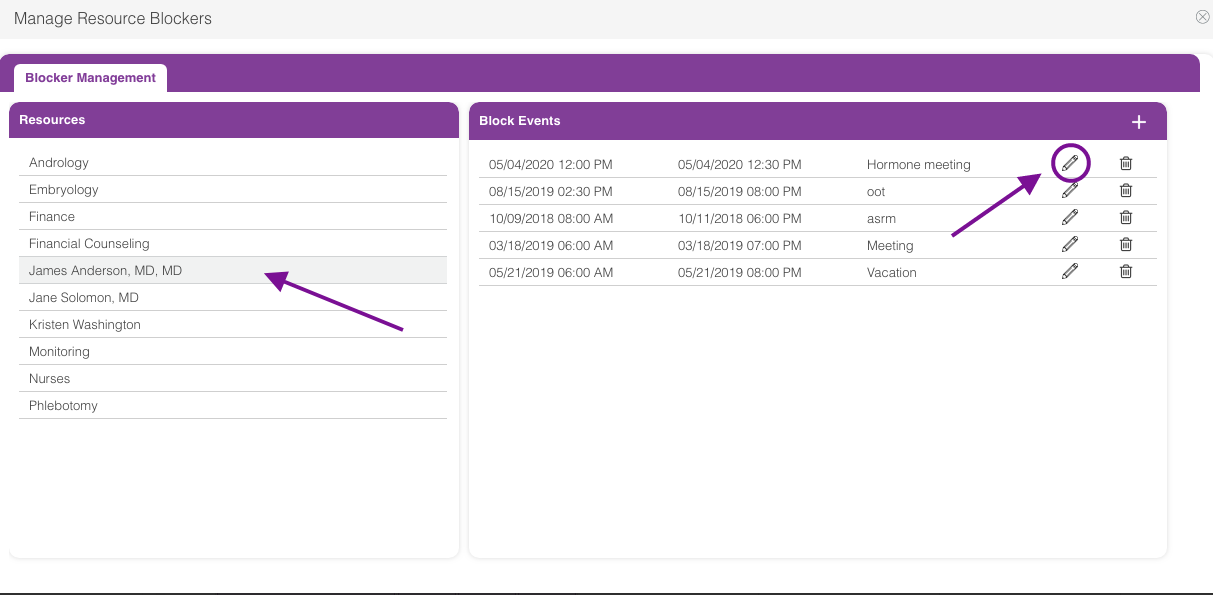
From within the Manage Resource Blockers, select the resource then click the pencil icon on the block even that you wish to edit.
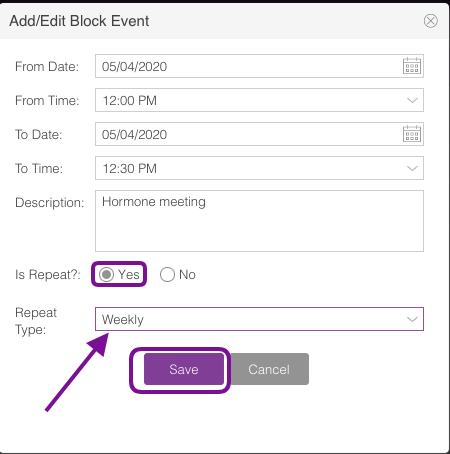
In this example, the above "hormone meeting" block event on Monday's is edited to repeat every week. Click Save.
You have successfully updated the event. Click OK.
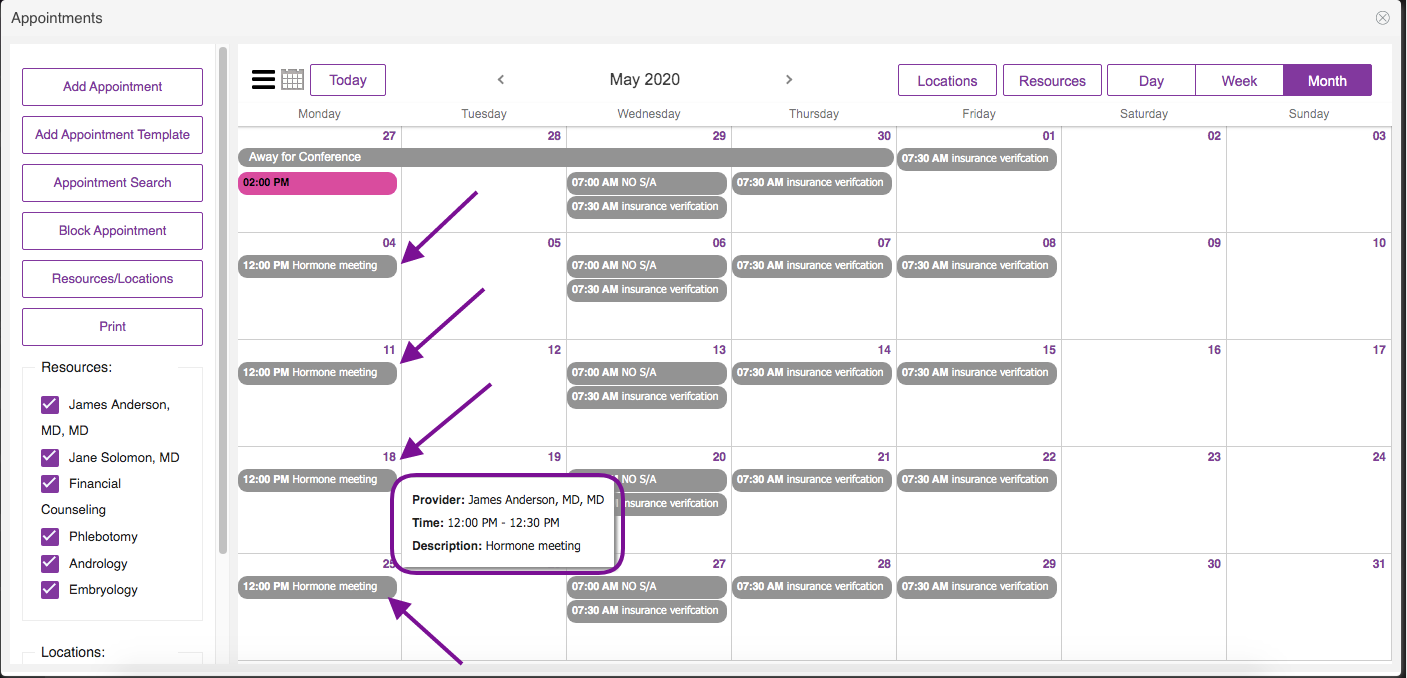
The updated block event on a particular day will always appear in the appointments calendar until changes are made. Here is a month view, hovering over on the event will allow you to identify the resource, time range, and the description.
Deleting a Block Event
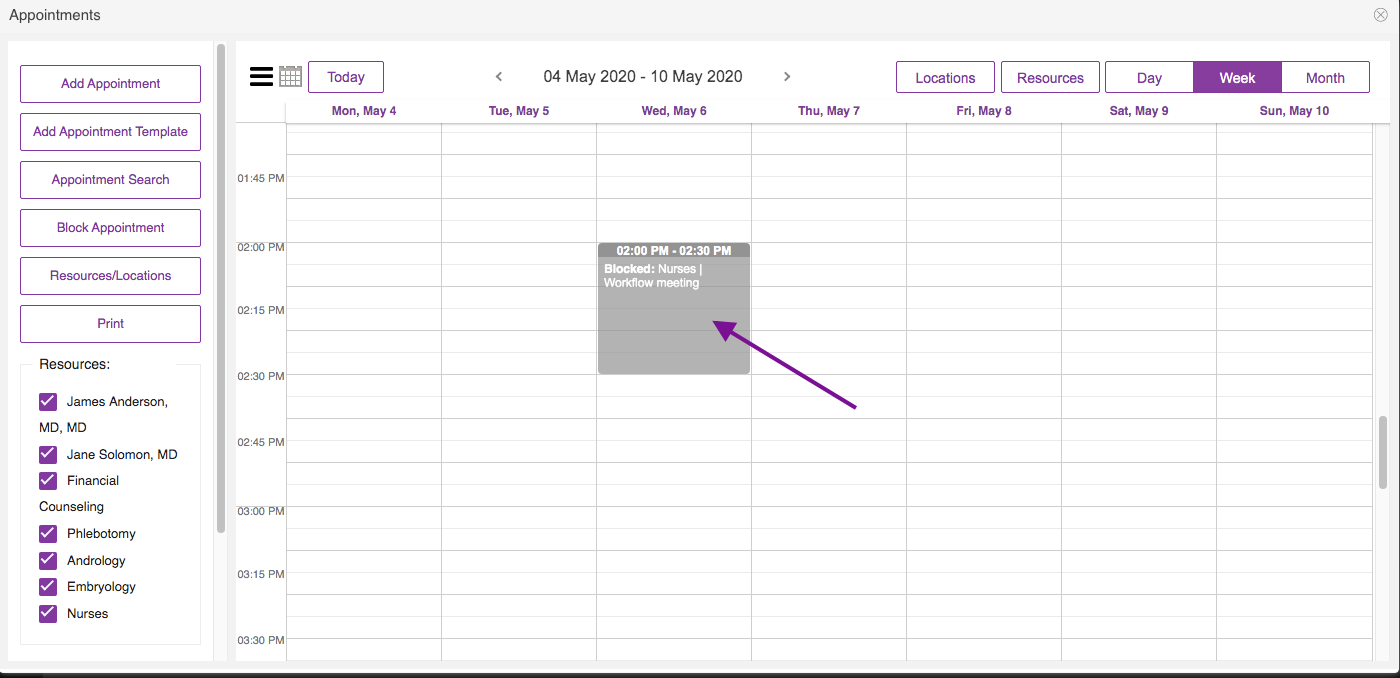
In this example, the nurses have a re-occurring block event every Wednesday for their workflow meeting.
You can delete a block event on a specific date from within the different appointments calendar view (resources, day, week and month). Click the event that you wish to remove.
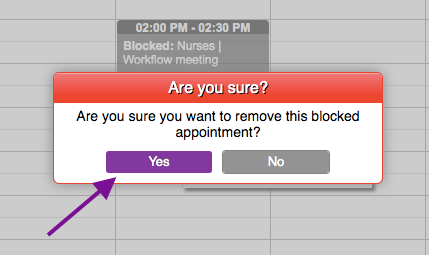
Click Yes.
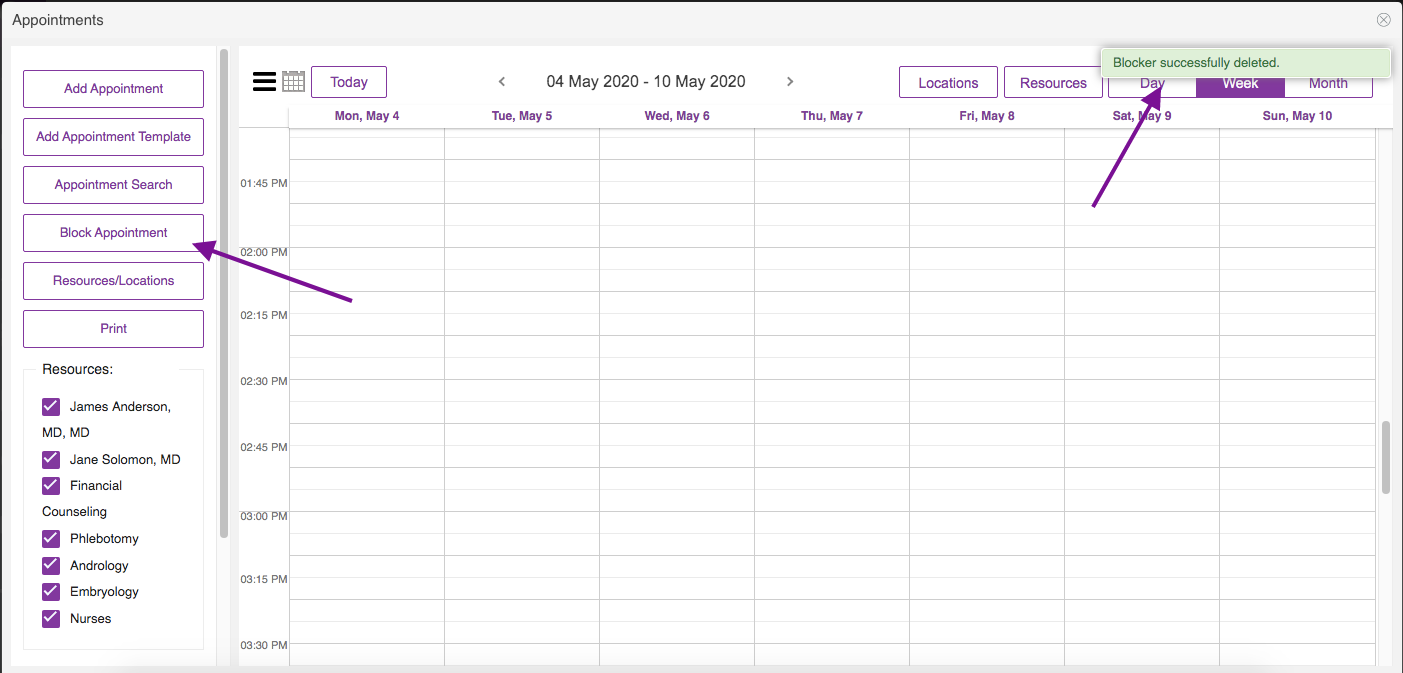
A confirmation message that you have successfully deleted the block event will appear on the upper right-hand corner of the screen.
To permanently delete the block event, click the Block appointment button.
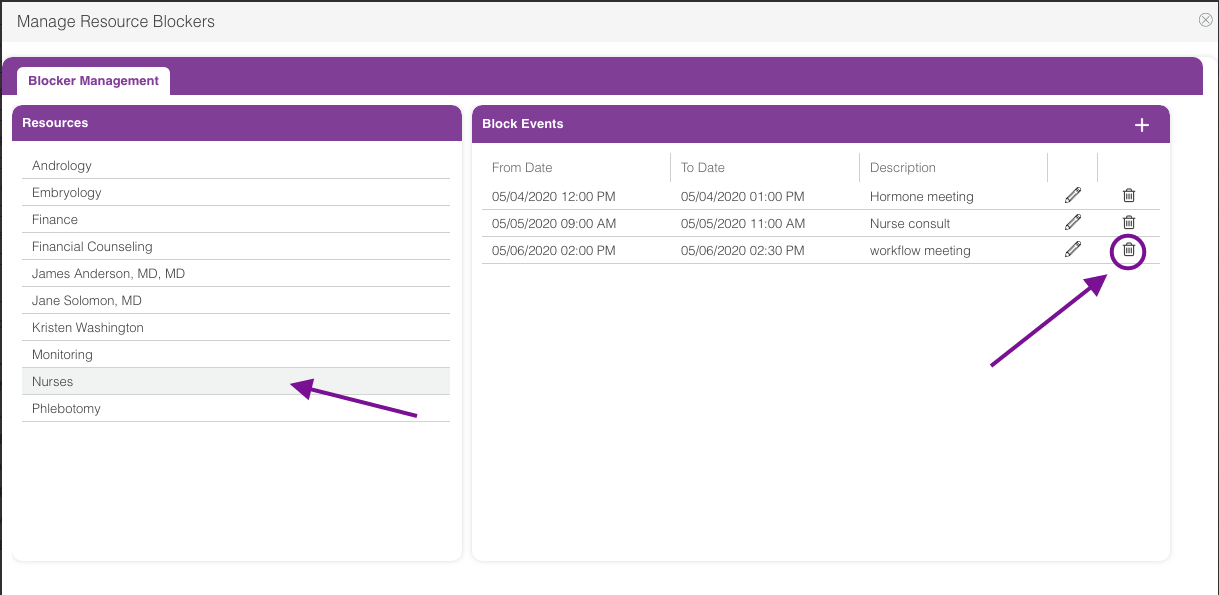
From within the Manage Resource Blockers, select the resource then click the trash can icon.
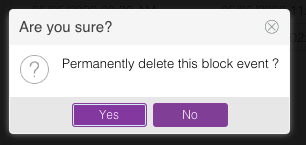
Click Yes to proceed.
Then click ok. The deleted event will fall off on the block event list.
Artisan Support
Comments