The H&P Referral is a letter that can be written from the H&P to other professionals regarding a patient's care.
H&P Referral Template
The H&P Referral template must be created prior to utilizing it in the H&P. This template is created in the Advanced Progress Notes Templates. First the elements for the H&P template must be enabled in the Advanced Progress Notes Library.
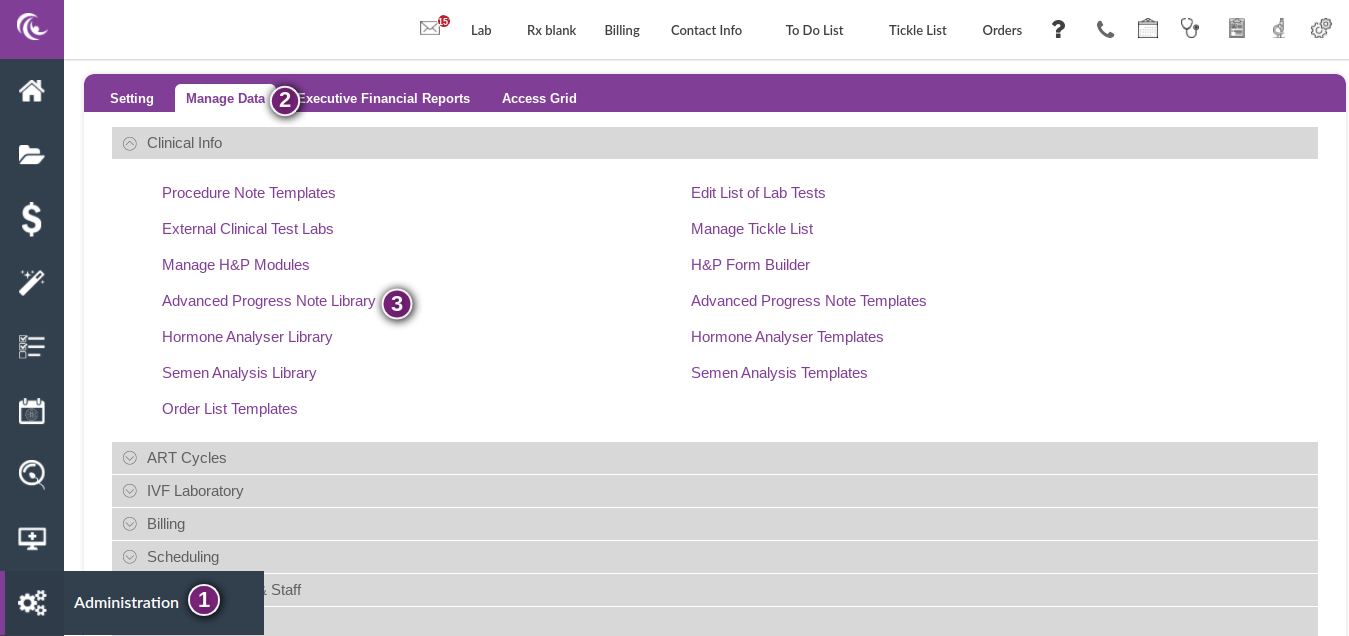
- Click on Administration (gears in the bottom left corner of Artisan).
- Select the Manage Data.
- Click on Advanced Progress Note Library.
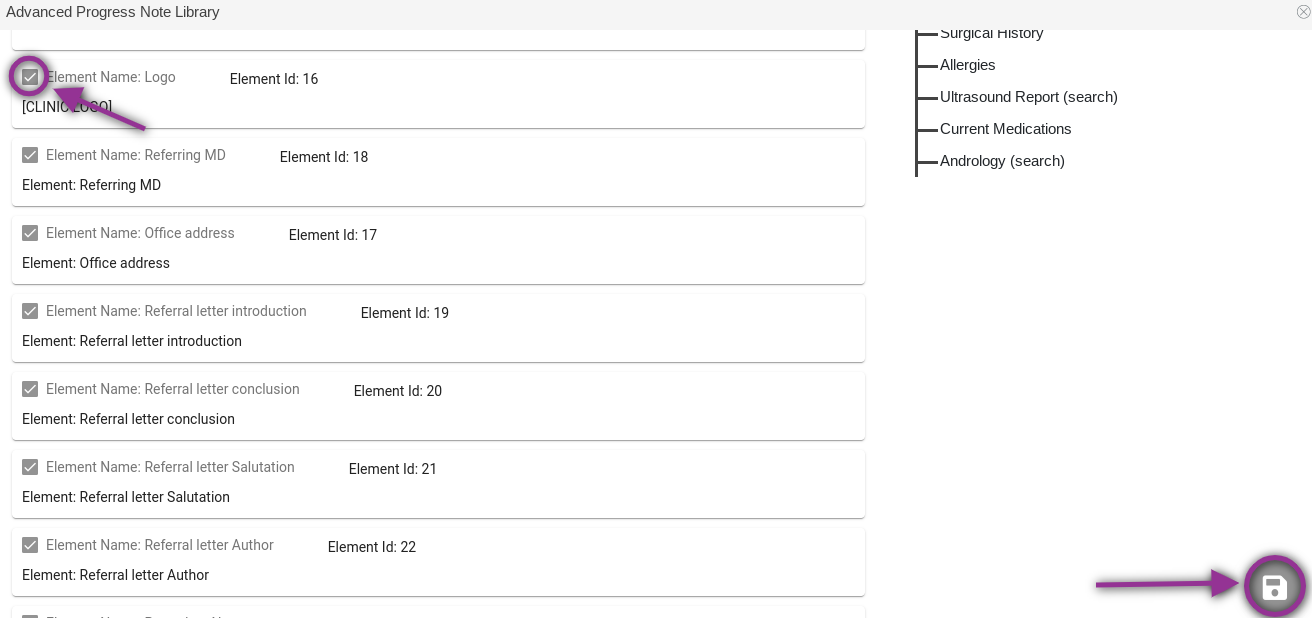
Scroll down in the library until you reach Element Name: Logo. From here, make sure Logo, Referring MD, Office address, Referral letter introduction, Referral letter conclusion, Referral letter salutation and Referral letter author are checked off. If the element has a gray box with a check, it is enabled. If it has an empty box, click the box to enable the element. Once all of the applicable elements are enabled, click the Disc icon to save.
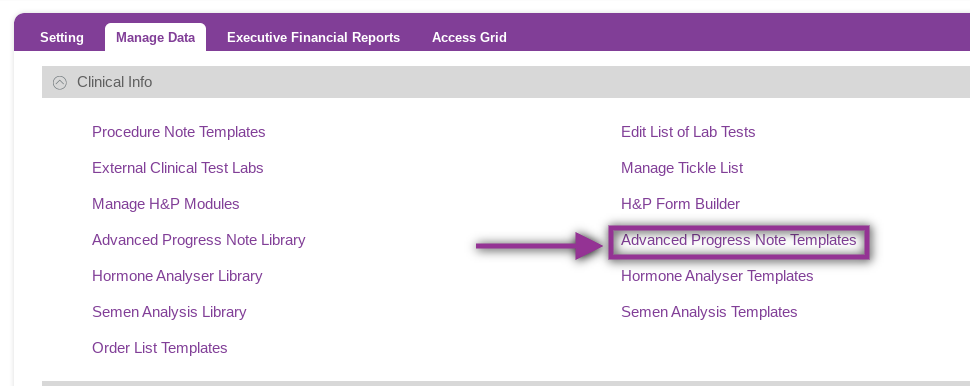
To build the H&P Referral template, click on Advanced Progress Note Templates.
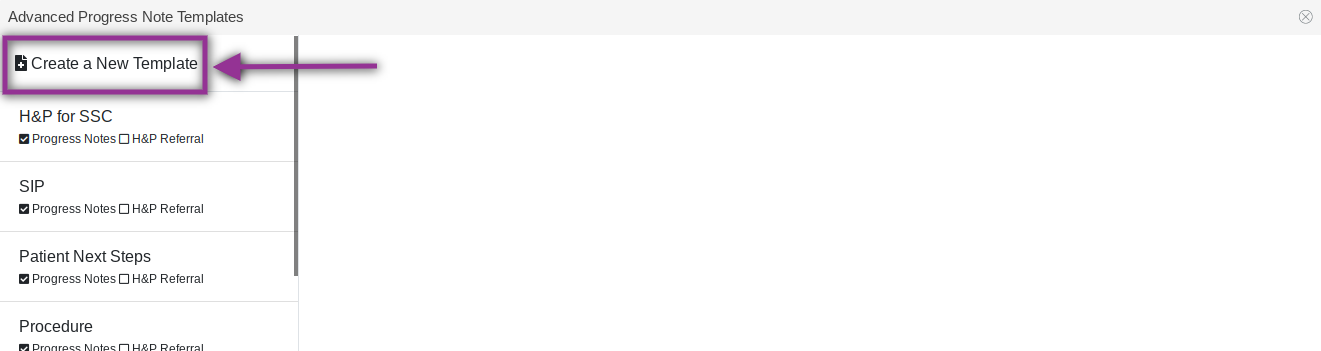
Click Create a New Template.
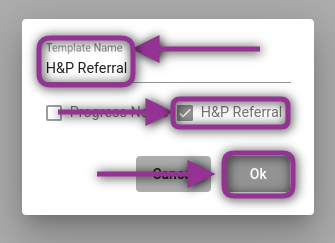
Enter the Template Name (such as H&P Referral), click the box for H&P Referral and click Ok.

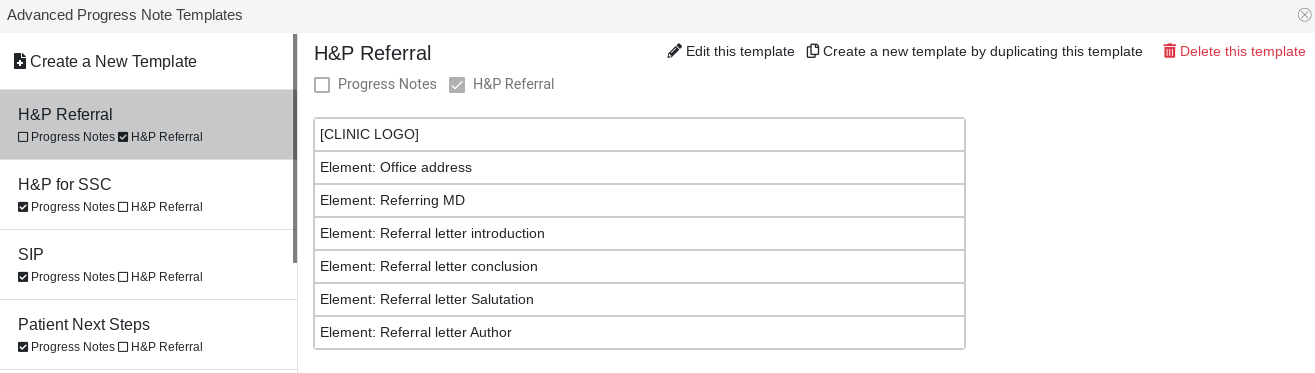
Click on the template to select it and click Edit this template.

Click the + next to all of the elements under the referral letter. You may also add any of the other elements if you would like to include them in the H&P referral. To do so, click the + sign next to the element that you would like to include in the template. Click Save.
The template is now complete.
Writing an H&P Referral
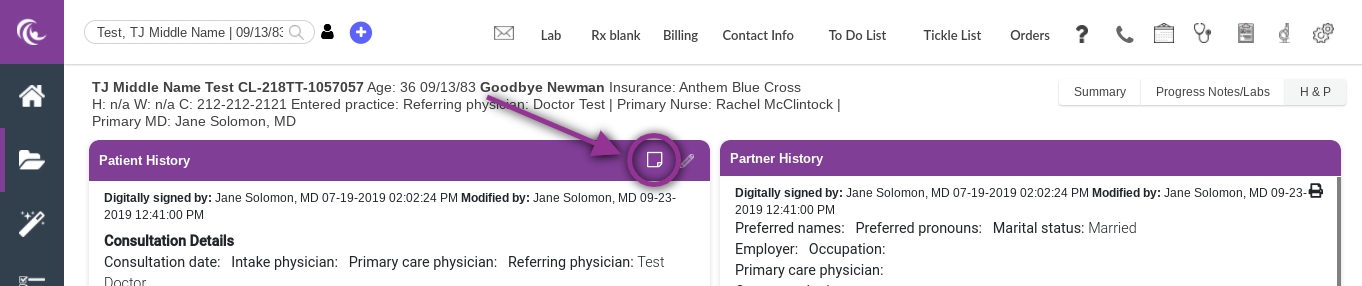
The H&P referral is created in the H&P within the patient chart. Once you have opened the H&P tab in the patient's chart, click on the page icon on the H&P.
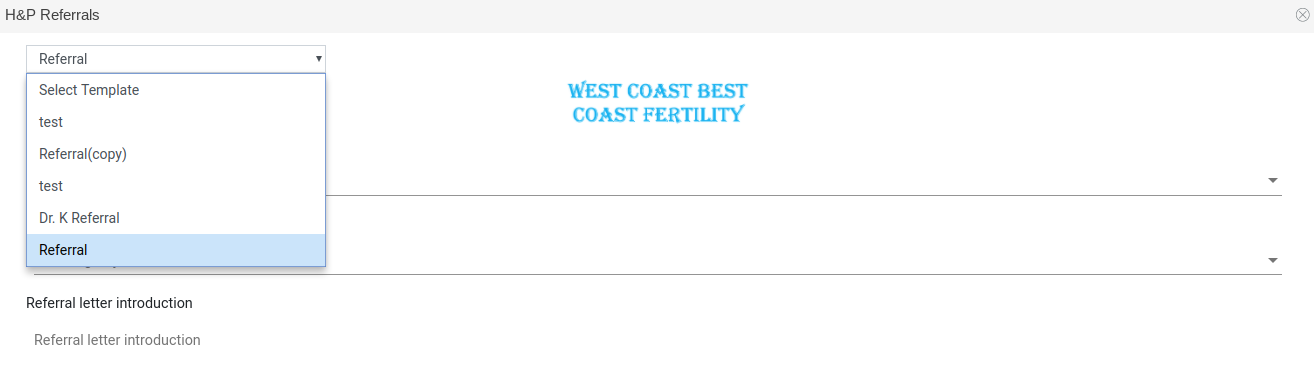
Select the template for the H&P referral from the drop down menu.
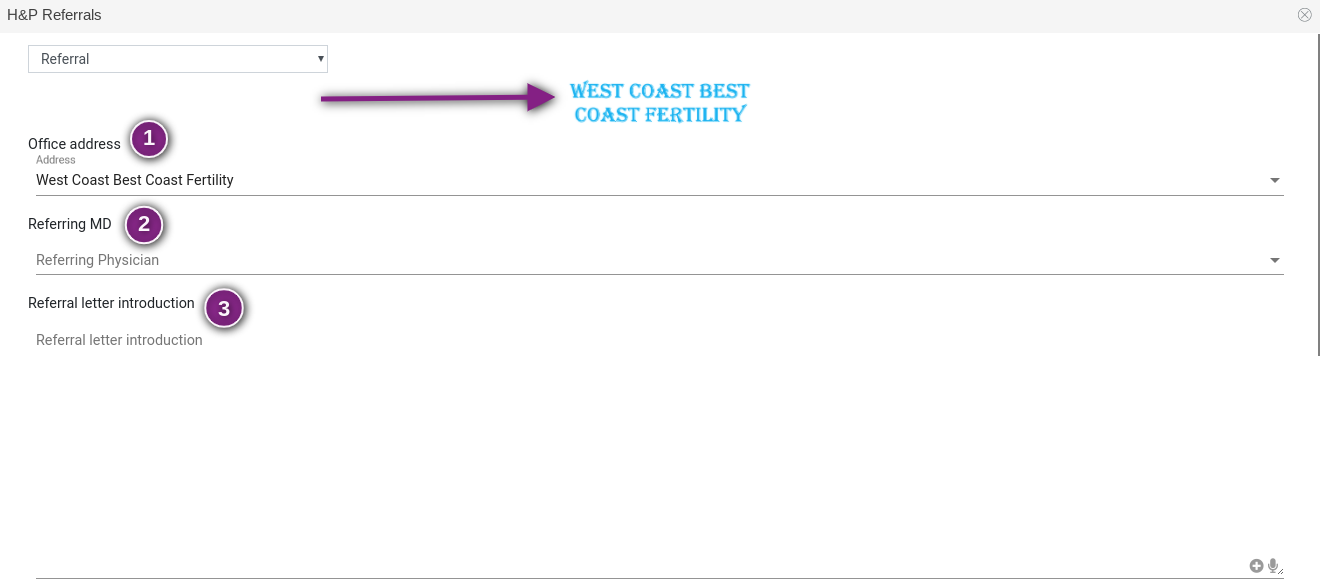
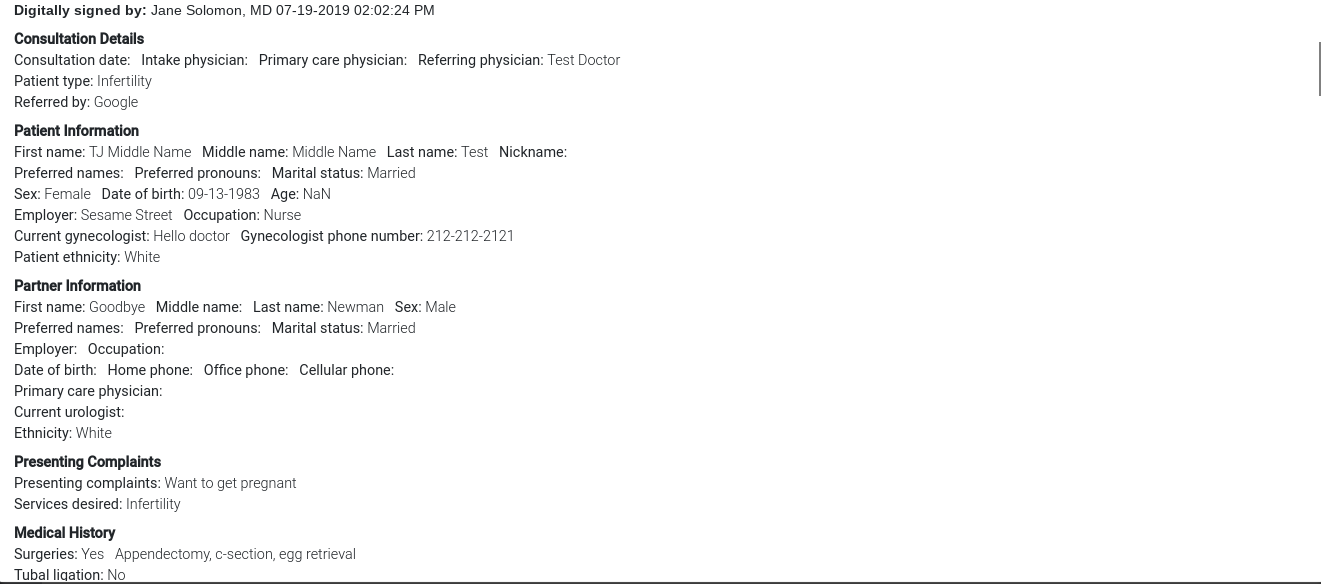
At the top of the letter, the clinic logo will be displayed. There are several fields that need to be filled out. Any field that does not utilize a drop down box will have the ability to use stock text and dictation. You may also click into the text field to type.
- Office Address: This will populate on the referral letter based on the primary location selected in the patient chart. The location may be changed by selecting a different location from the drop down.
- Referring MD: This is the physician that the letter is being addressed to. Select a referring MD from the drop down. This list is pulling from the Address Book under Admin Tools (clipboard icon). For detailed instructions on how to use the Address Book, read the manual Address Book.
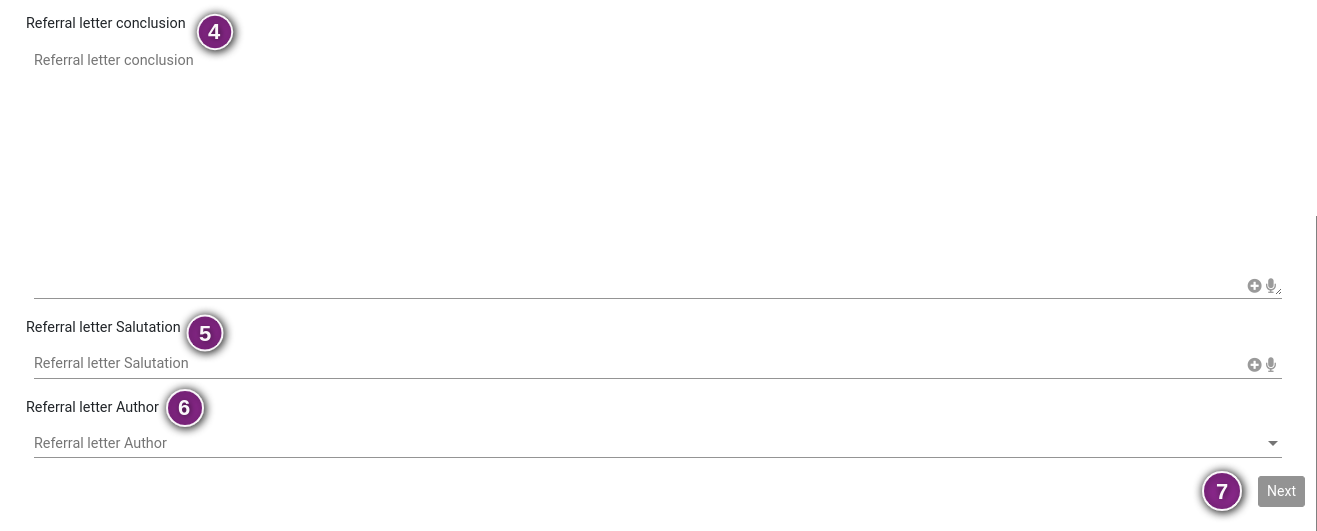
- Referral letter introduction
- Referral letter conclusion
- Referral letter salutations
- Referral letter author: Select the authoring physician name from the drop down.
- Click Next to continue to the next step.
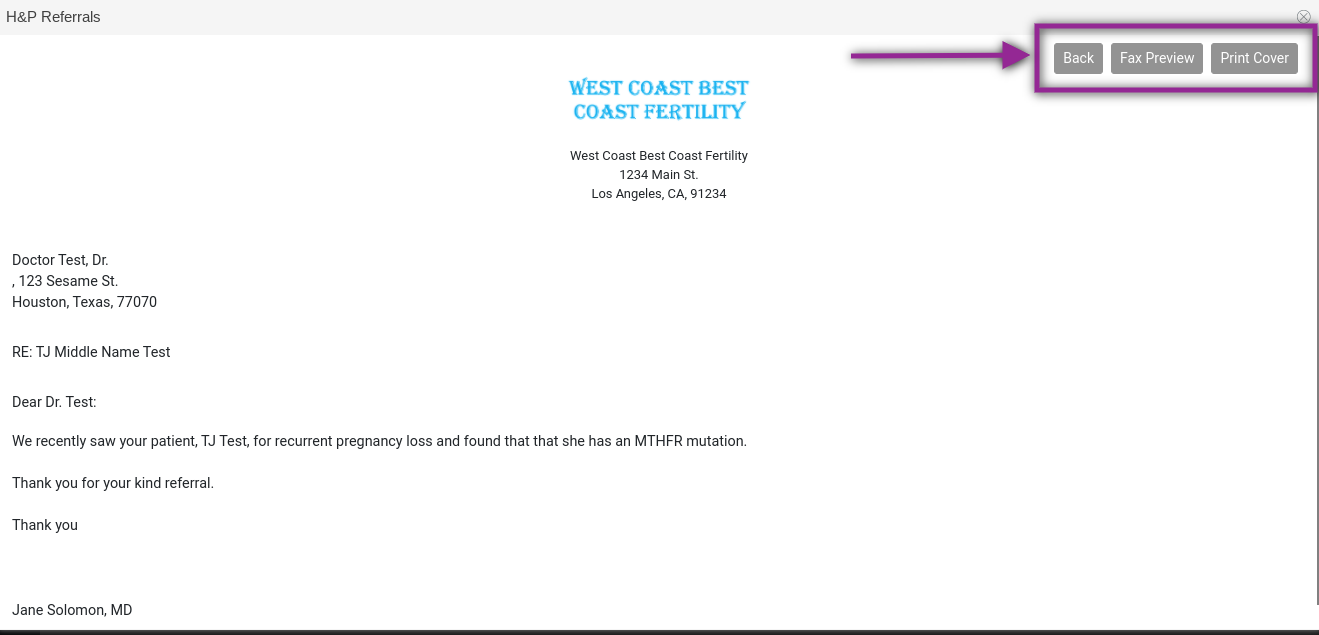
This screen will allow you to view the referral letter. In the top right corner, there are 3 options: Back, Fax Preview, Print Cover. Back will allow you to access the edit screen for the H&P.
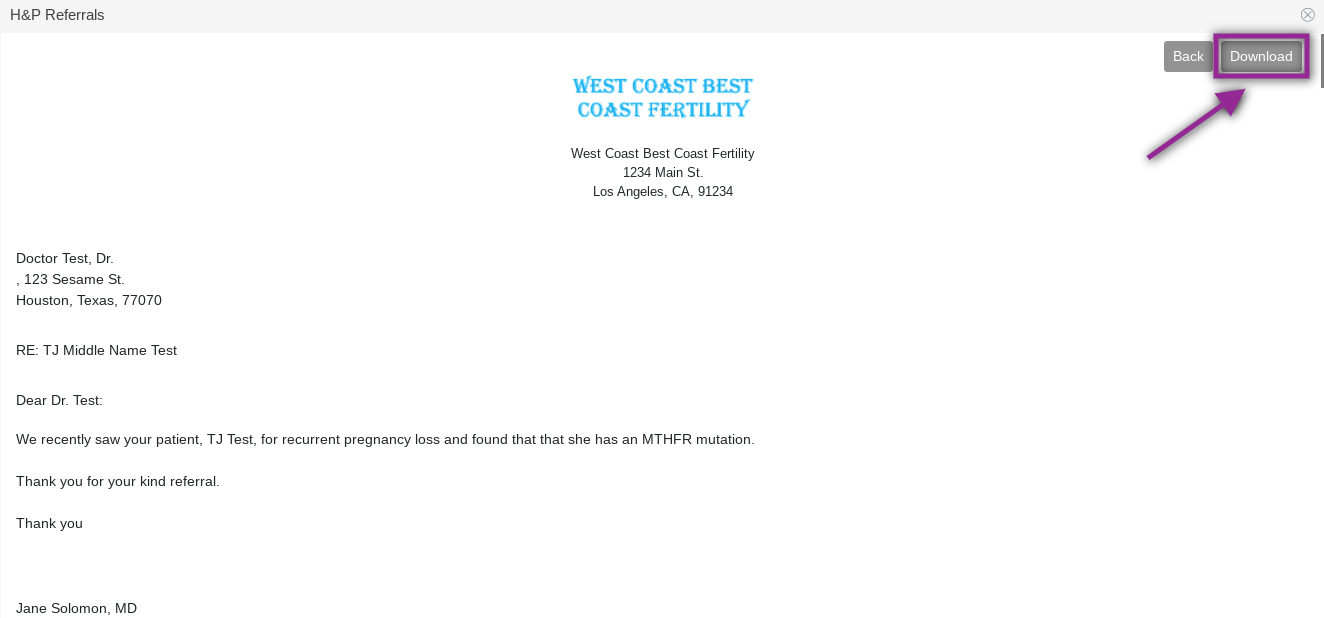
The Fax Preview will pull in the H&P referral as well as the full H&P. Click Download to download the referral and H&P as a PDF that can be printed out or emailed.
You will get a confirmation screen that the H&P referral export is being downloaded. Click OK.
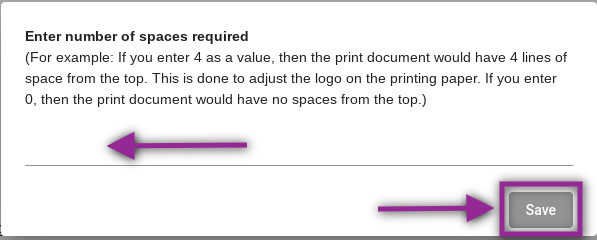
Clicking Print Cover will pull up a screen that will allow you to enter the number of spaces in the free text field that will need to be allowed at the top of the page. This will allow the user to print the letter on letter head. If no spaces are needed for letter head, type in 0. Click Save to move to the next step.
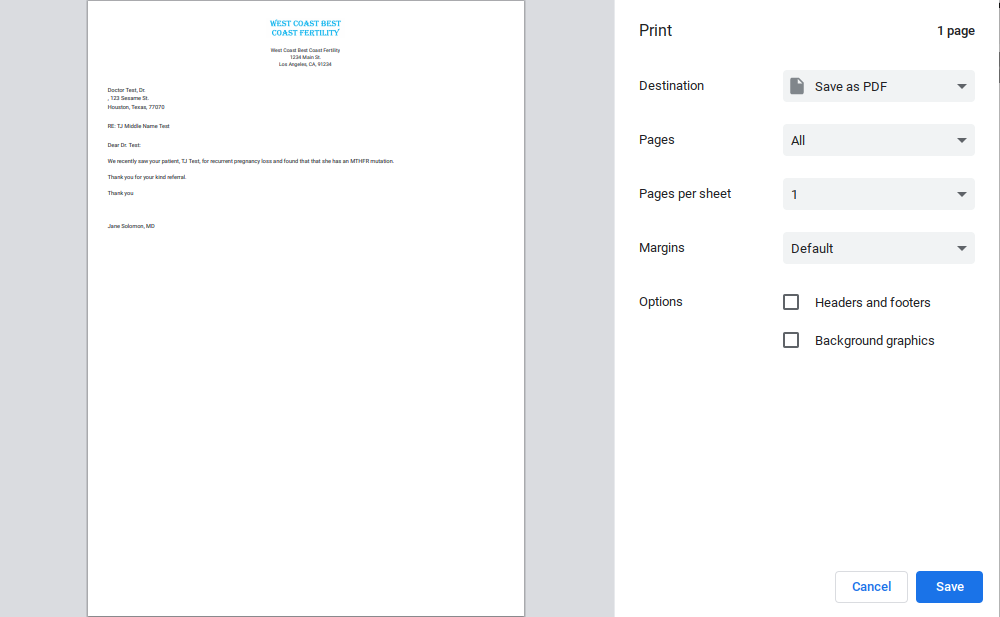
You will be taken to a print screen where you can either print the letter or save it as a PDF. The H&P will not be pulled in here as it is in Fax Preview.
**All manuals are compliant with HIPPA regulations. No patient information has been released. All screenshots above were taken from a test clinic with fake patient information.
Tristan Newman
Comments