The Patient Statement Setup is the area in Artisan where you will be able to customize the frequency of electronic sending of statements, the dunning message, as well as the clinic contact information you would like displayed on each statement.
Navigation:
This is only accessible to Clinic Admin and Practioner user privileges.
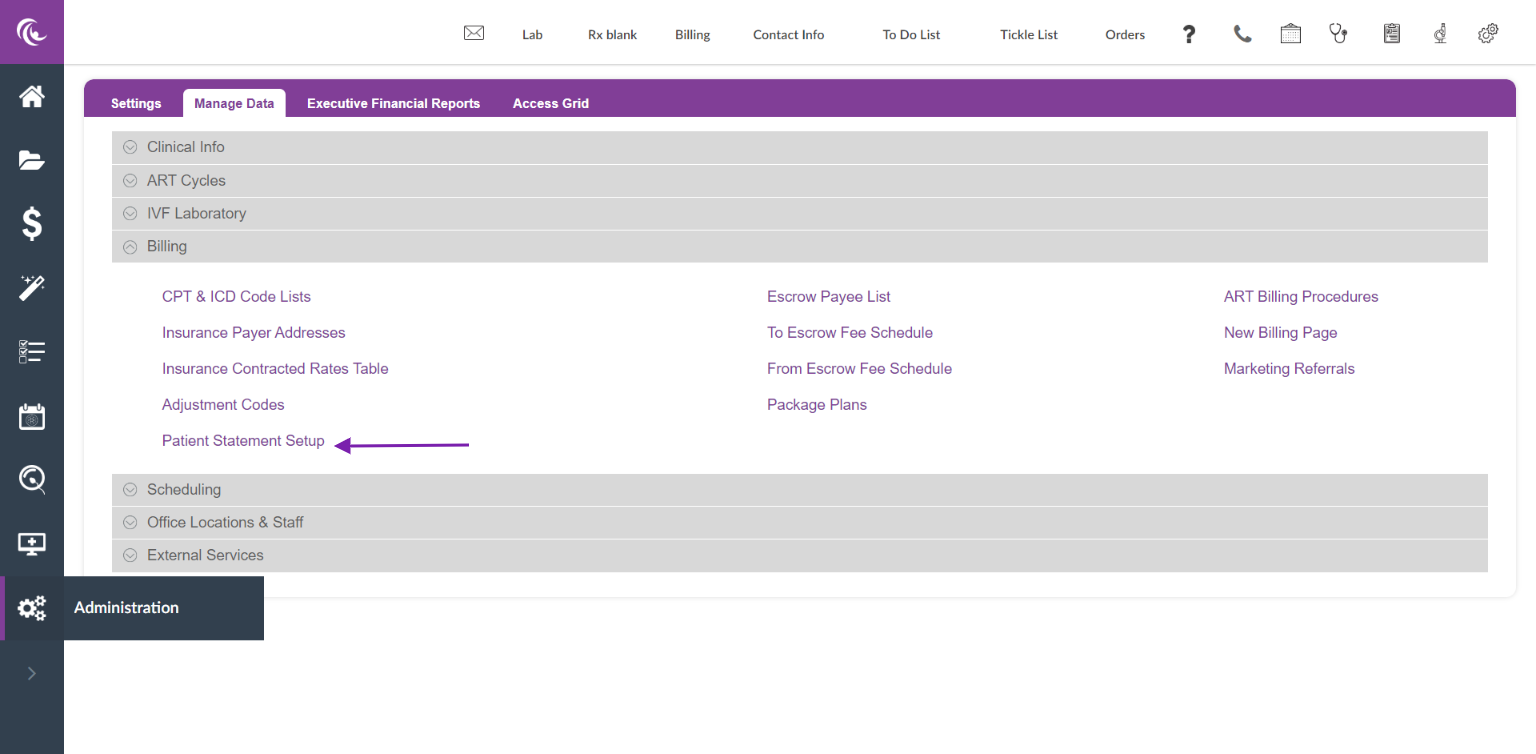
The Patient Statment Setup is located in the Billing section of the Manage Data Tab in the Administration Panel.
SetUp Tax ID Address:

Once the Patient Statement Setup is selected, the above screen will pop up.
Click on the Setup Tax ID Address Tab as the first step. The statements will not be able to be printed or sent to Change Healthcare without the addresses filled out per each Tax ID for your clinic.

Click on the + Add New Tax Address to add in the clinic's contact information that you would like to appear on the statement for the Tax ID associated with the statement.
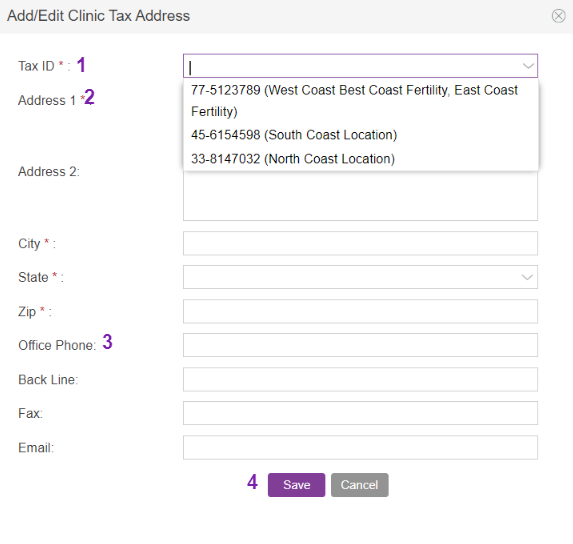
1: Select from the drop-down which Tax Id you are entering information for. This is a required field.
2: Fill in the address you would like shown on the statement for the patient to return their payment to. This is a required field.
3. Fill in the clinic contact information you would like to be displayed on the Statement. These fields are optional.
4. Click the Save tab to save the information entered.

To edit the information entered, click on the pencil icon. To delete, click on the trashcan icon.
Frequency and Dunning Messages:
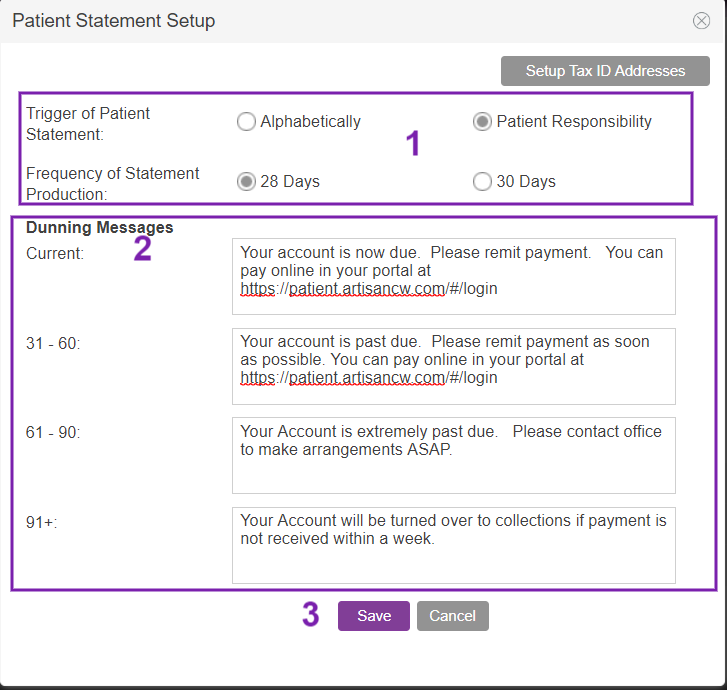
1: This section is for the automatic sending of statements to Change Healthcare. If applicable, select your radio button options for the triggering of statements and the frequency of production.
- Alphabetically will send by patient's last names A-F in the first week of the month and so on
- Patient Responsibility will send any patient that has a patient responsibility at the beginning of the month.
- The frequency will not send out a statement to a patient that has already been sent in the time frame selected.
2: Fill in your Dunning Messages as you would like them to appear on the Statement. The Dunning Messages will drop by the oldest AR balance on the patient's account.
3: Click the Save tab to save the information entered.
You are able to edit the frequency or Dunning Messages at any time.

Above is an example of the Clinic contact information and Dunning Messages on a statement.
**All manuals are compliant with HIPPA regulations. No patient information has been released. All screenshots above were taken from a test clinic with fake patient information.
Liz Davolos
Comments