Patient handout is a useful tool for you to communicate with your patients through the patient portal. Using patient handouts allows you to send instructional documents to your patient.
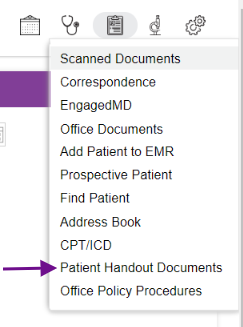
Navigation
Assigning Documents to Established Patients
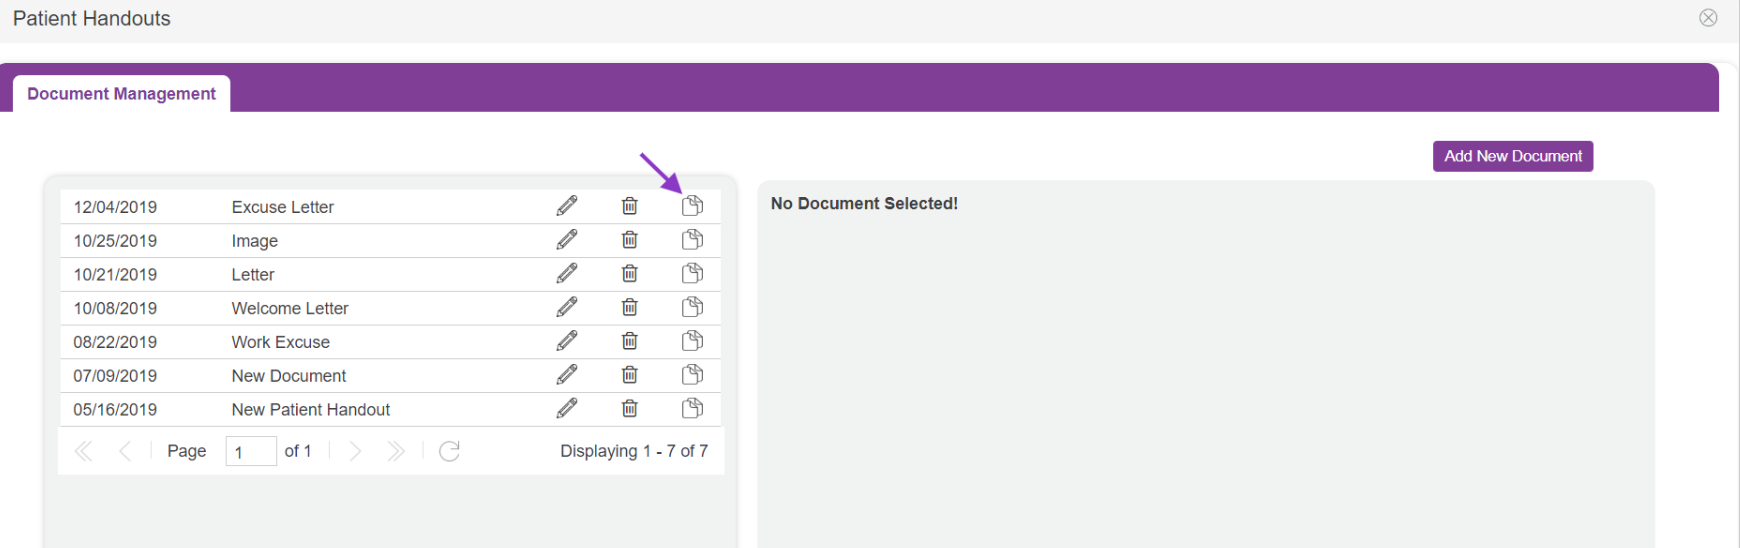
Select the paper icon to assign handouts to the patient.
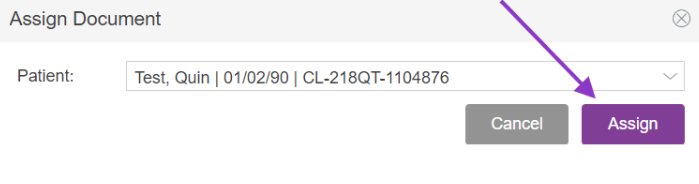
Once you select the paper icon this pop-up screen will display with the patient name. Once the patient's name is verified select assign.
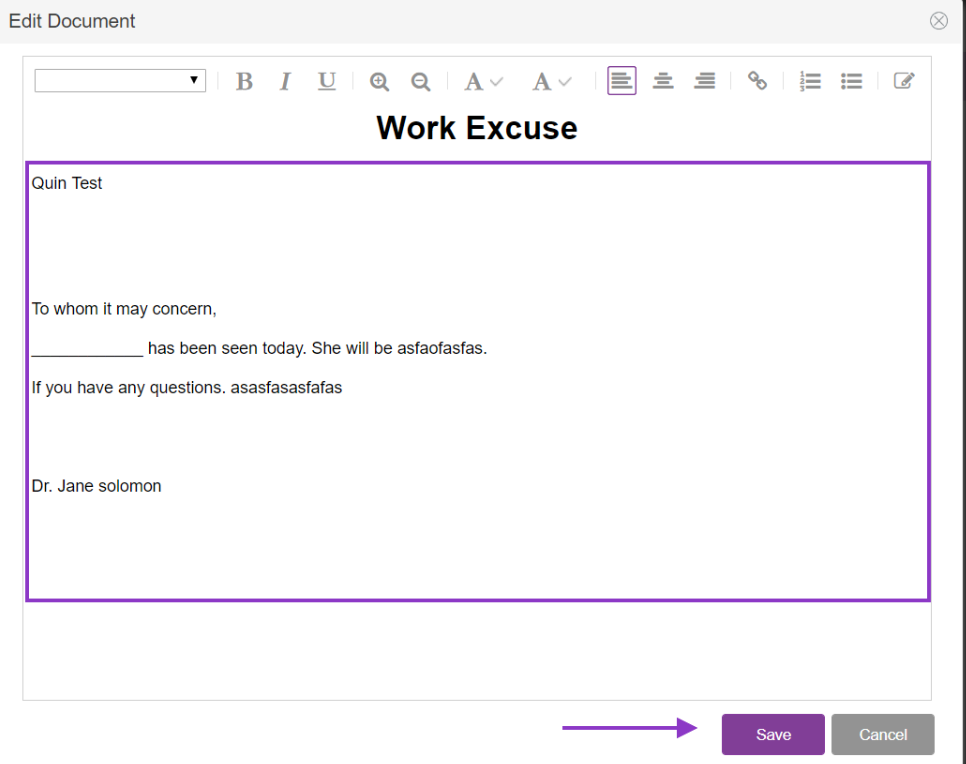
The document will open with the patient's name at the top as the header. From here you are able to make edits to the document by clicking into the free text fields. Once you are done editing the document click on save to save your changes to the document.
After selecting save, a pop-up window will display if the patient document has been successfully assigned or not.
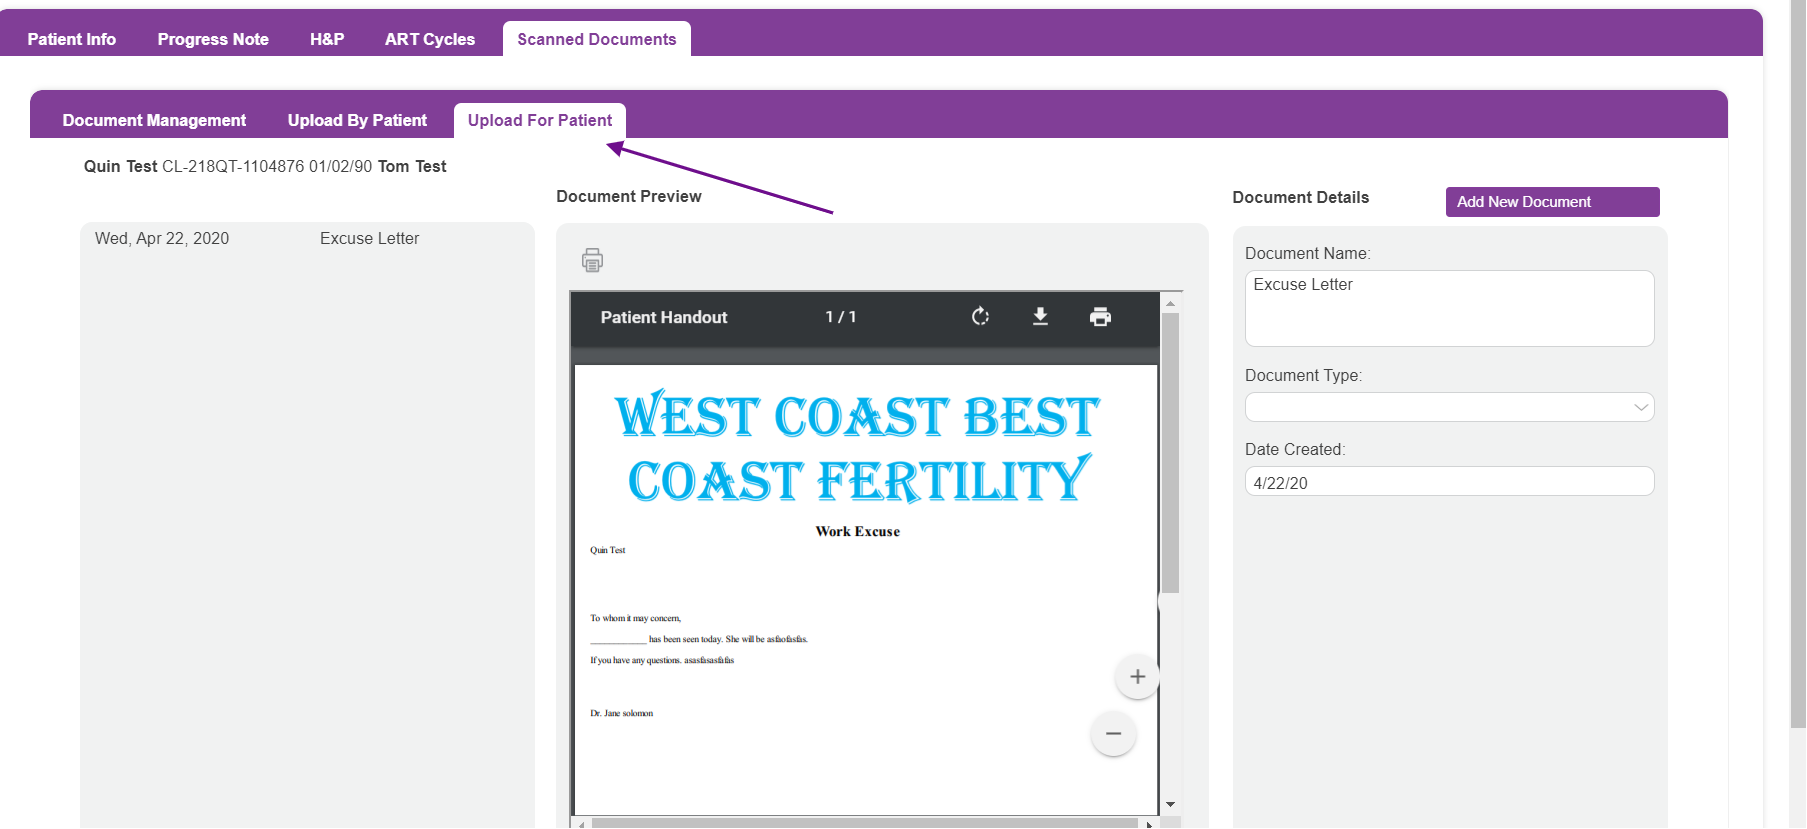
You will be able to view all patient handout documents sent to the patient's portal via the Upload For Patient Tab in scanned documents.
Assigning Documents to Prospective Patients
Navigate to the Prospective Patient Panel in Admin Tools
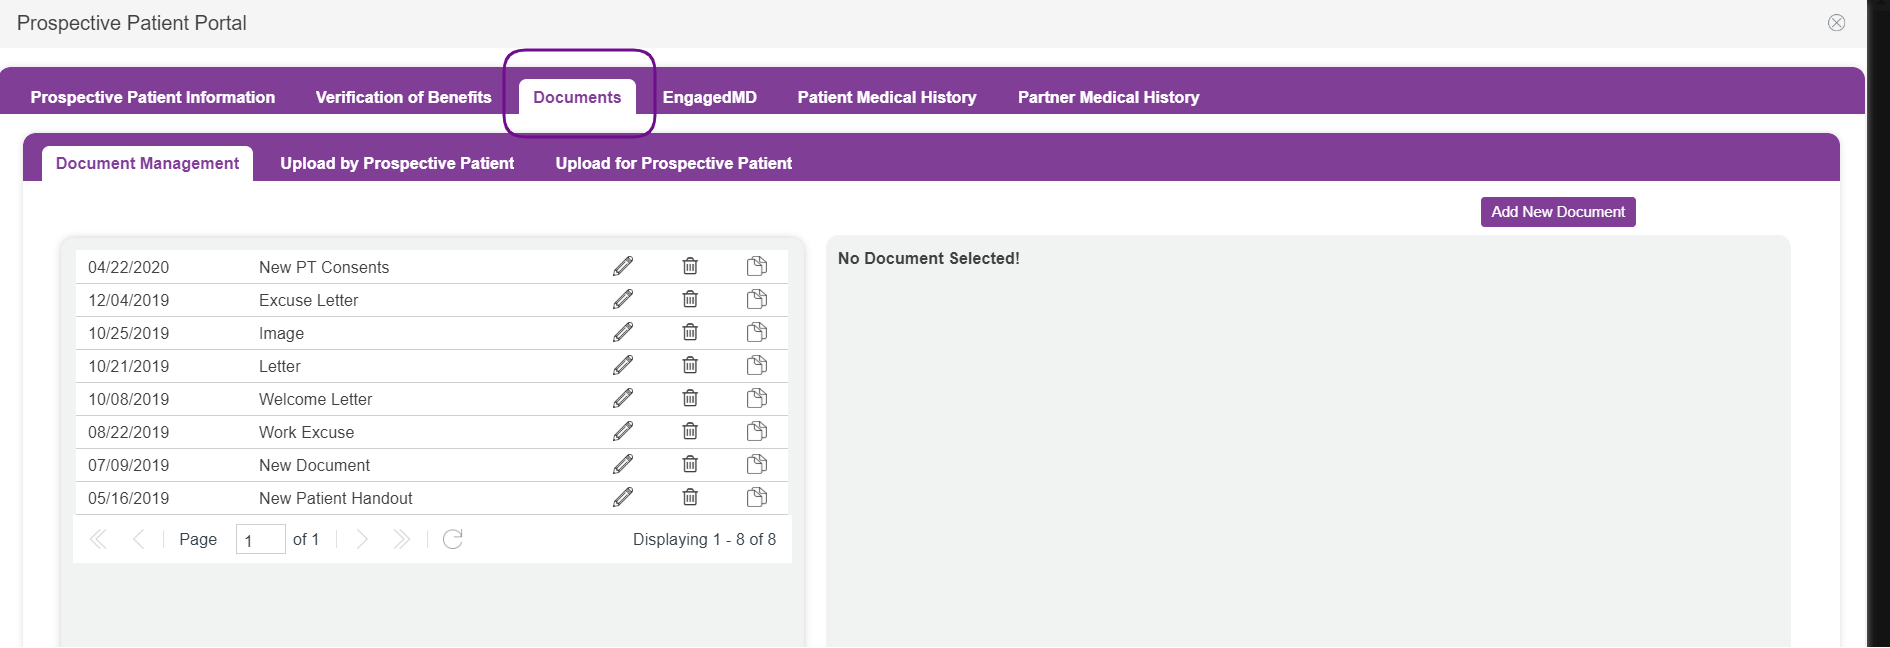
From the Document Management tab within Documents section in the prospective patient panel, follow the same instructions for assigning a patient handout document to the prospective patient.
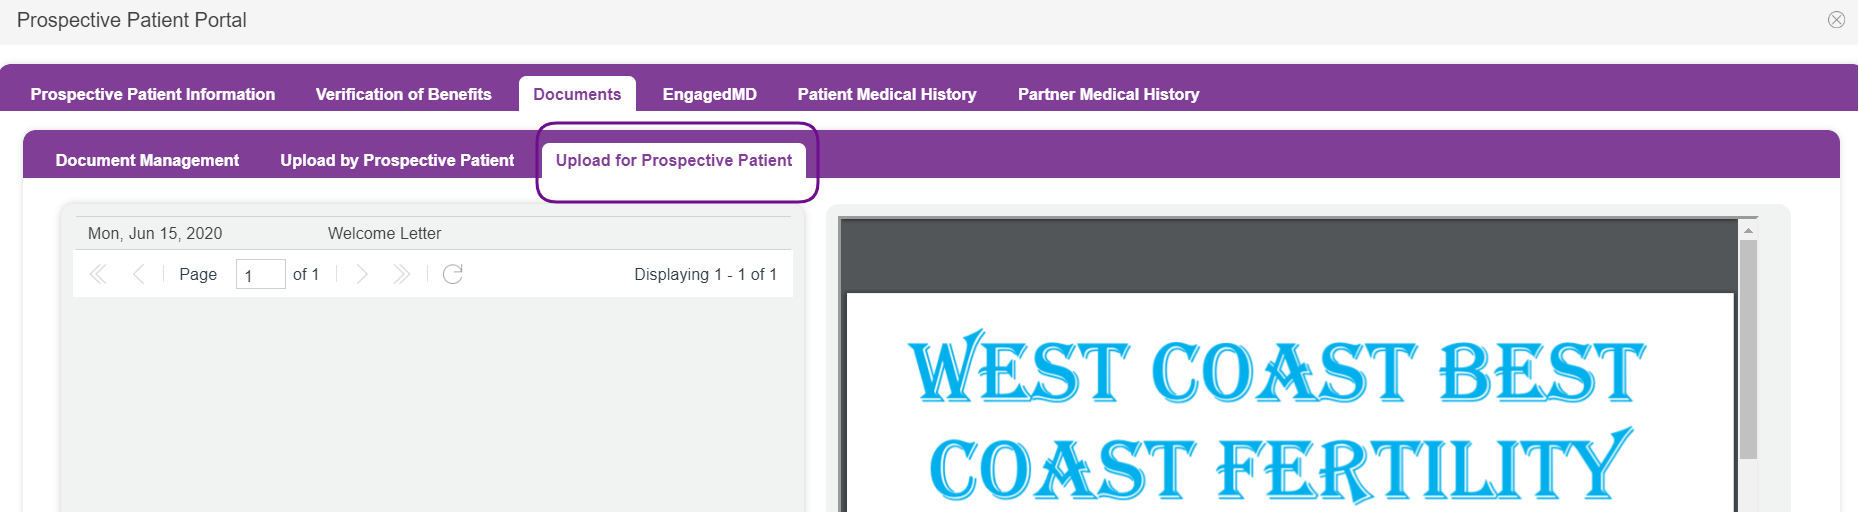
You will be able to view all patient handout documents sent to the prospective patient's portal via the Upload For Prospective Patient Tab in Documents.
**All manuals are compliant with HIPPA regulations. No patient information has been released. All screenshots above were taken from a test clinic with fake patient information.
Liz Davolos
Comments