When a Prospective Patient (or a New Patient) is scheduled in the Artisan Appointment Calendar, an invite is sent to the Prospective Patient's email. This email invites them to the practice and requests that they provide basic information and a brief medical history before being seen for the first time.
Email Invite
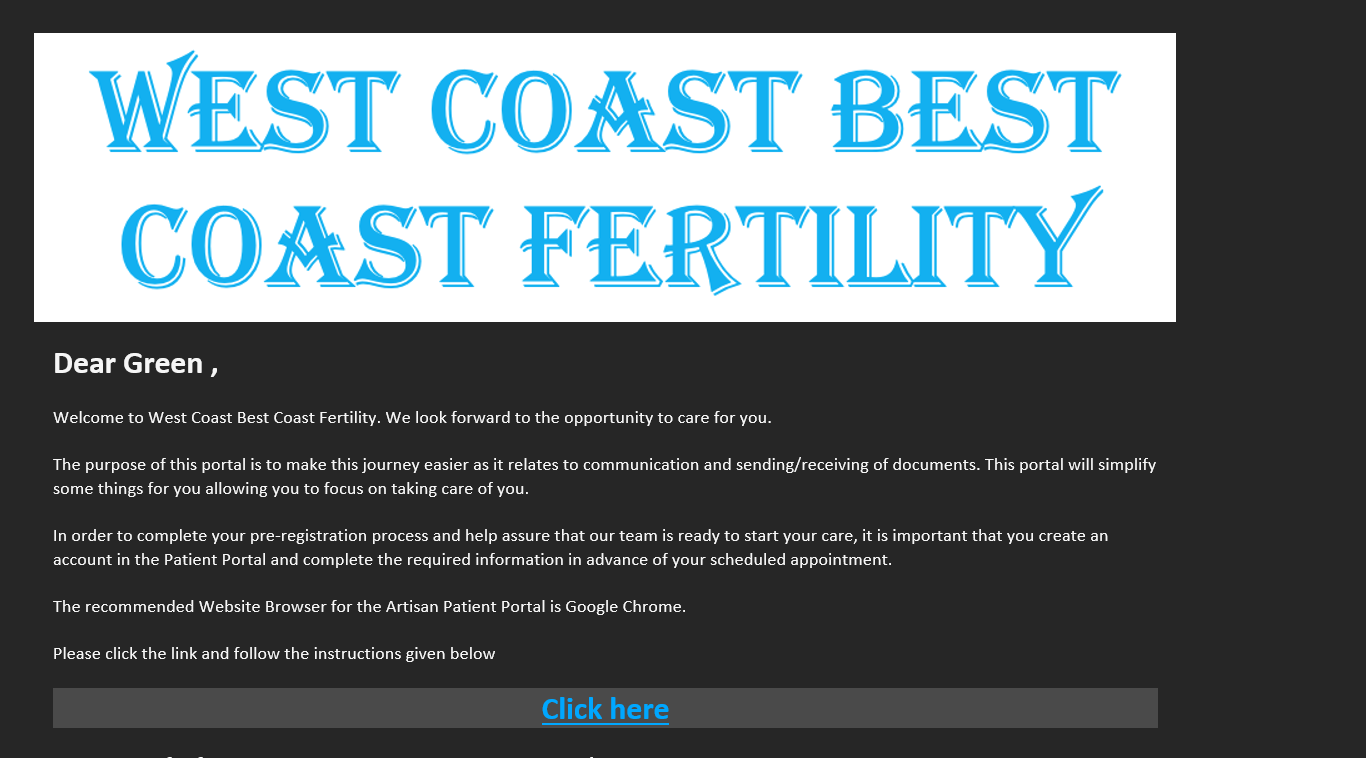
Above is a sample of an email generated by Artisan to a Prospective Patient.
The patient may click on the Click here hyperlink to access the Portal to enter their information.
Account Creation
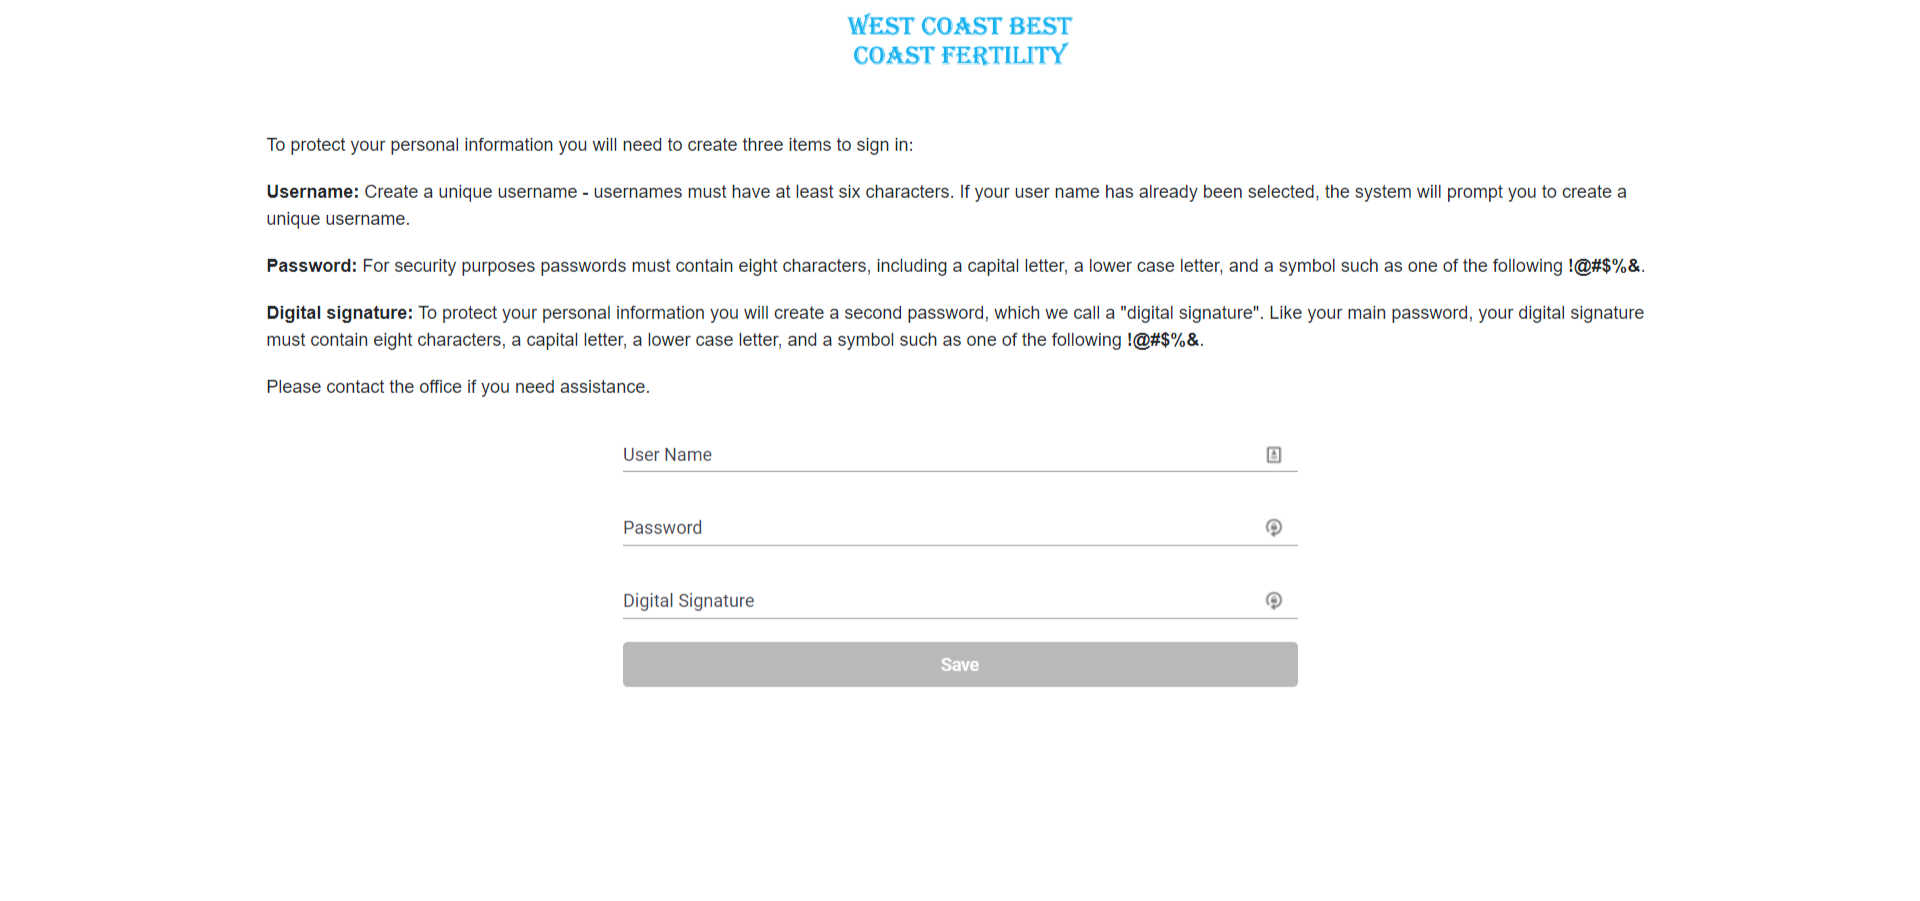
The patient will create the following to access the Prospective Patient Portal:
1. Username - once created it can't be changed and it must have at least six characters
2. Password - it requires at least eight characters, including a capital letter, a lower case letter, and a symbol.
3. Digital signature - is a second password to protect the patient's personal information. It must contain 8 characters, including a capital letter, a lower case letter, and a symbol.
The patient will then click Save.
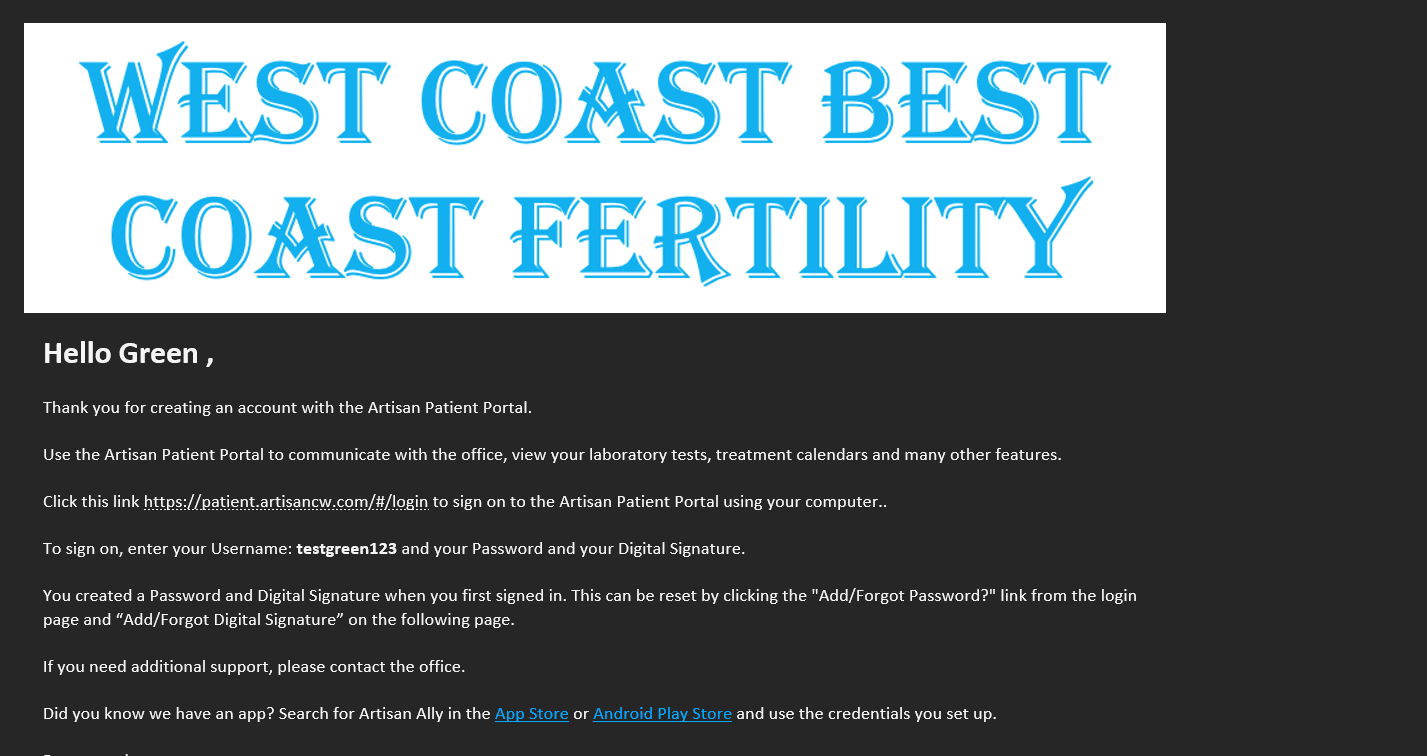
Once the information has been created a second email will be sent confirming the account creation. This second email will also provide the patient portal link along with their username. The link will also assist the patient in downloading the latest version of the app to their phone.
All emails are HIPPA compliant, the email will only provide the username, not the password or digital signature to the patient login.
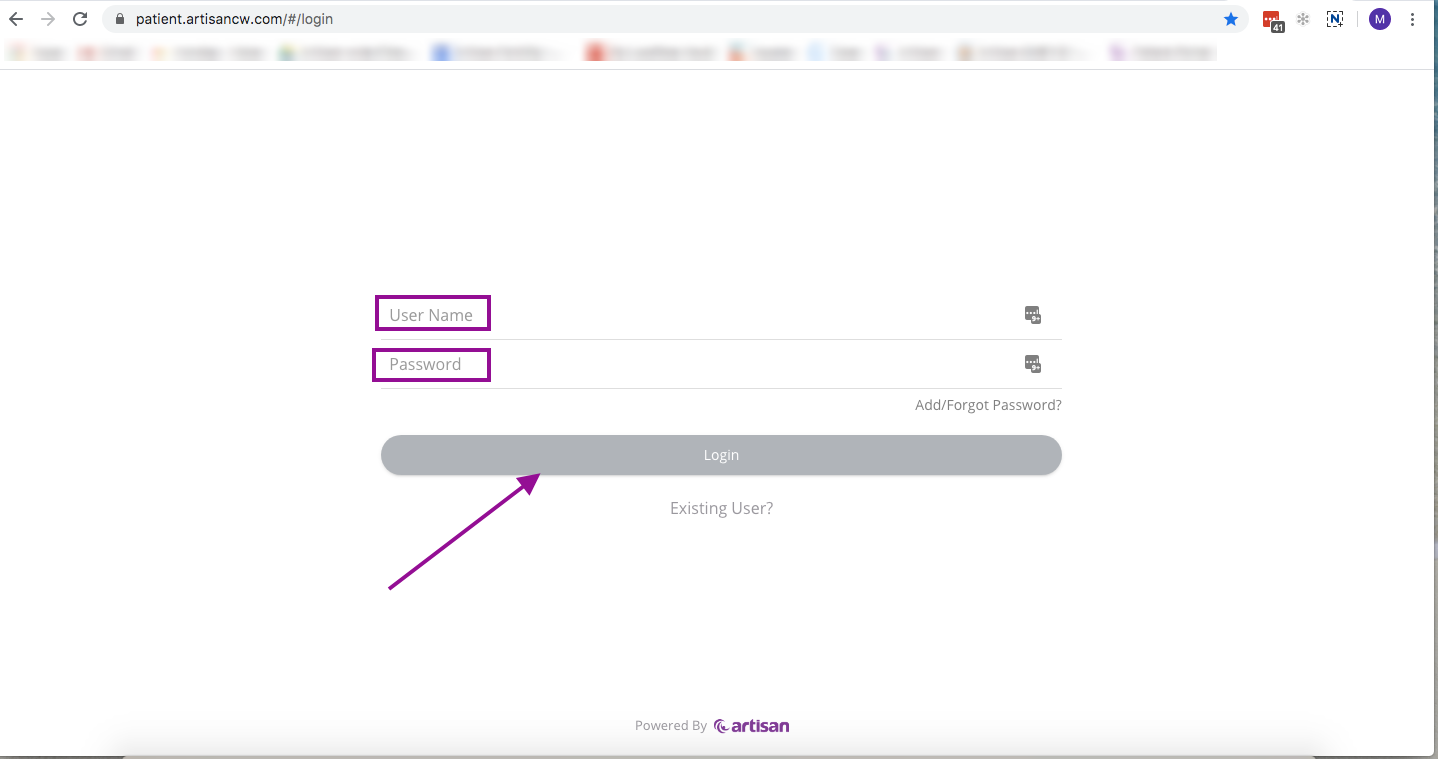
Now the patient is able to log into the portal by entering their username and password, then click the Login tab.
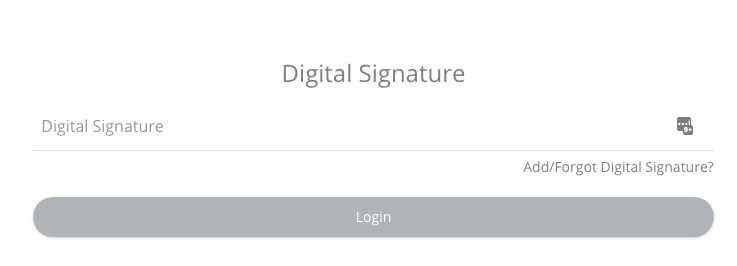
Enter the Digital Signature and click login.
Prospective Patient Portal
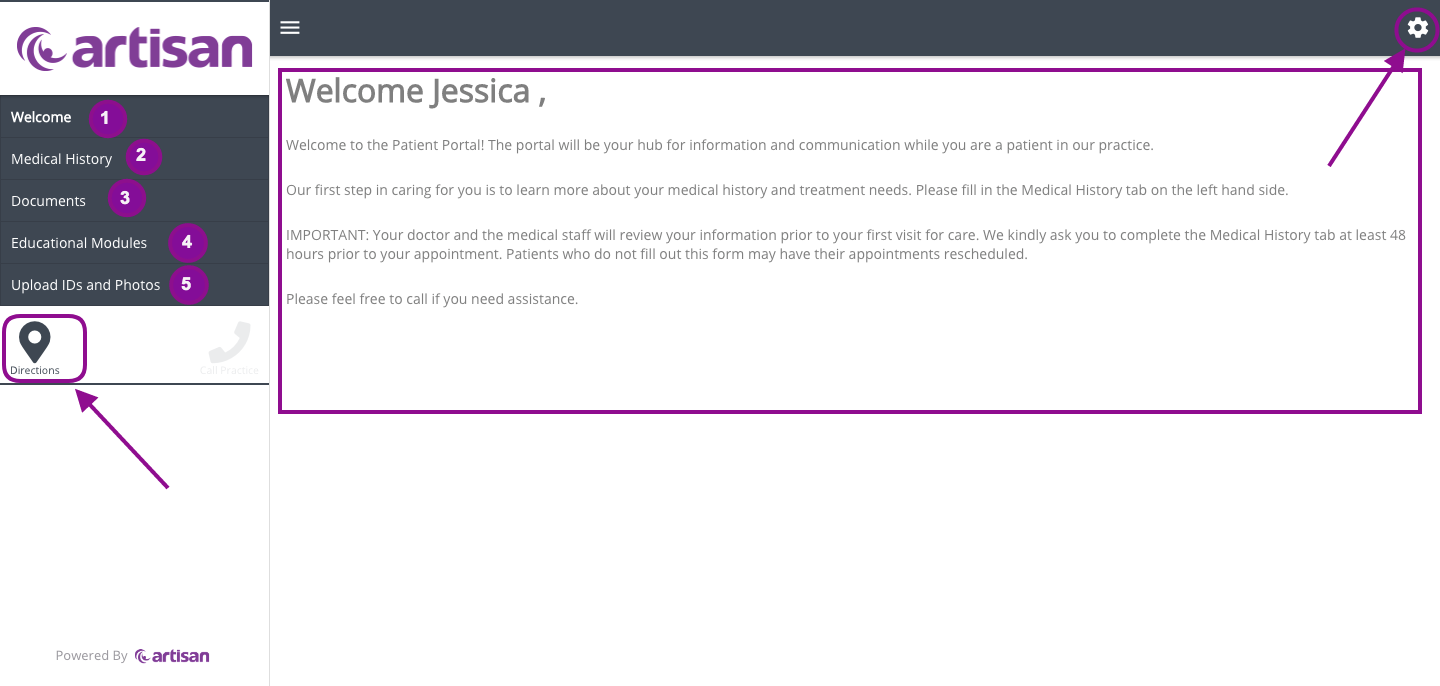
There are 5 tabs within the prospective portal.
1. The Welcome tab displays a welcome message to the prospective patient. The clinic's address and location will also be available on the home page. Click on the directions icon.
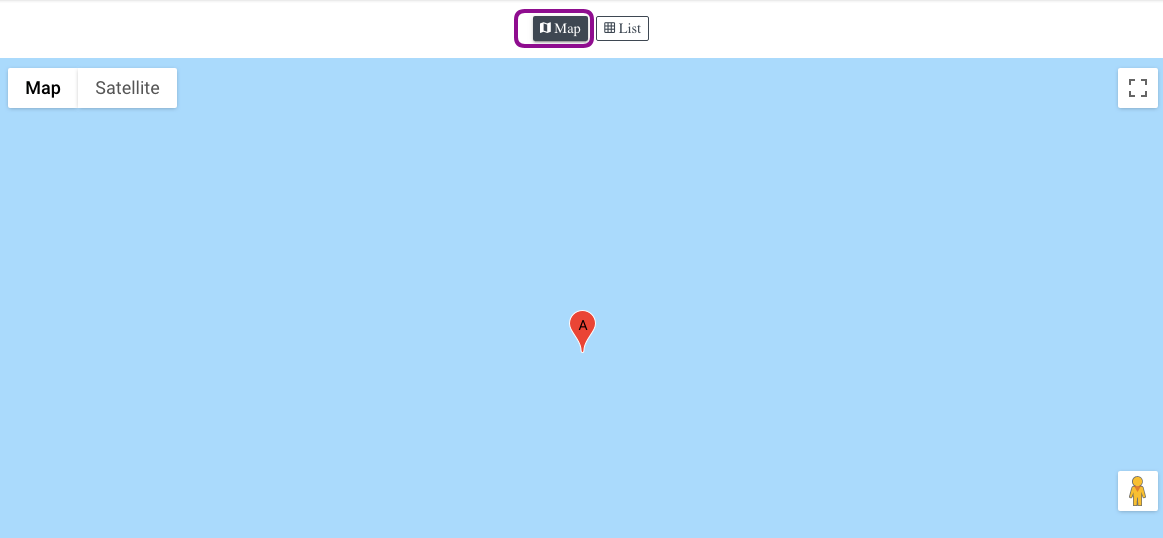
It will show a map view of the clinic's location.
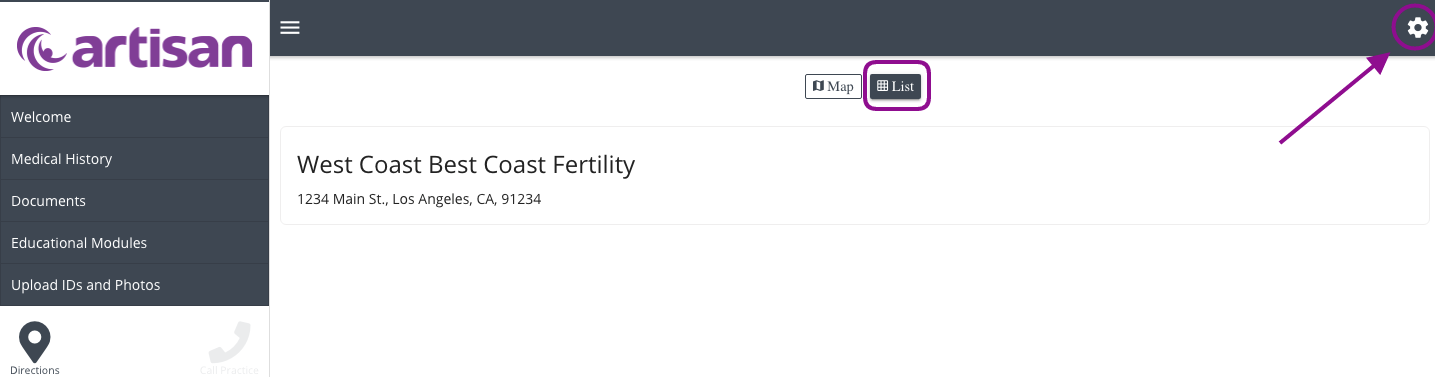
The list view of the location will display the clinic's address.
Click the Gears icon to access the settings.
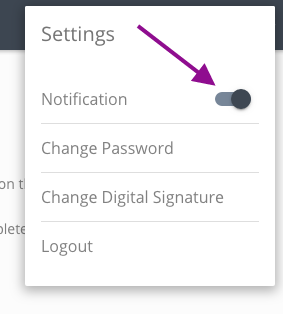
The prospective patient is able to enable and disable the notification alert. They can also update their password and digital signature as needed.
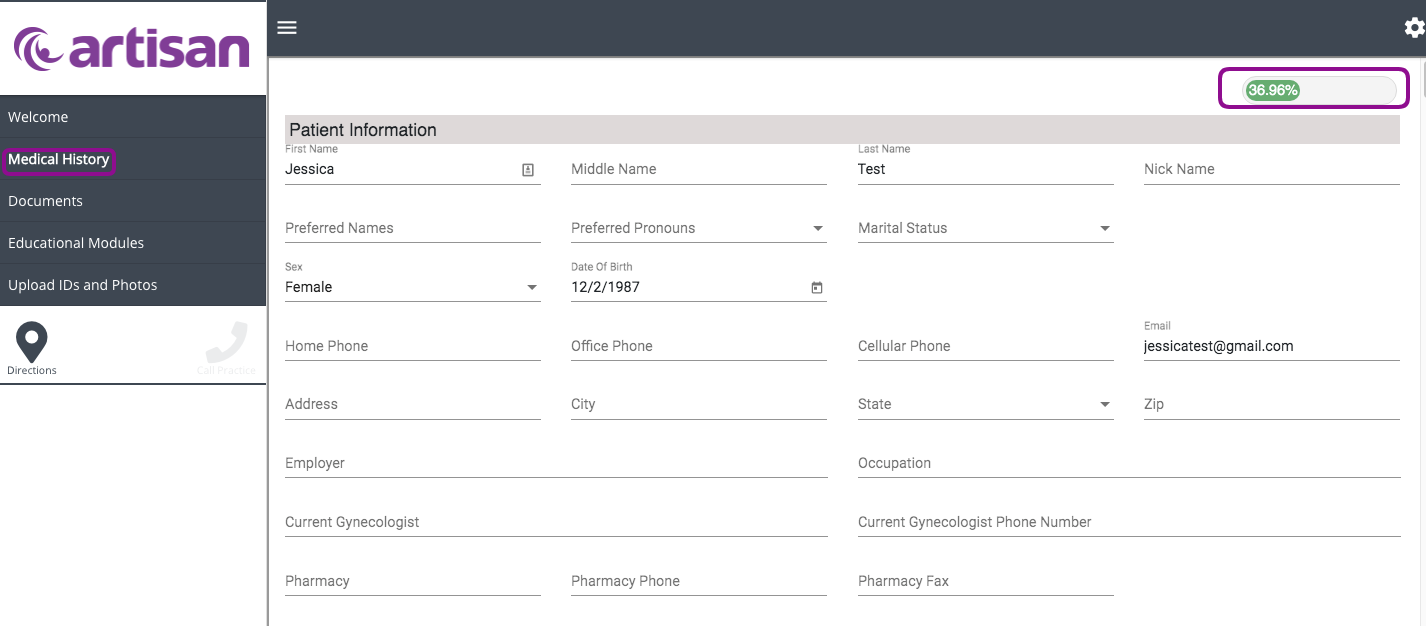
2. Medical History - This area holds the demographic, insurance, basic information, and patient brief medical summary about the patient and partner.
As the patient fills out the prospective form, the system tracks the form completion percentage of information on the upper right-hand corner
The prospective patient form is customizable. Click How to Customize Your New Patient History & Physical Form to learn more.
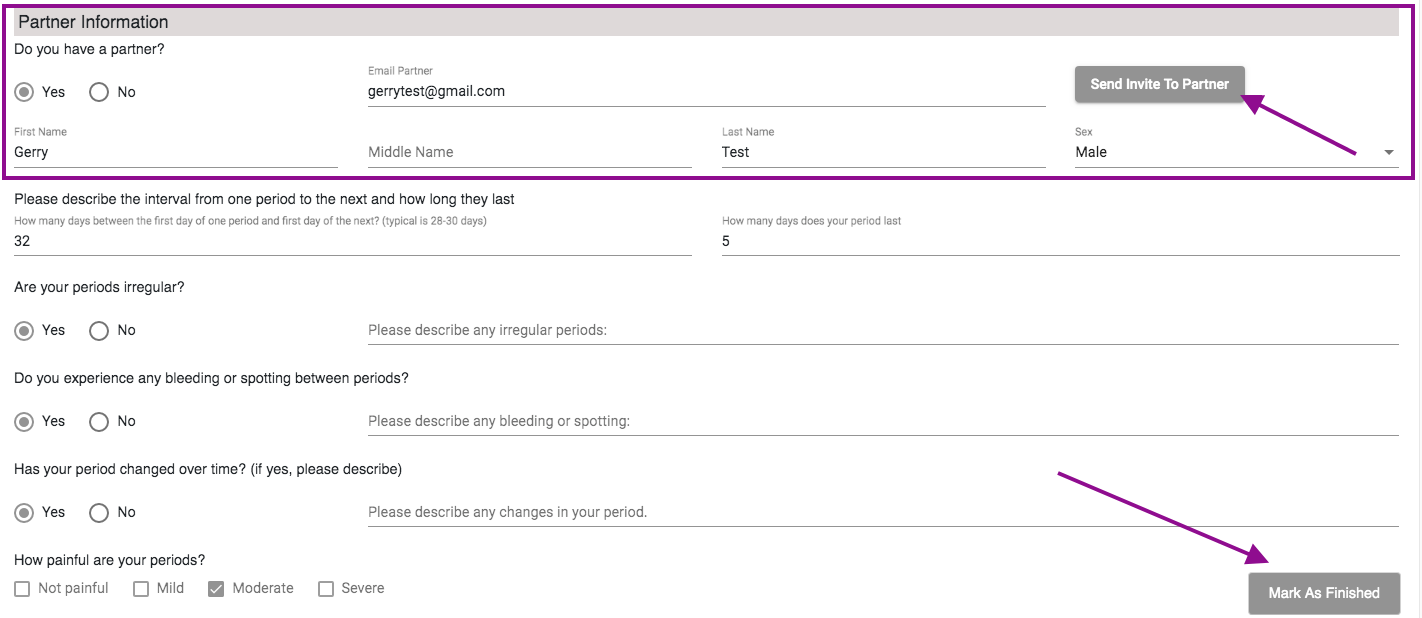
The patient can send a prospective patient portal invite to his or her partner by completing the Partner information section and clicking the send invite to partner.
This will automatically generate an email invitation for the partner to create his account and fill out his new patient history form.
Once the form has been completed, the patient can mark the form as Finished.
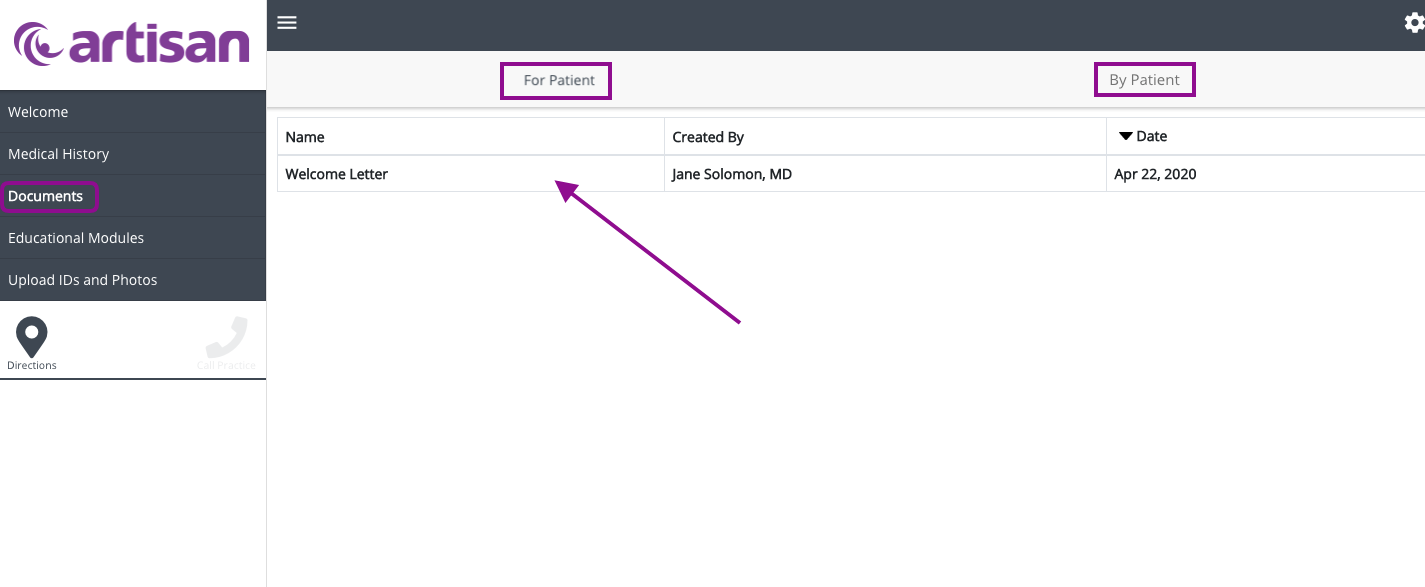
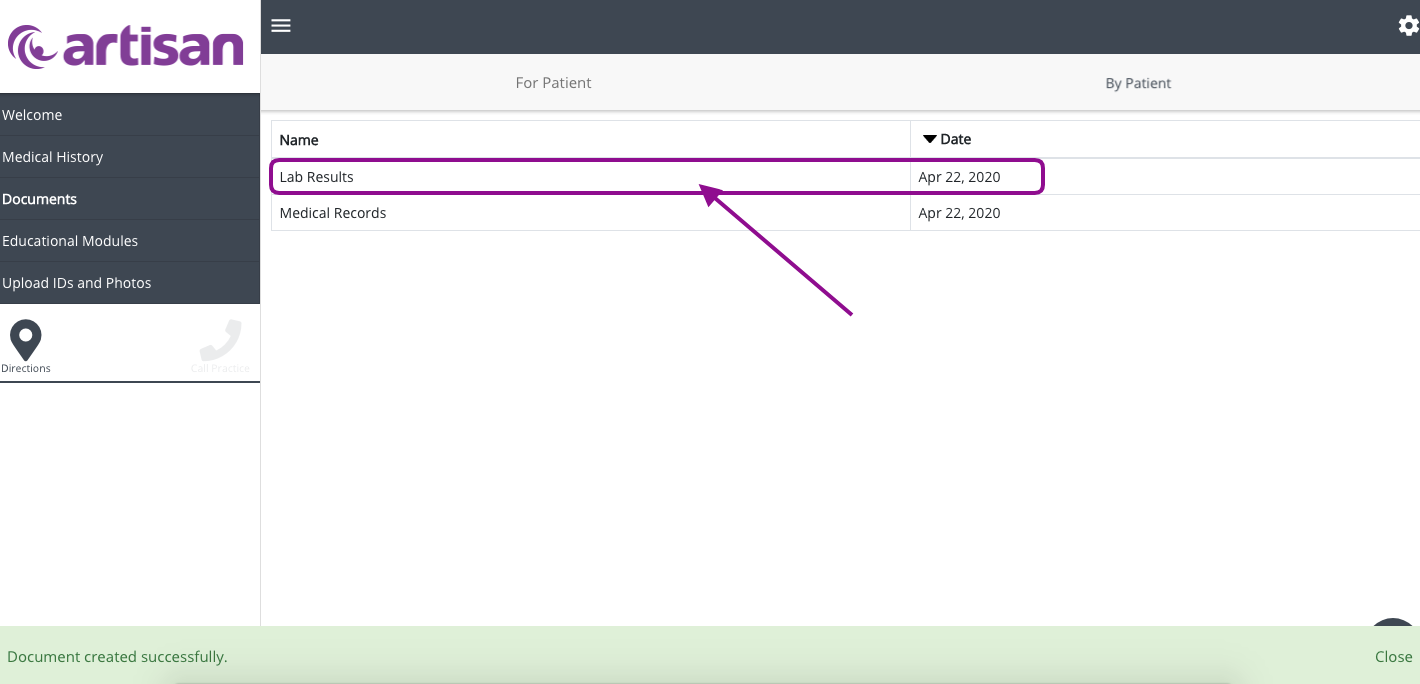
3. Documents - Displays and allows the patient to receive and upload documents from the clinic or to the clinic.
There are 2 sections here:
- For Patient - these are documents or handouts that were assigned to the prospective patient.
- By Patient - the ability to upload documents directly to the clinic. For example, past medical records or lab test results.
The above example is a welcome letter that was assigned to the prospective patient.
Click on the document name.
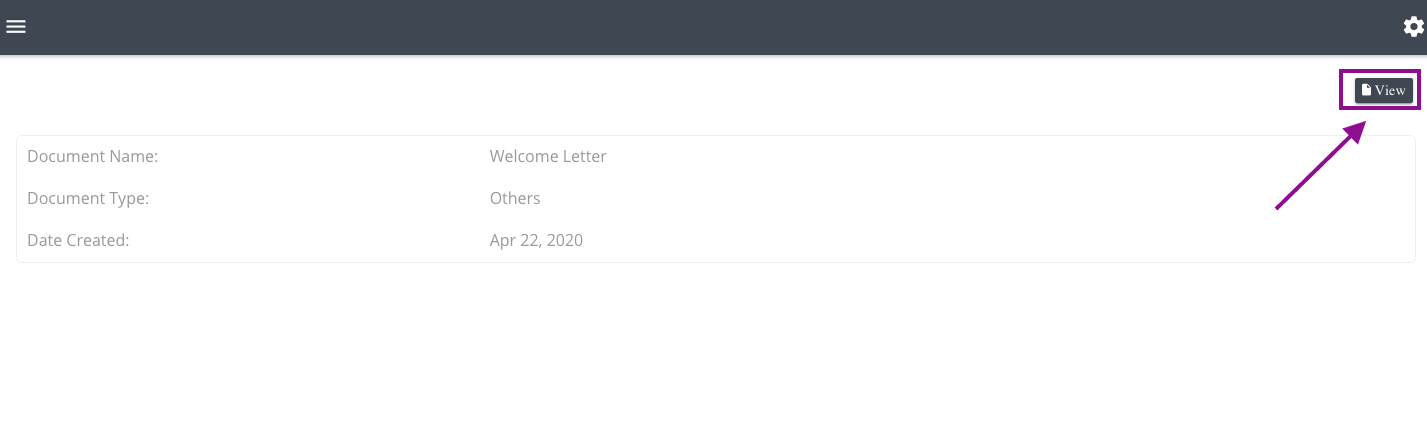
Click the view button.
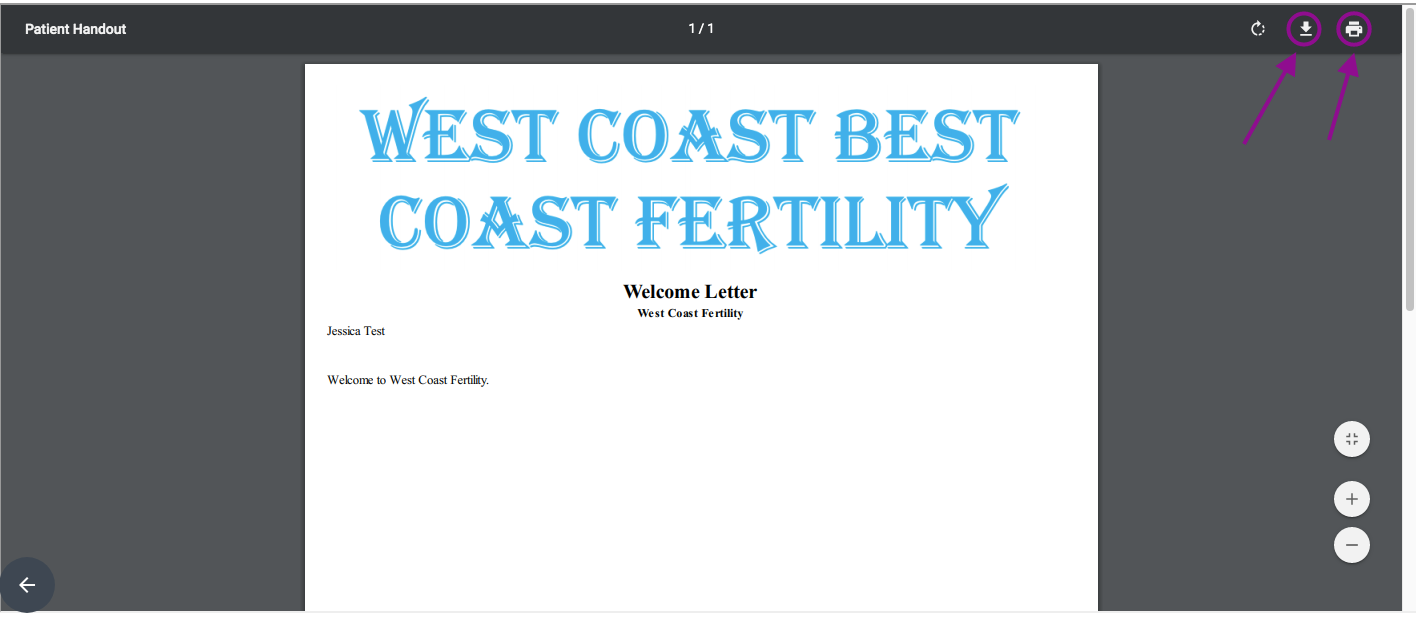
The document will be available to the patient and will have an option to download the file or print as needed. Any documents sent to the patient can not be deleted by the patient from the portal.
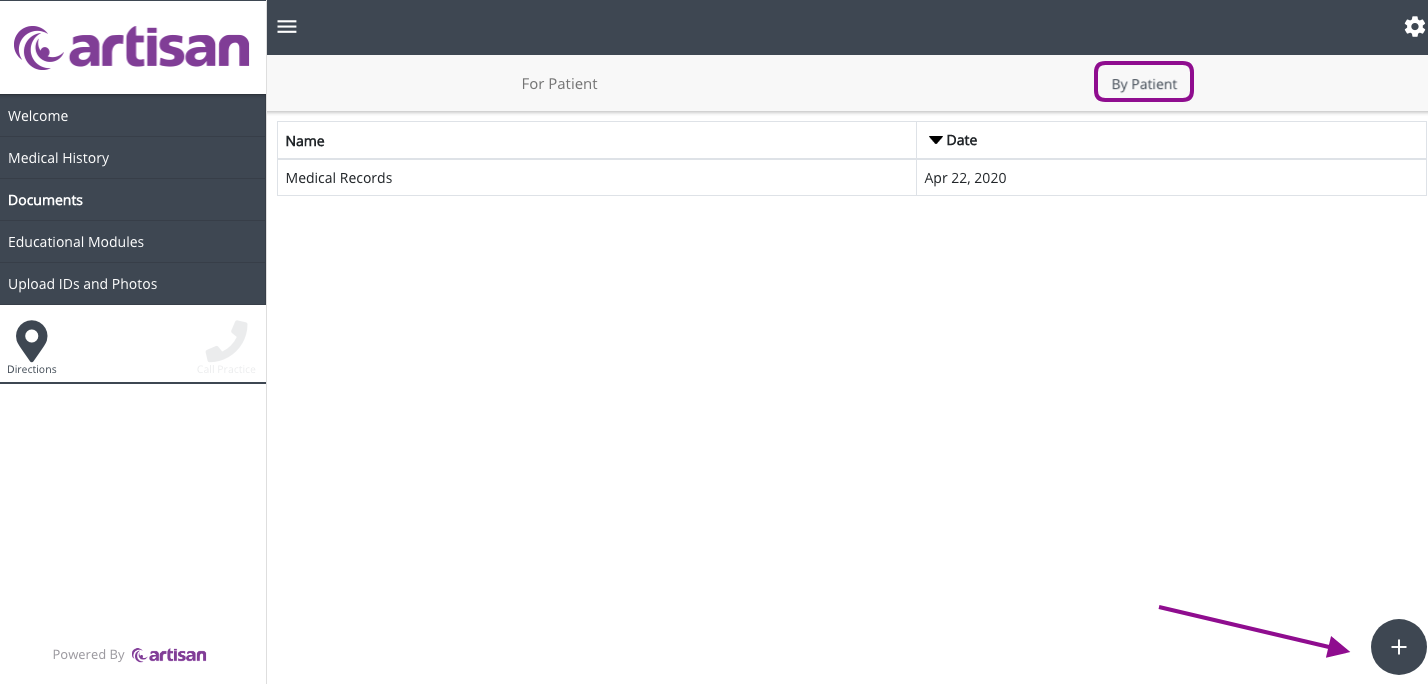
From within the By Patient section, the patient will click the plus sign icon to upload a document.
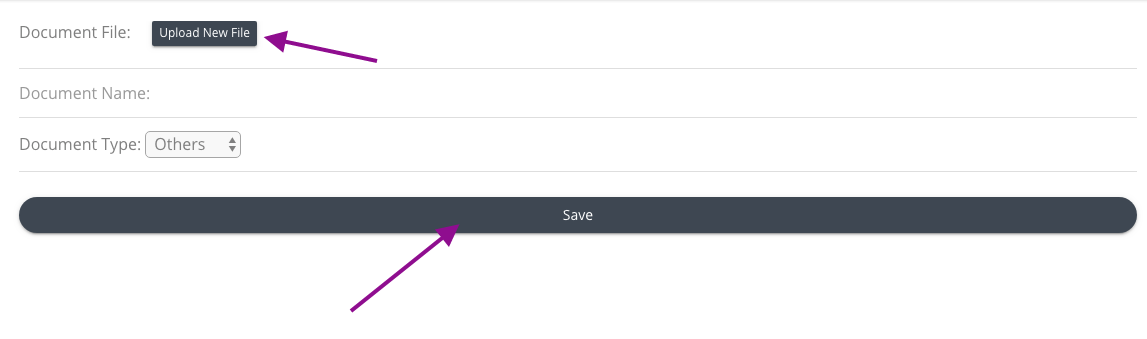
The patient will click on the upload new file button to attach a pdf file from her or his computer, enter the document's name and select the type of the document, then click Save.
The uploaded document will automatically be transmitted back inside of Artisan in the Prospective Patient Portal.
Click on the document name to view the information.
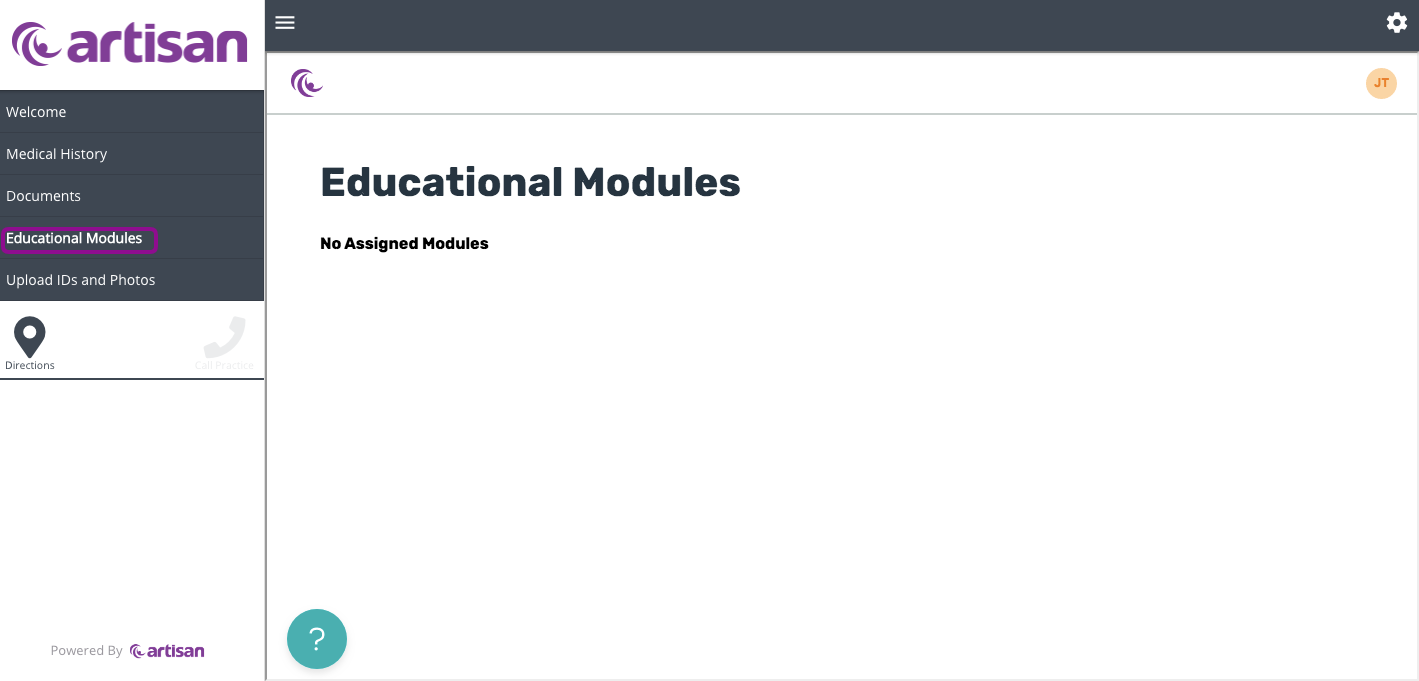
4. Educational Modules - if your practice is integrated with EngagedMD, the prospective patient can view education modules assigned by the clinic to the patient.
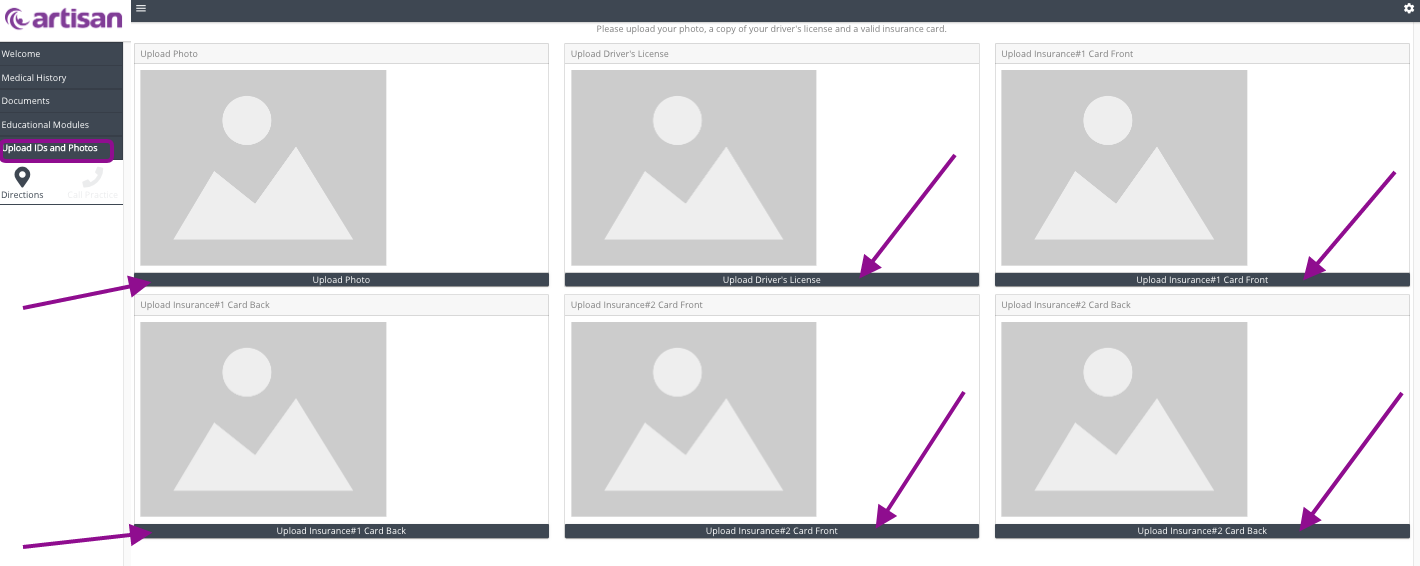
5. Upload IDs and Photos - This allows the patient to upload a photo, driver's license, insurance cards (front and back) by clicking the corresponding tab, and selecting the file saved in their computer.
All data will be automatically transmitted back inside of Artisan and held in the Prospective Patient Portal until the practice imports the Prospective Patient into Artisan, creating a Patient record and chart.
**All manuals are compliant with HIPAA regulations. No patient information has been released. All screenshots above were taken from a test clinic with fake patient information.
Artisan Support
Comments