Artisan's secure Patient Portal allows patients to view their treatment calendars and communicate with the office via the IM system, view their invoices, share documents back and forth with the practice securely and watch their educational modules.
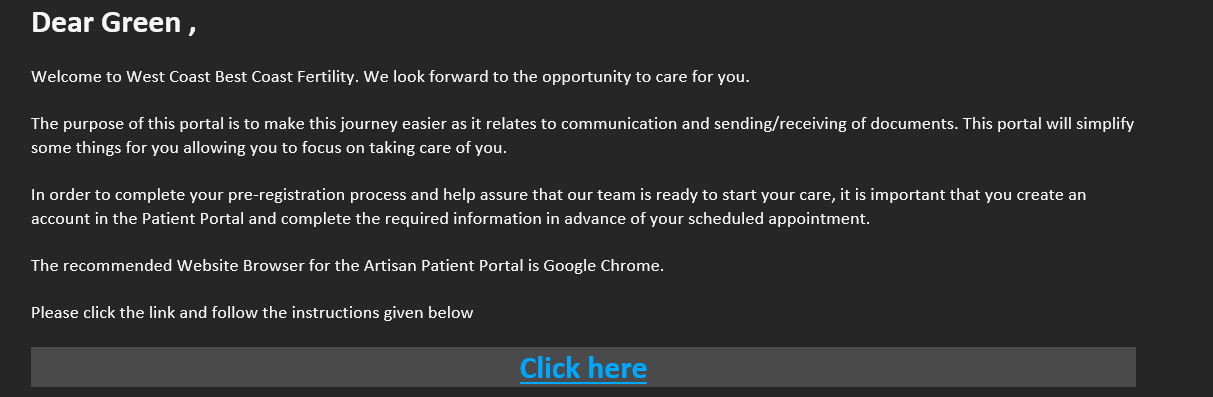
First, an account creation link will be sent to the email that is listed in the clinic. Next, select the Click here link to start setting up your account to access the portal.
Please make sure you are using the supported browser Google Chrome to access the portal.
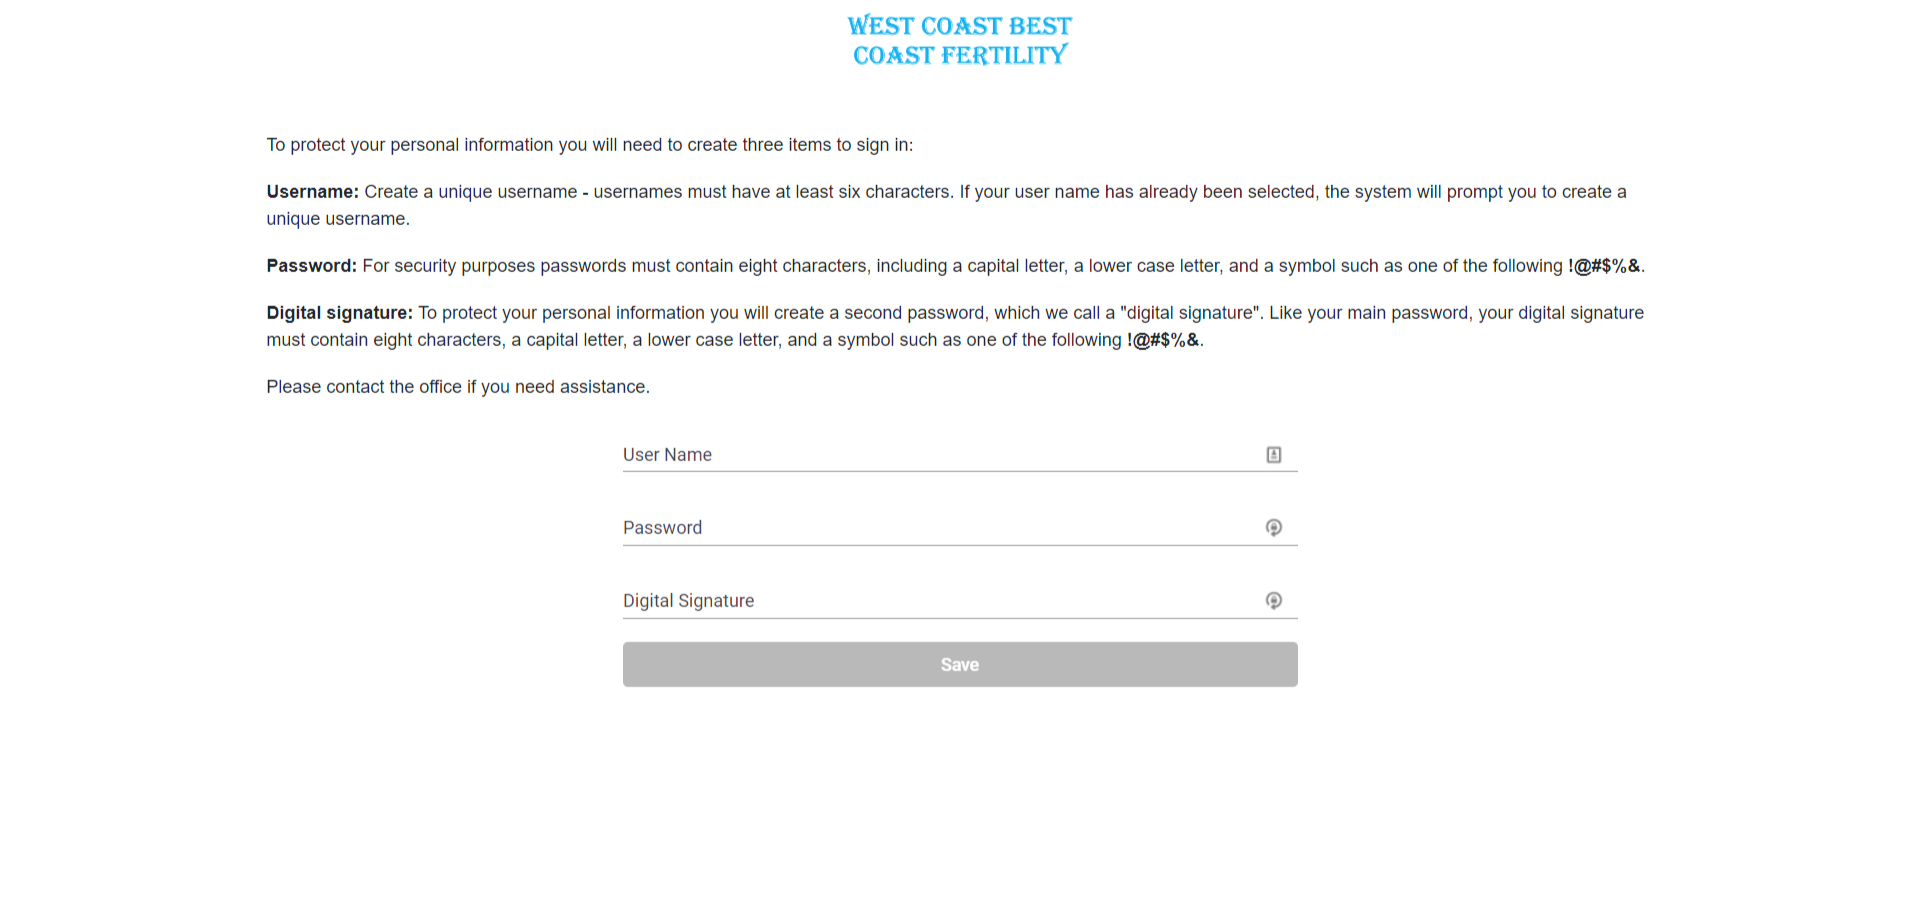
Create a username, password, and a digital signature to create an account.
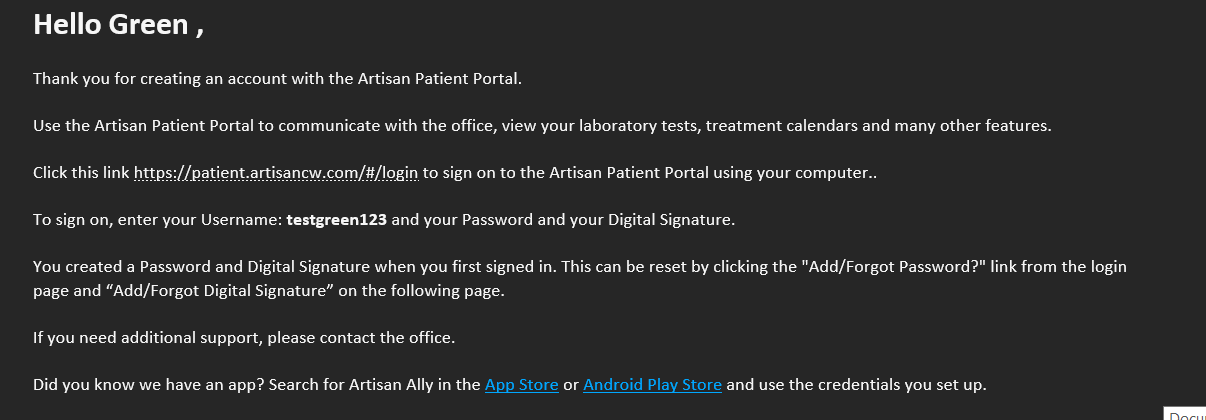
Once the information has been created a second email will be sent confirming the account creation. This second email will also provide the patient portal link along with their username. The link will also assist the patient in downloading the latest version of the app to their phone.
All emails are HIPPA compliant, the email will only provide the username, not the password or digital signature to the patient login.
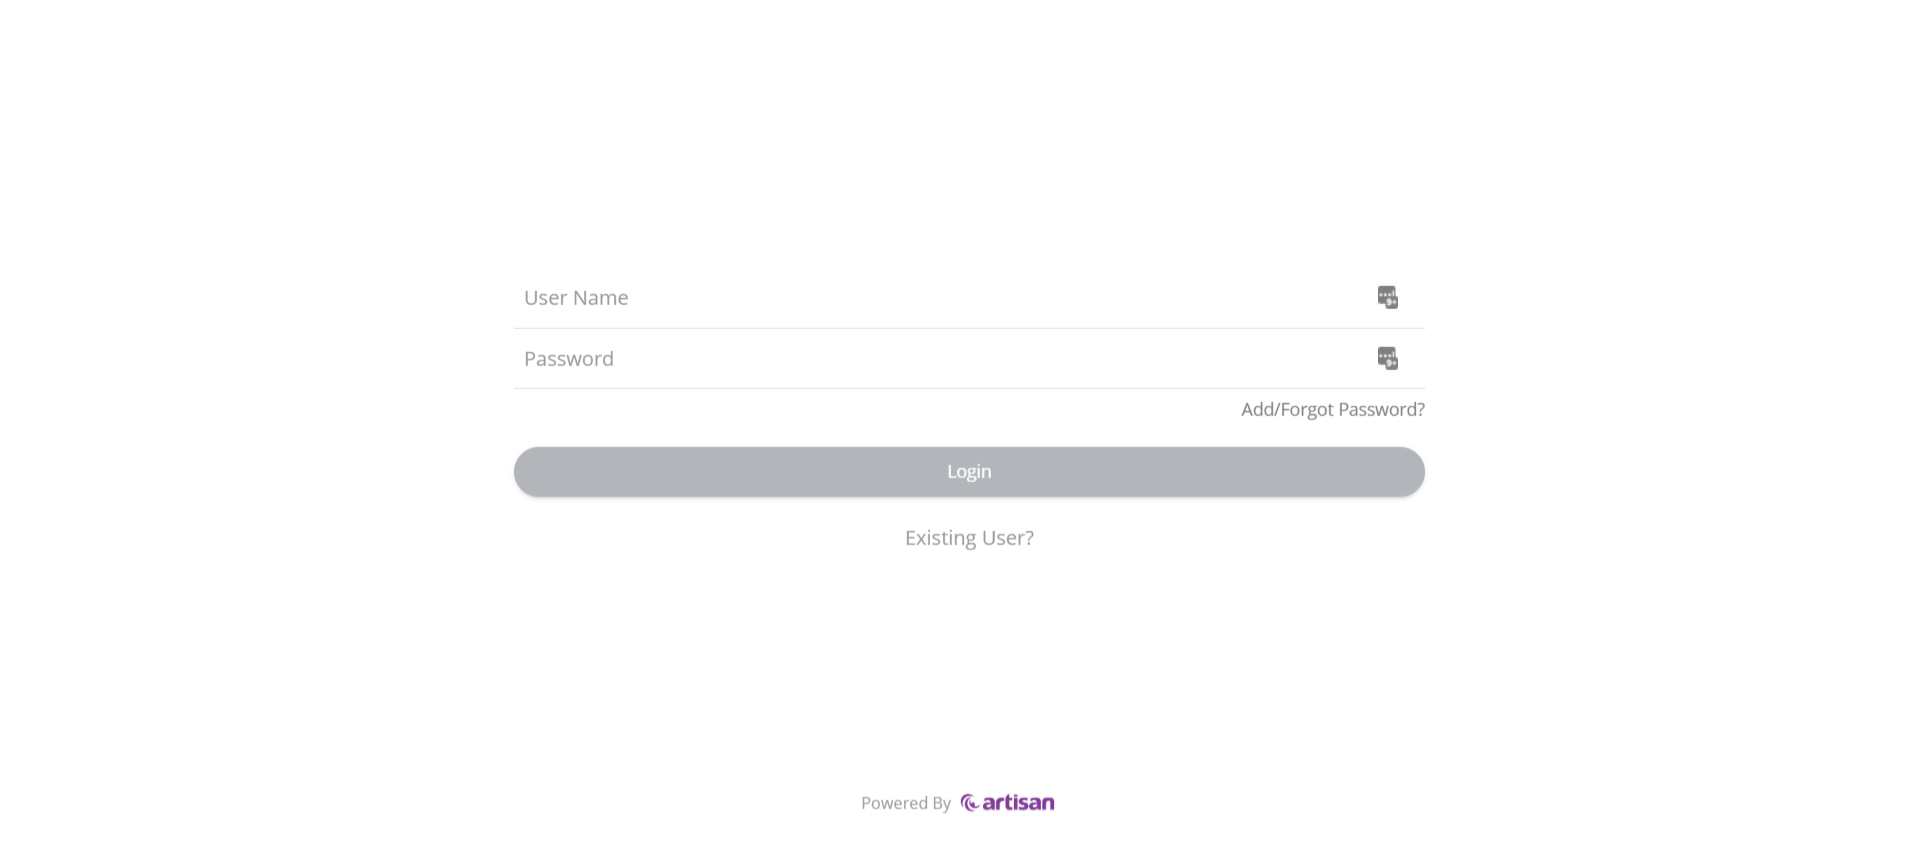
Sign in to the portal using the username, password, and digital signature that you created.
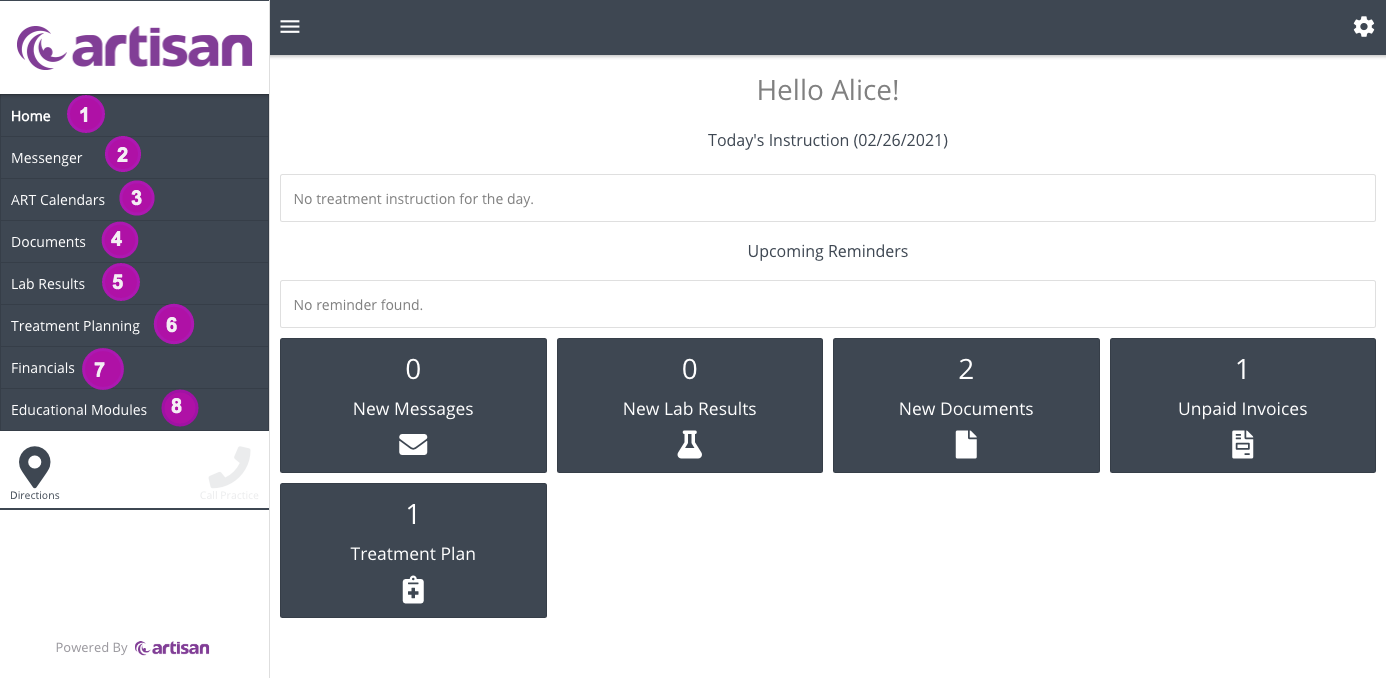
There are 8 main features inside the Artisan Patient Portal:
- Home- This is where the welcome page is
- Instant Messaging-provides the secure IM system with the practice for communication.
- ART Calendars-this gives patients access to all of their treatment calendars
- Documents-the secure method for exchanging documents/records with patients
- Lab results - allows the patient to view lab test results.
- Treatment Planning - allows the patient to view her expense estimator, treatment plans and sample calendar.
- Financials-ability to see their invoices with real-time updates
- Educational Modules-provided through the EngagedMD integration (only applicable to practices working with EngagedMD).
Home Screen

The patient is able to view their daily instruction and any upcoming appointment reminders on their Home Screen.
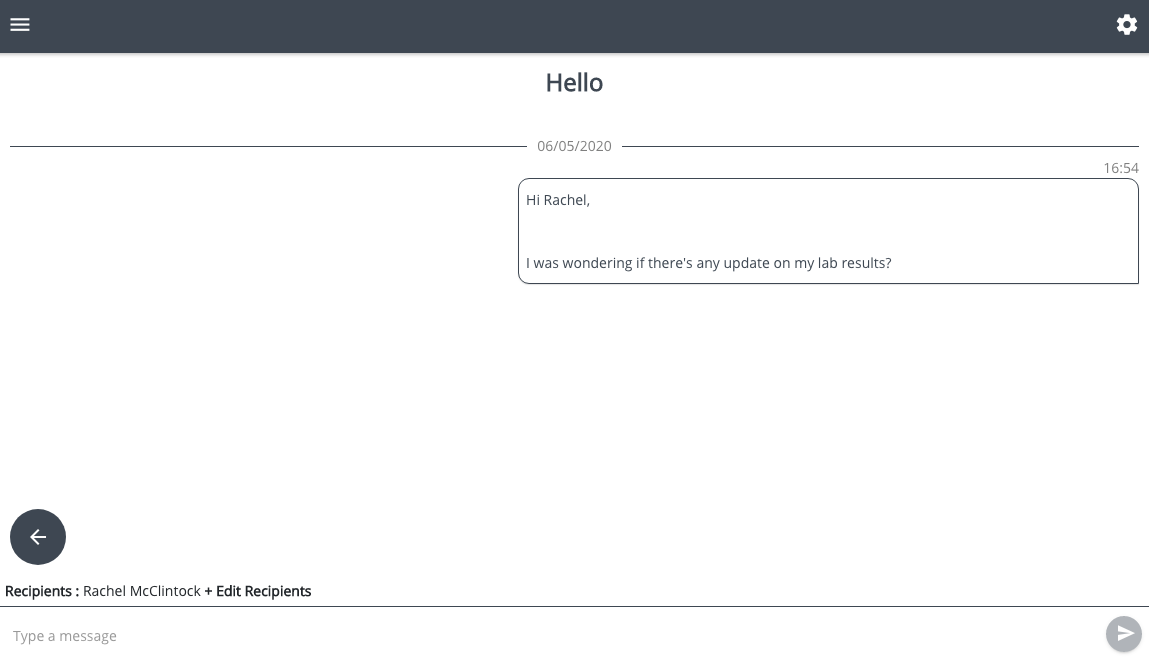
Messenger
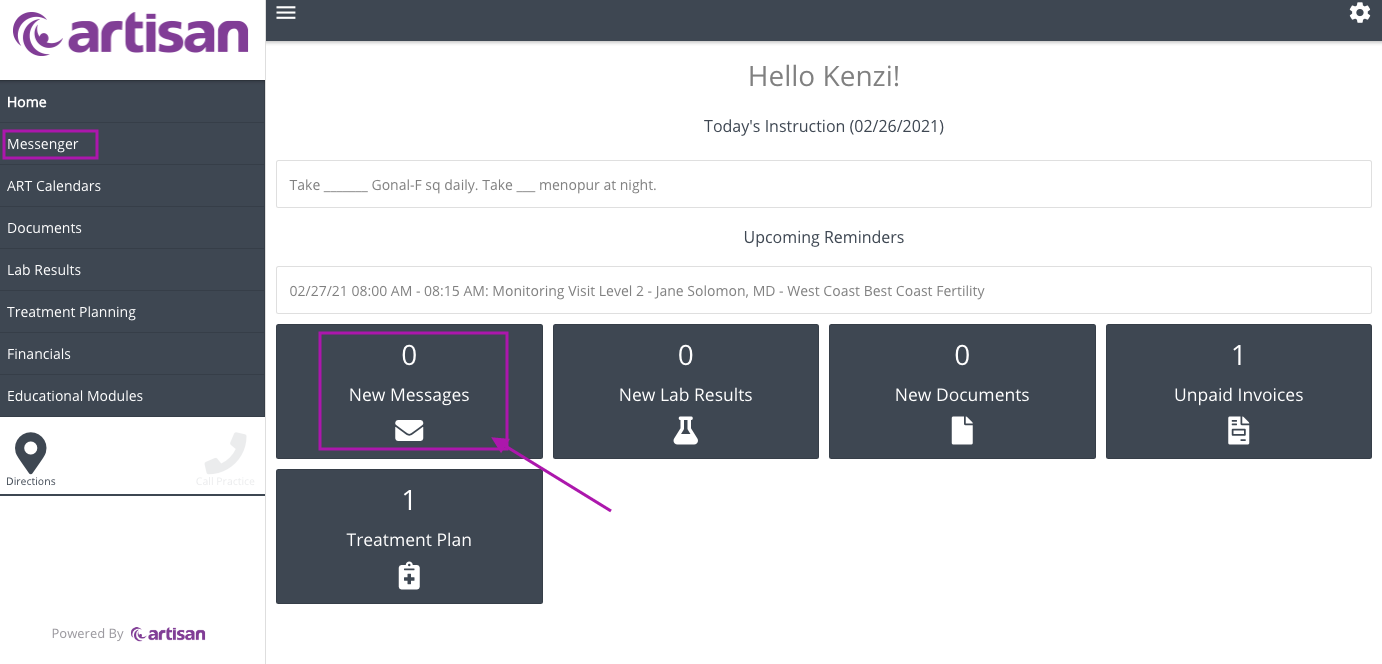
A notification will appear in the home screen indicating there is a new message. Click on the message icon to view the message.
Click on the message icon to view the message.
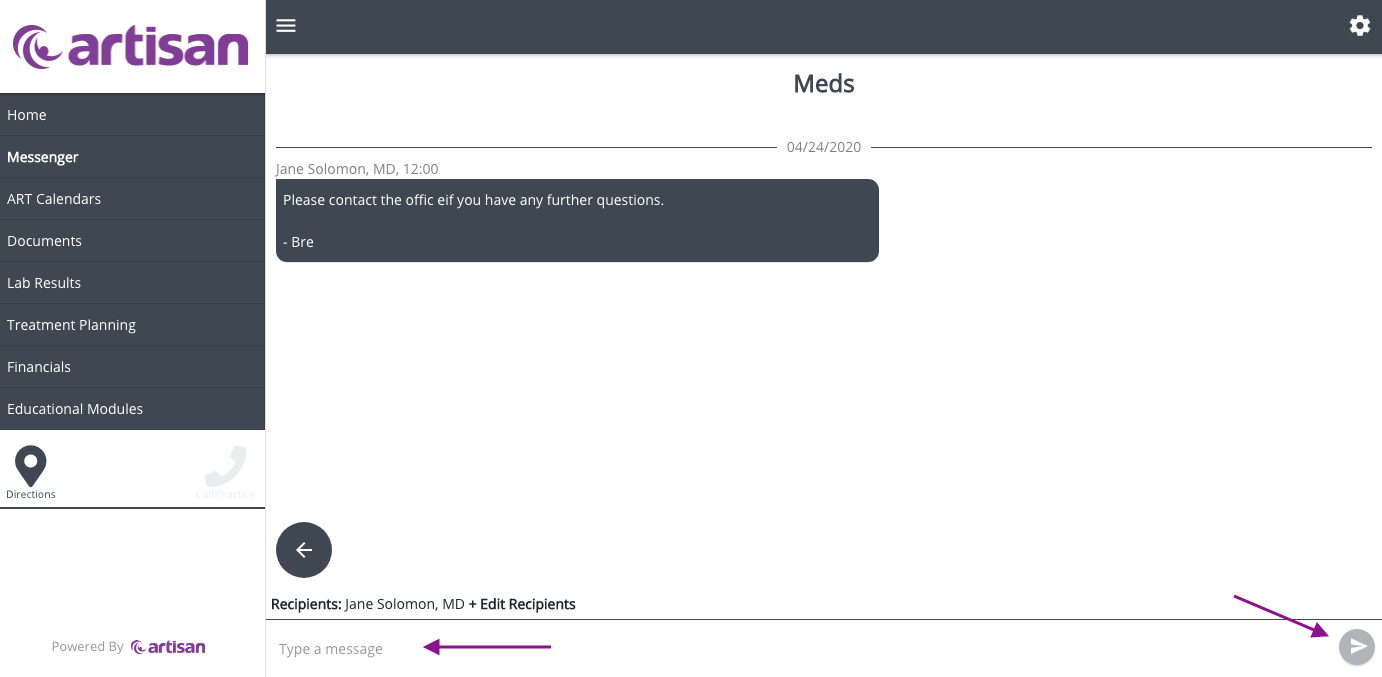
Once the message is viewed you are able to respond by texting inside the free text box then send the message.

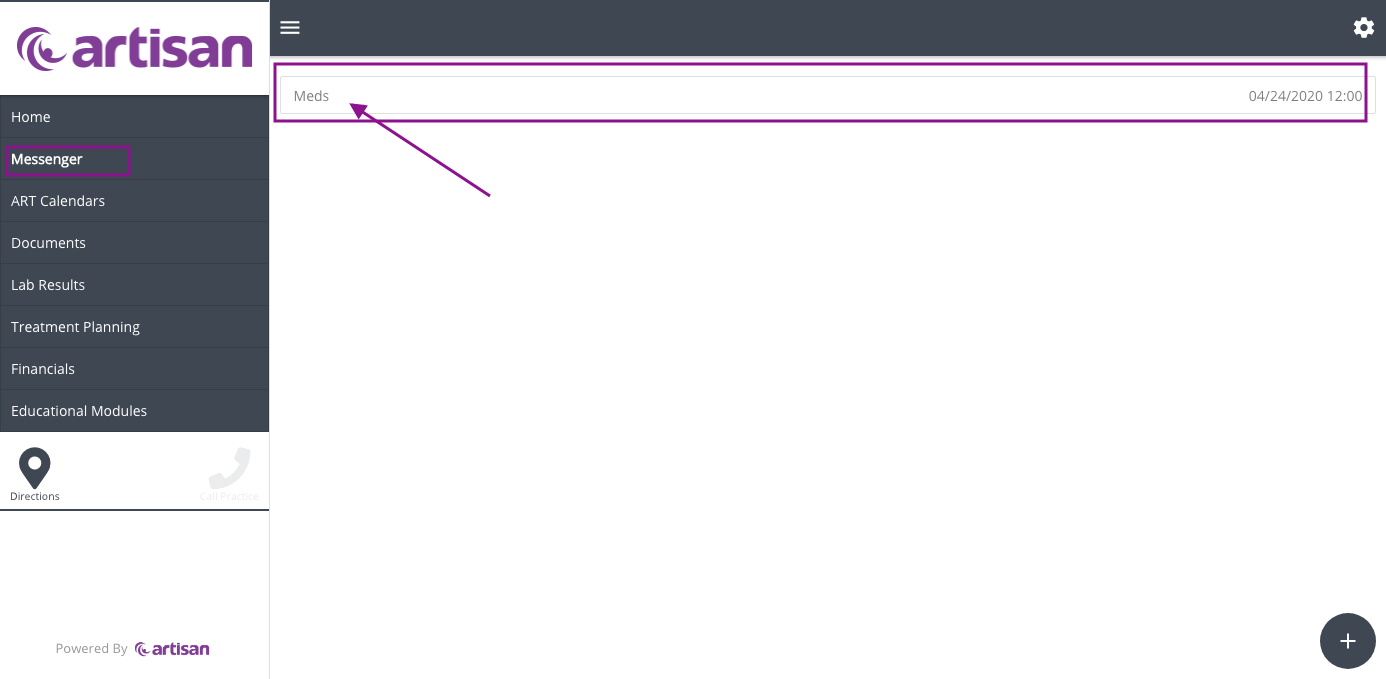
The patient can create a new message by clicking the plus sign icon.
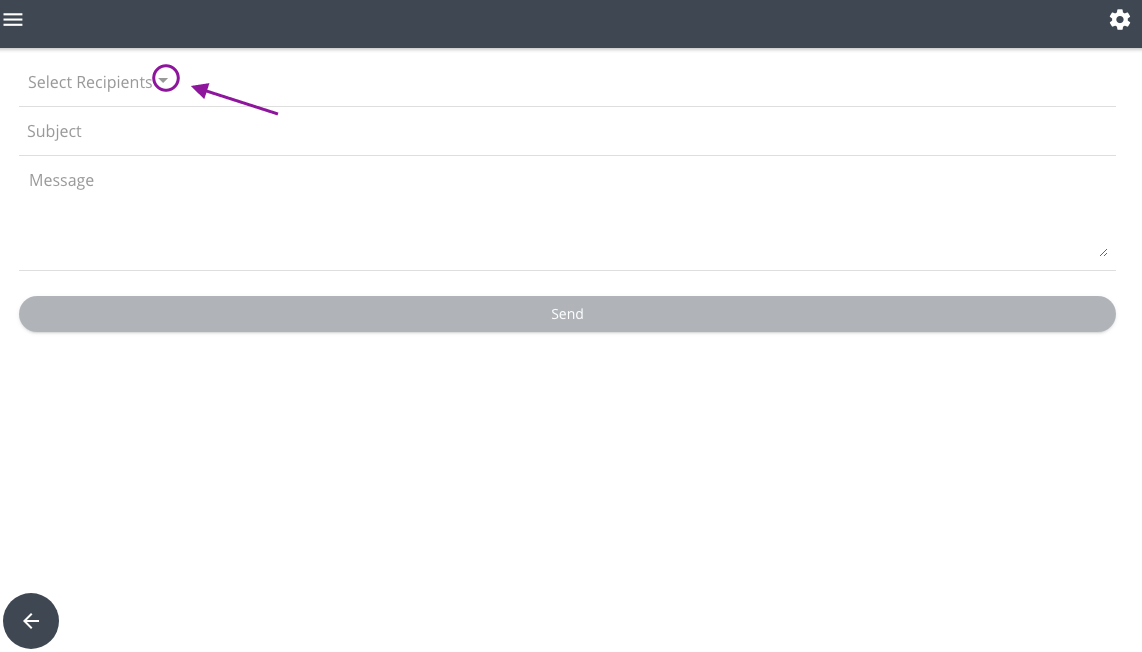
Click the drop down icon to add a recipient.
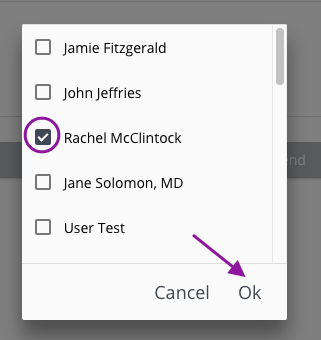
Select the recipient's name by clicking the box. Note: Patient's can add multiple recipients by marking the the appropriate boxes. Then click Ok.
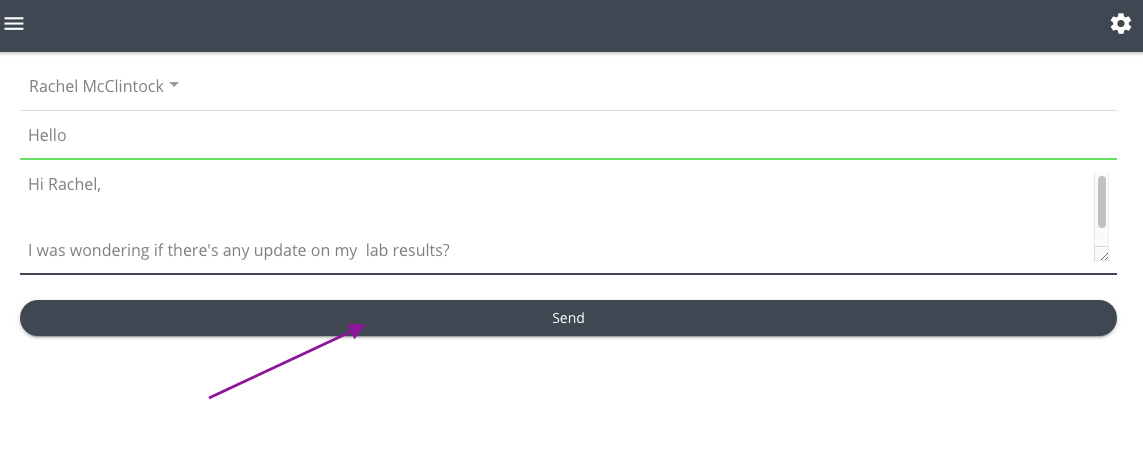
After filling out the fields. Click the Send button.
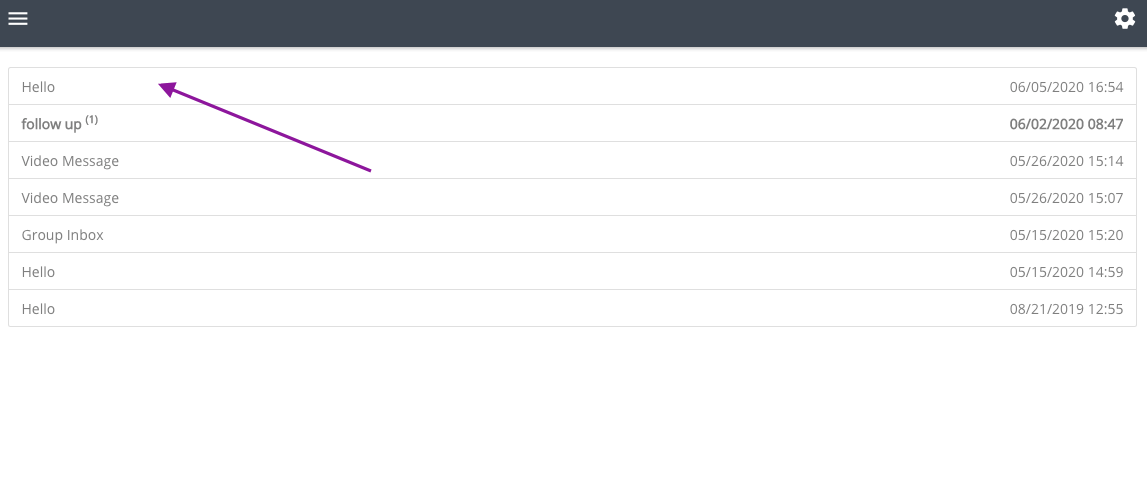
Select the subject name to view the newly created message.
The patient will now be able to view the created message and will have the same functionality as mentioned above.
ART Calendars
Within the ART Calendars section, patients will access their current and previous treatment cycles. They are listed by Month/Year and also indicate the type and name of the protocol. Use the drop-down box to select the current treatment calendar you wish to view.
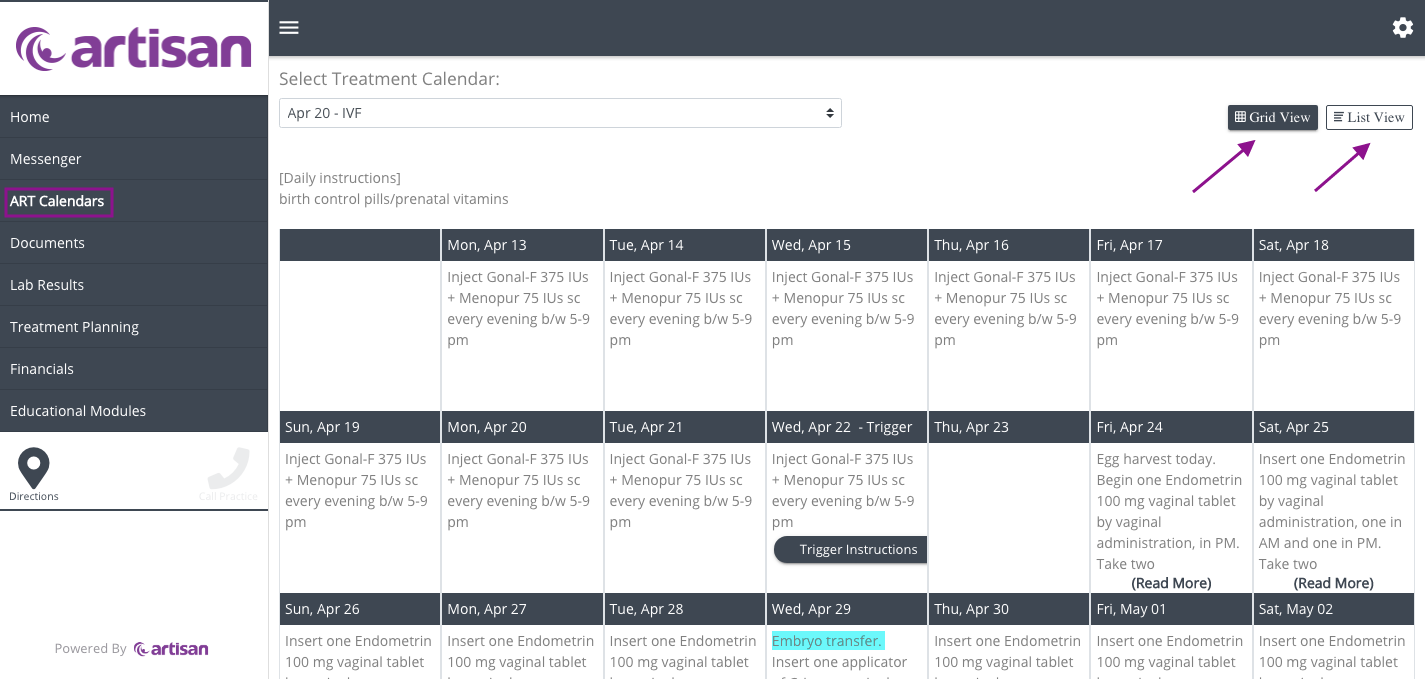
There are two different options for the calendar view. Select either grid view or list view.
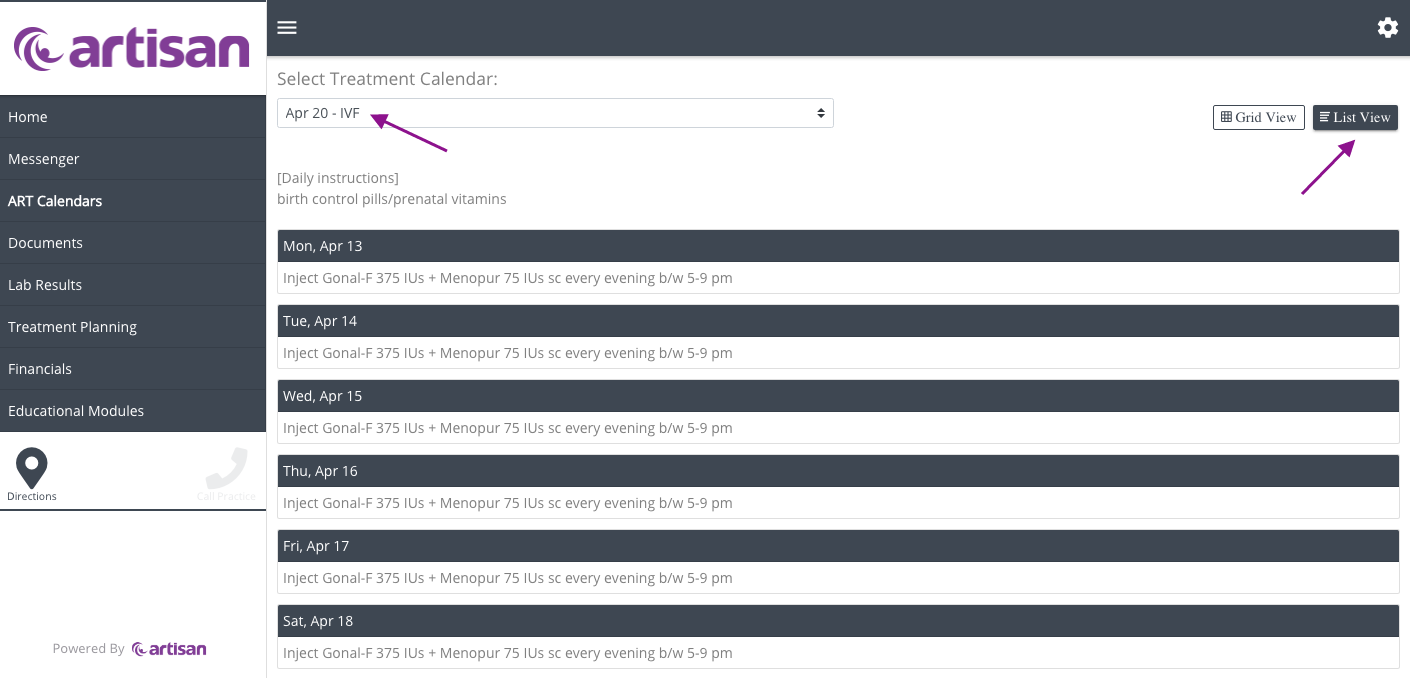
Please see the image above for the calendar in list view.
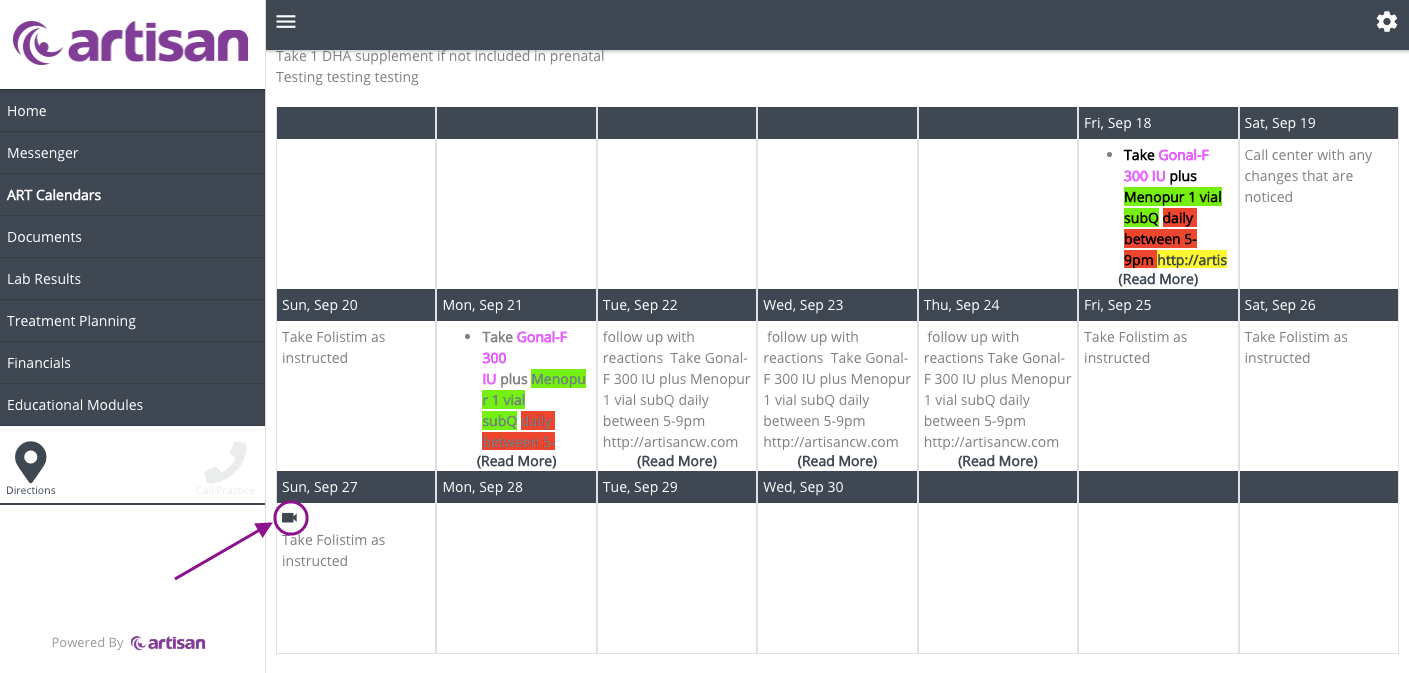
To view the video that has been attached to the calendar select the video icon within the calendar. Selecting this will automatically allow the video to play.
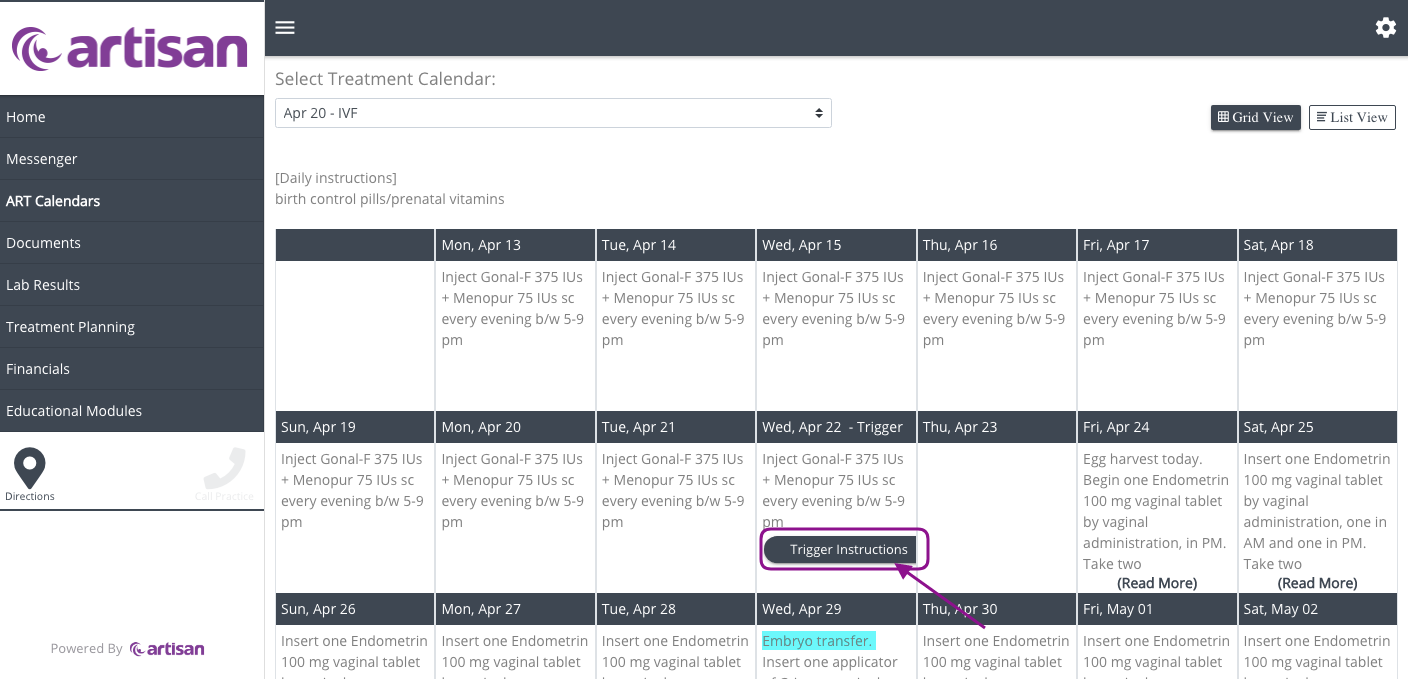
Once further instructions have been added to the patient cycle all instructions will display here in the Art Cycle. To view trigger instructions click on the icon that reads Trigger instruction.
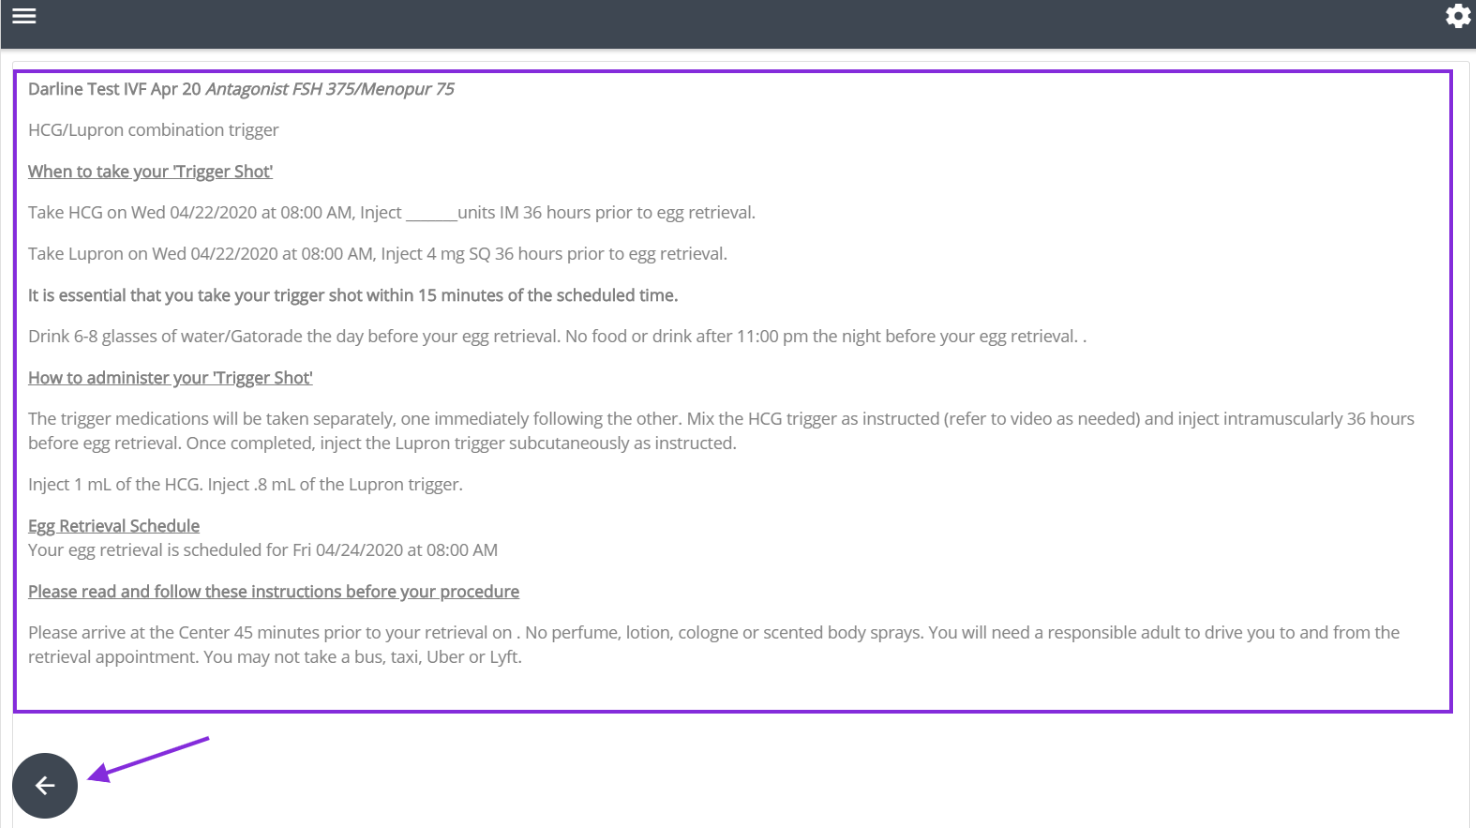
Once selected the trigger instructions will display in a full window. When finished select the arrow to return to the previous page.
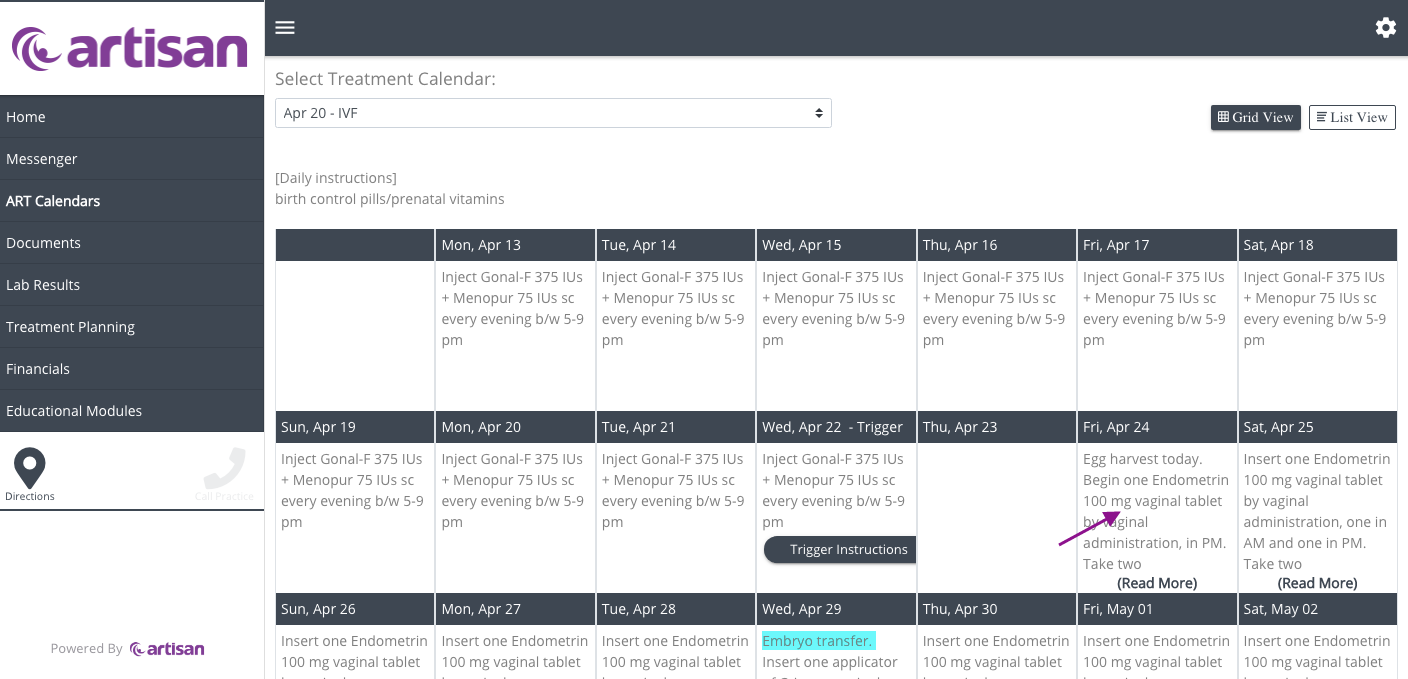
To view instructions that indicate read more select inside the calendar day.
Note that if you select the read more the instructions will not display. The read more is not a hyperlink to the instructions but an indication that informal the patient there are more instructions to view.
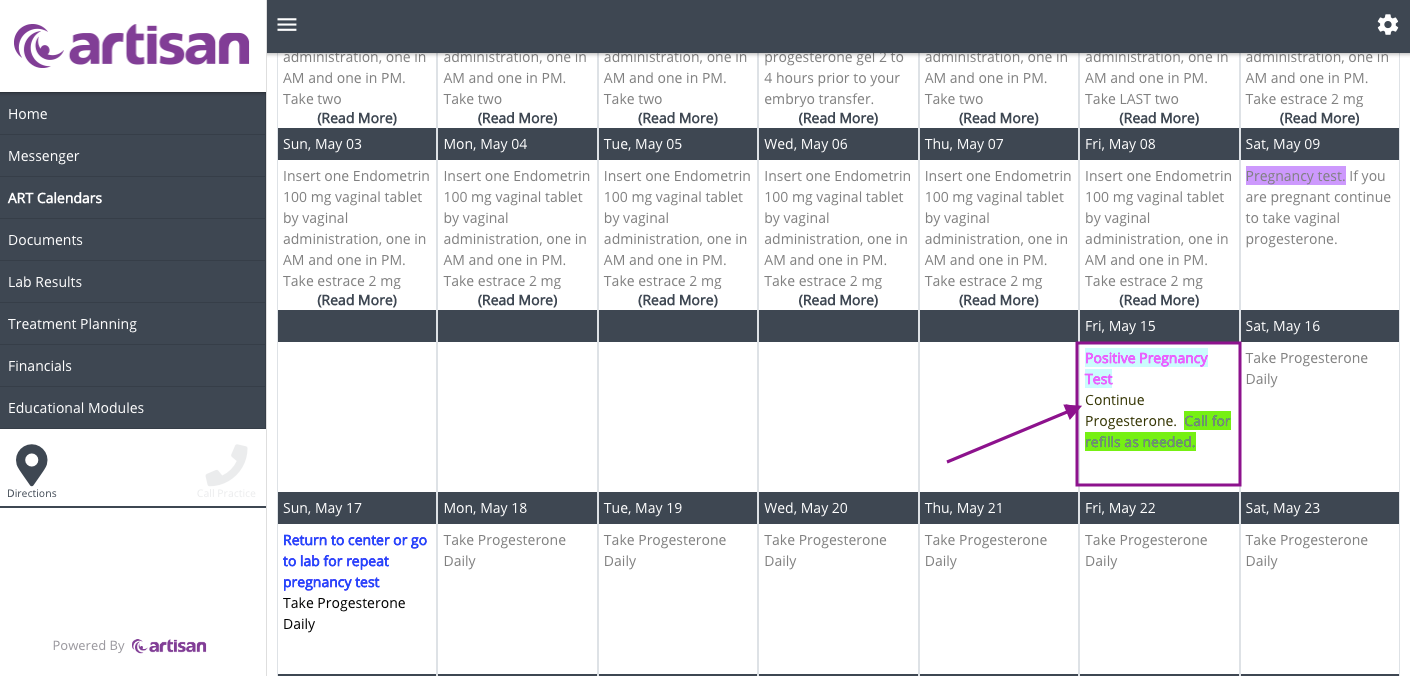
Pregnancy instructions will display in this same calendar with the same options to view in the list view or grid view.
Documents

A notification will appear in the home screen indicating there is a new document. Click on the message icon to view the message.
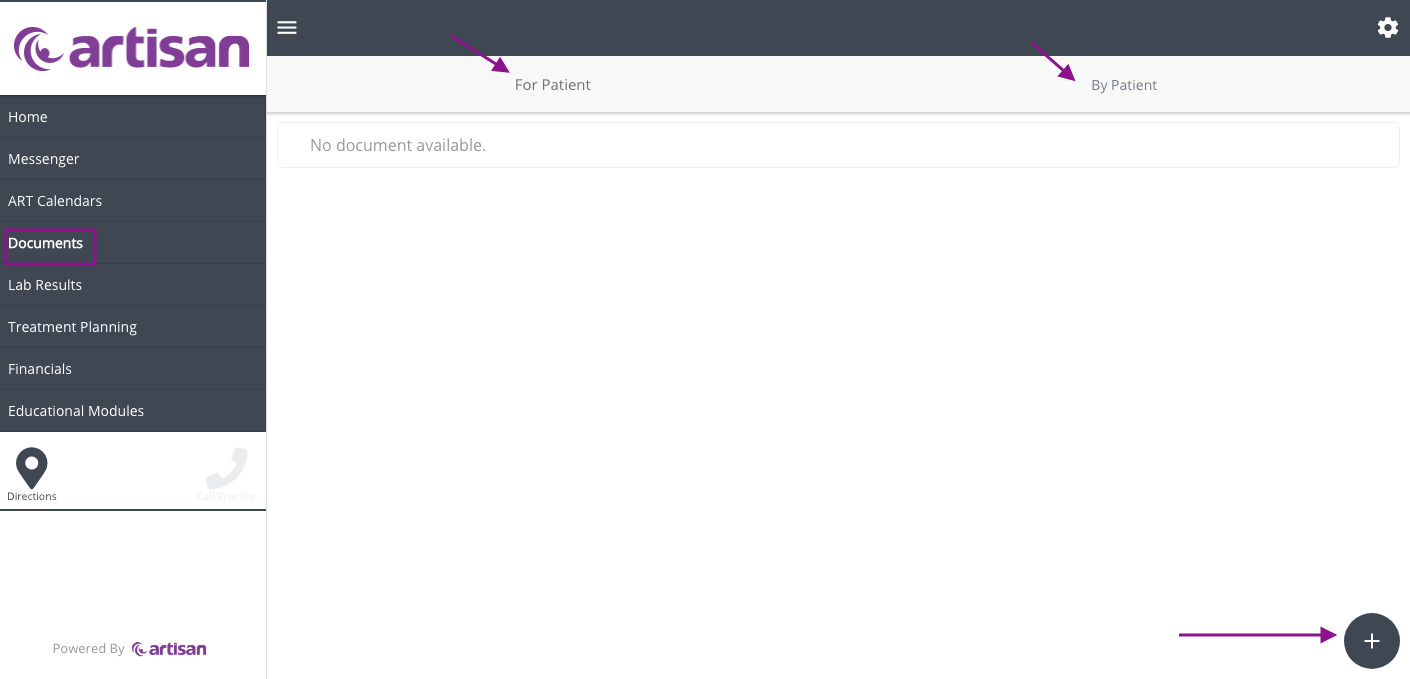
Within the document tab, patients can look at documents that have been uploaded to the patient's chart.
1. For patient- Documents that have been uploaded by the clinic for the patient(example, a patient information sheet).
2. By Patient- Documents that have been uploaded by the patient (i.e. medical history forms, images...etc). To upload a document select the white plus sign to upload documents for the clinic. Patients can easily upload documents to their chart for either themselves or their partners within the document tab.
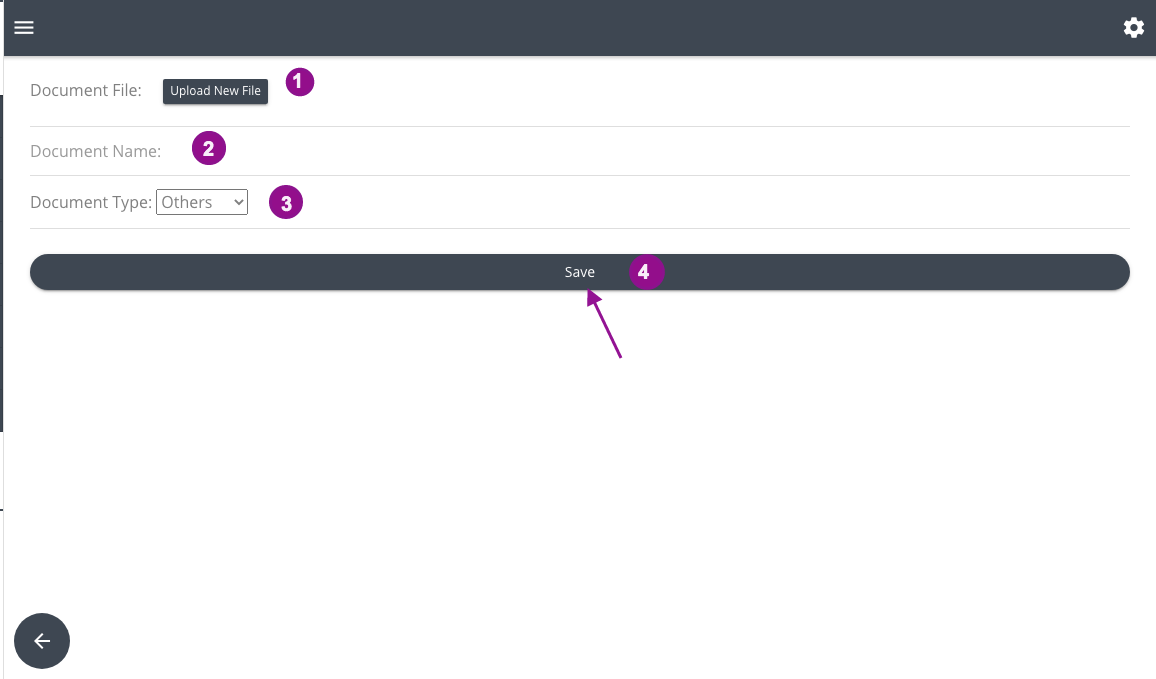
1. Upload the document file
2. Name the Document
3. Select from the dropdown what type of document this is
4. Select save
Lab Results
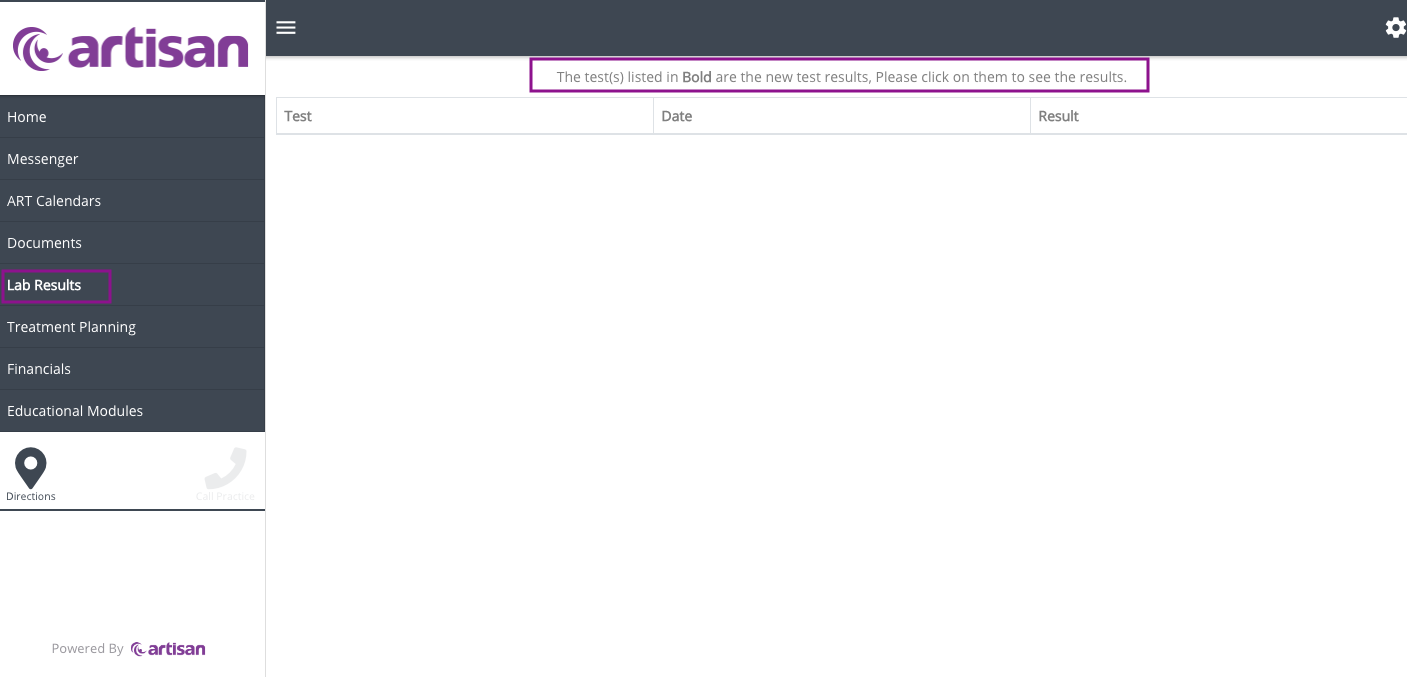
All lab results will live within the lab result tab.
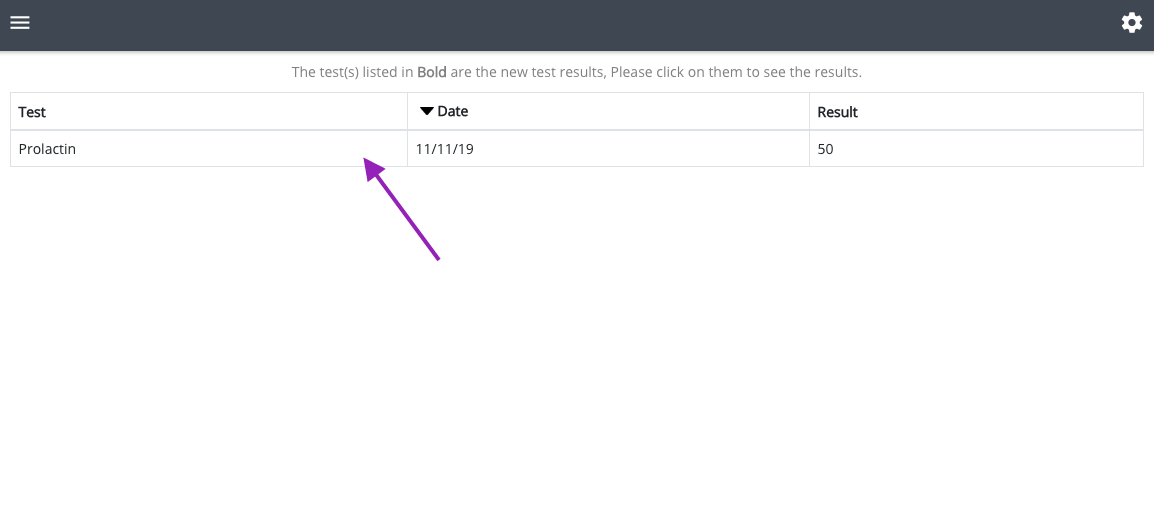
The lab results are published from your provider after being reviewed. The results will display and update daily.
Treatment Planning
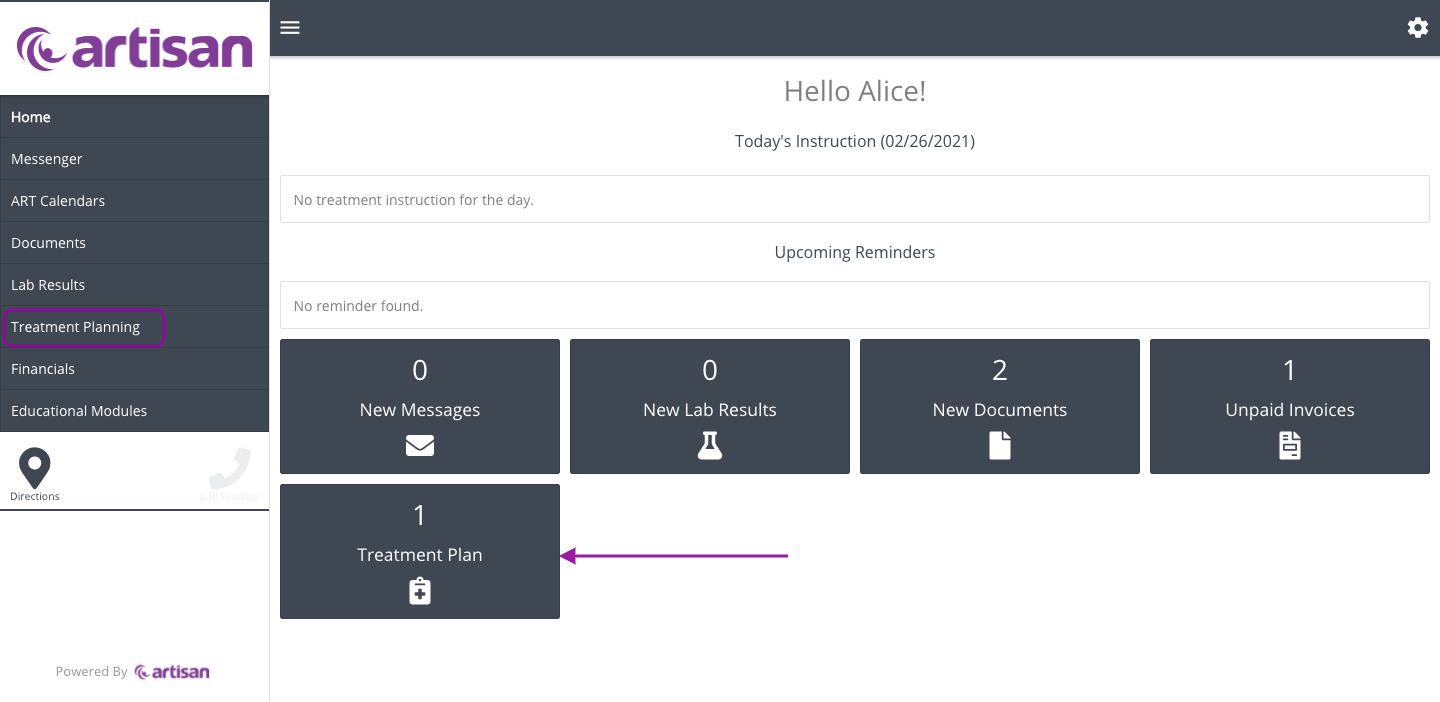
Click on Treatment Planning.
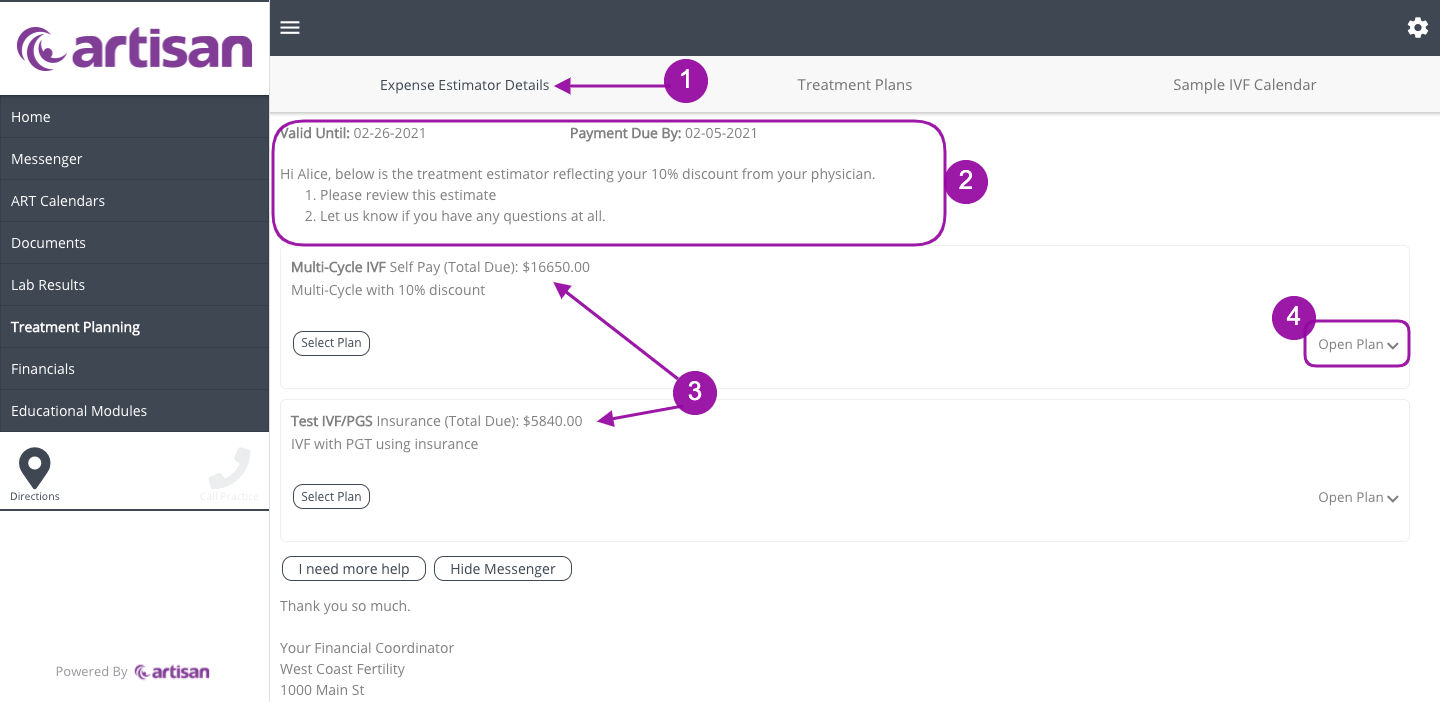
- The view will default to the Expense Estimator Details.
- The patient will be able to see the date the estimate is valid until, the payment due date, and the introduction from the financial coordinator.
- The estimates will list one after the other.
- To view the estimates, click on Open Plan.
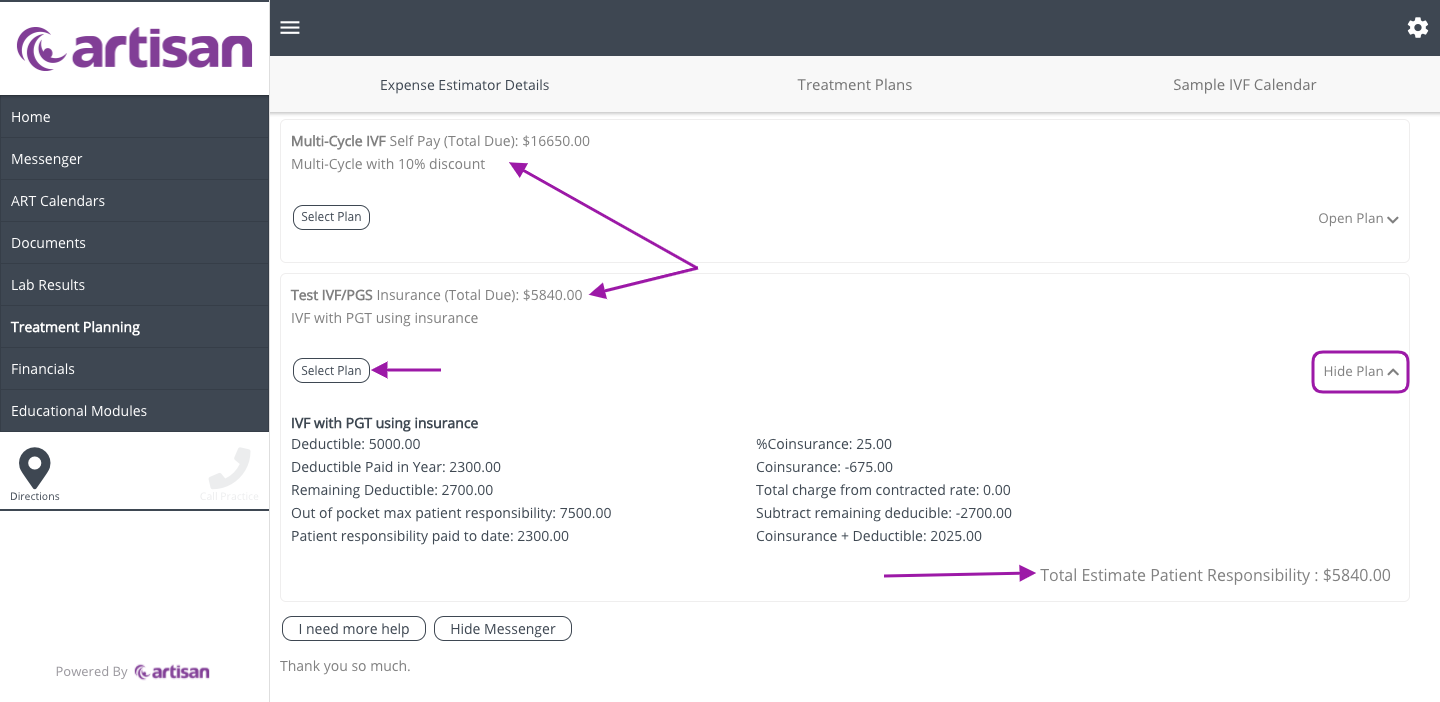
The view will expand to display the entire estimate for that plan to review the details.
To close the expanded view of the estimate, click on Hide Plan.
The Total Estimate Patient Responsibility will reflect in the bottom right-hand corner of the estimate.
Once a decision is made, the patient will want to click Select Plan.
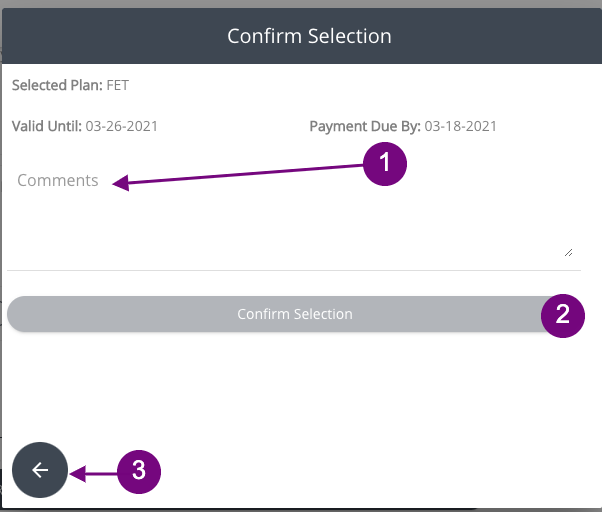
- The patient has a free-text field to type a message to the Financial Coordinator before confirming their selection.
- When they click Confirm Selection they will only see the plan they selected. See the below image for an example.
- Click the arrow to cancel and go back to the last screen.
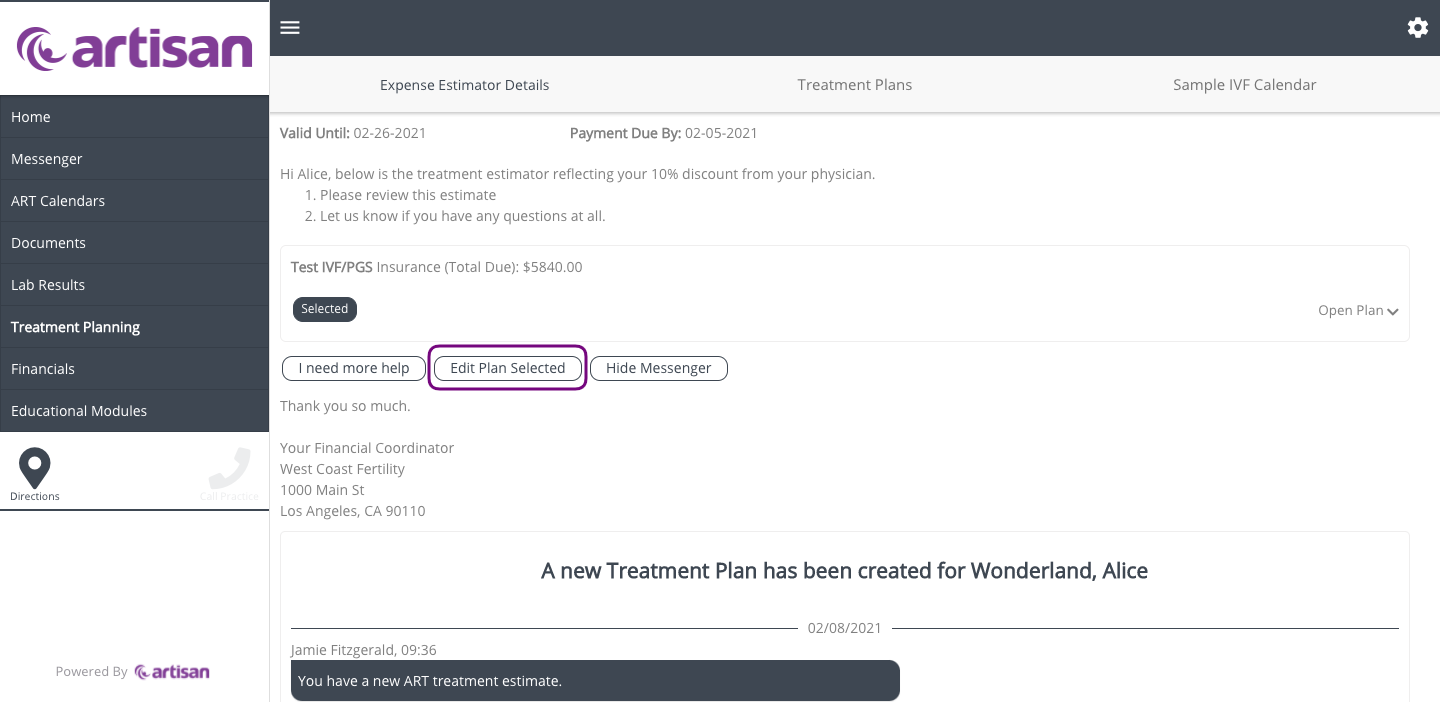
The patient can click Edit Plan Selected to revert back to make any changes or select the other plan option.
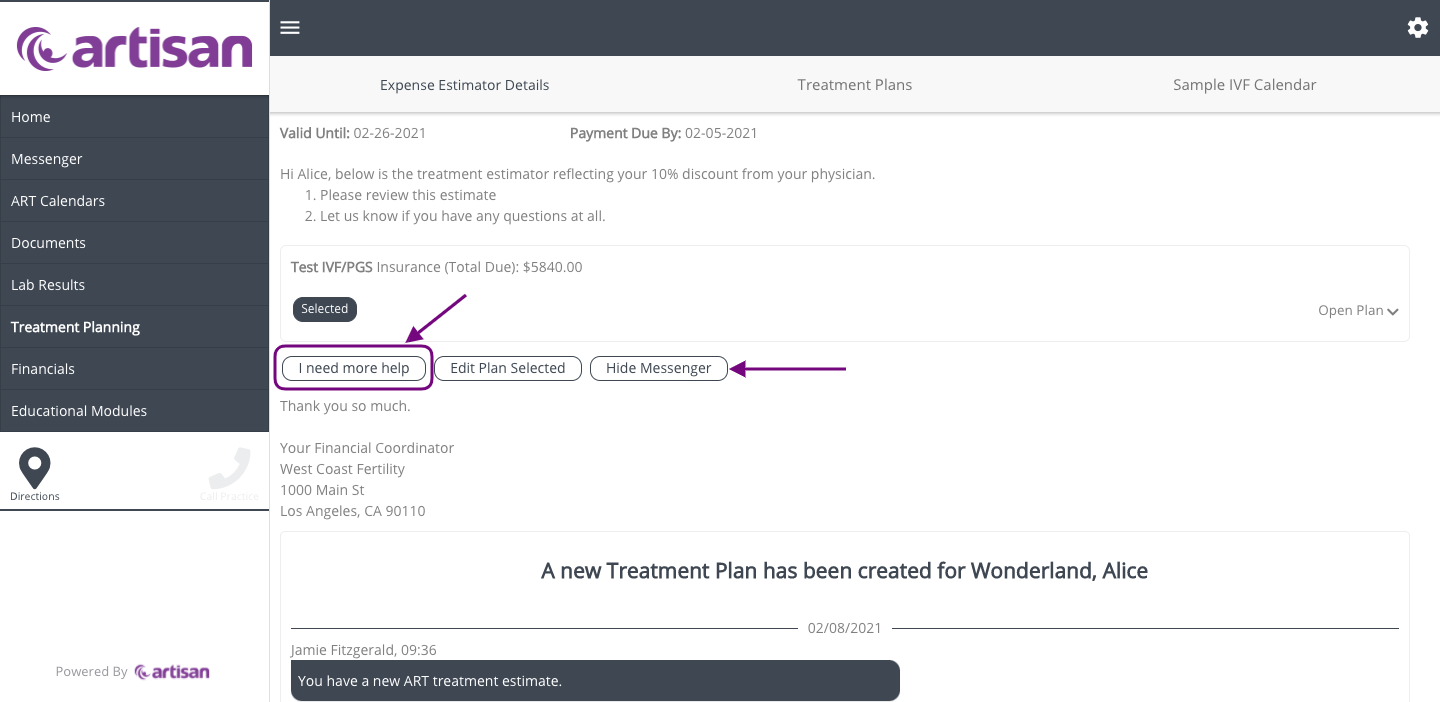
The patient has the ability to message their financial coordinator directly from the Expense Estimator Details screen. Clicking I need more help will send an instant message to the Financial Coordinator.
Click Hide Messenger/Show Messenger to collapse or expand the messenger view.
Please see the Messenger area above for further information.
Financials
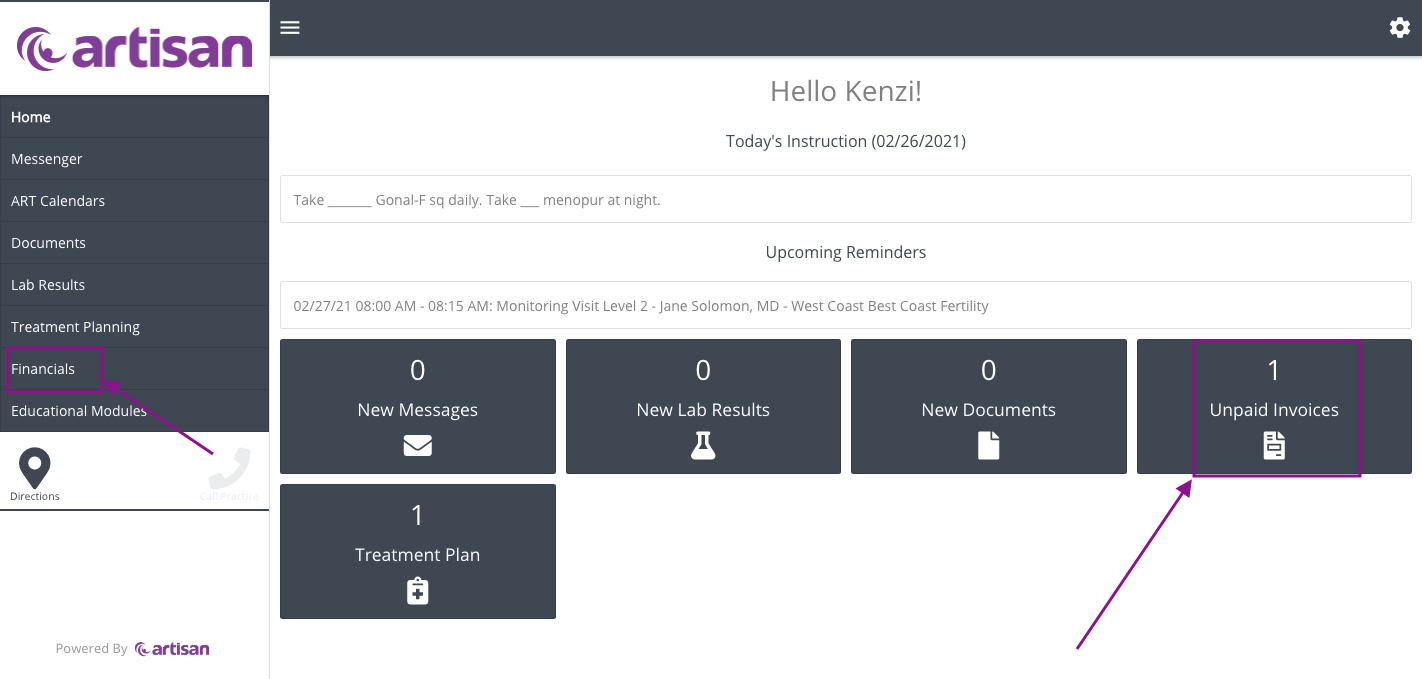
A notification will appear in the home screen indicating there is an unpaid invoices. Click on the Unpaid invoices icon or click the Financials tab to view the invoice.

Within the Financial tab, patients can view their prior and current invoices. The balance will also display at the top.
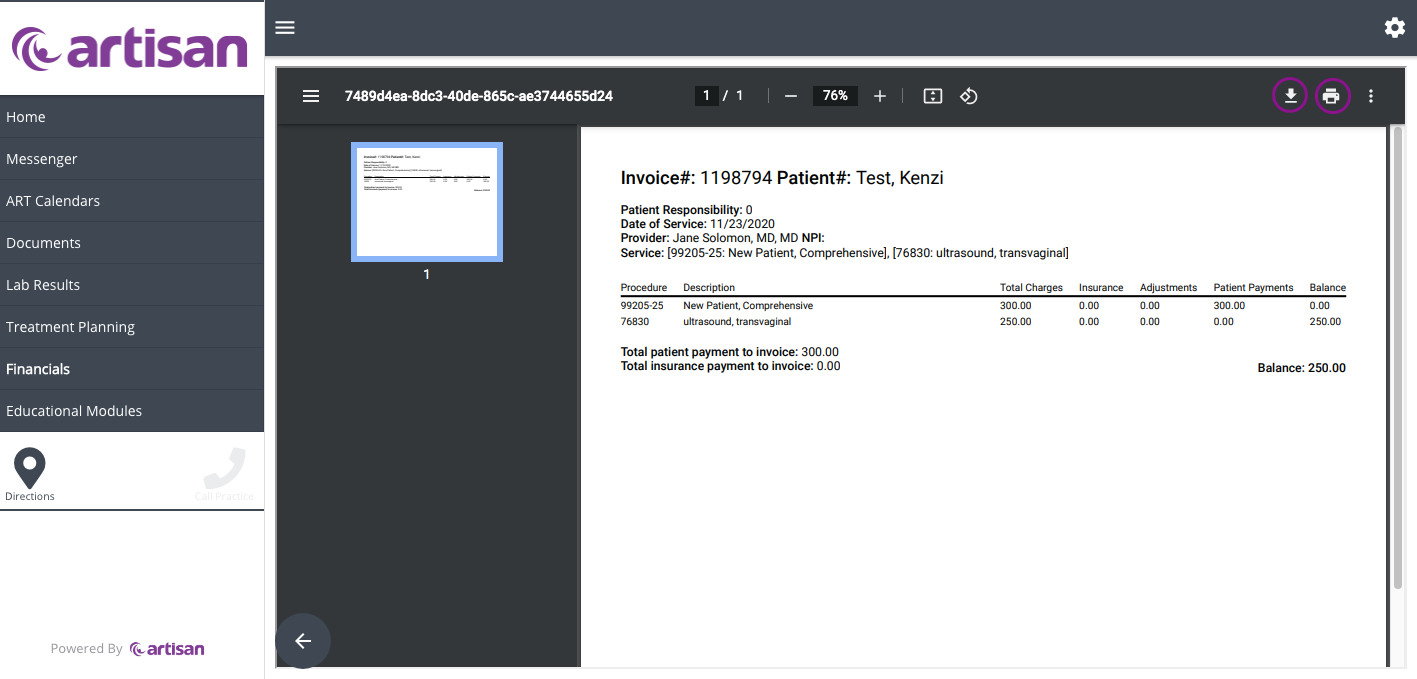
The above screenshot is an example of an invoice. The patient can print by clicking the printer icon or download the invoice to their computer as needed.
**All manuals are compliant with HIPPA regulations. No patient information has been released. All screenshots above were taken from a test clinic with fake patient information.
Artisan Support
Comments