Order lists can be used as check lists within an ART cycle, within an Advanced Progress Note as physician orders or created from Orders as physician orders.
Order List Templates

Order lists are created under Order List Templates:
1. Click on Administration (gears in the bottom left corner of Artisan).
2. Click on Manage Data.
3. Click on Order List Templates
Orders Elements
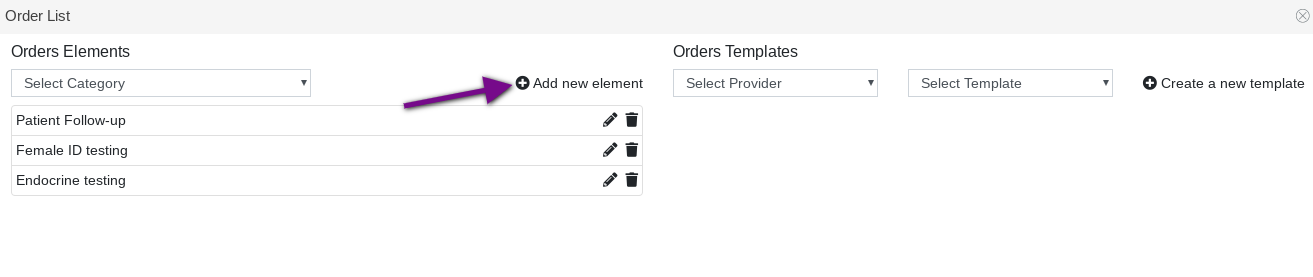
Orders Elements are the items that are used to create the Orders Templates. To create an element, you will start by clicking on +Add New Element.
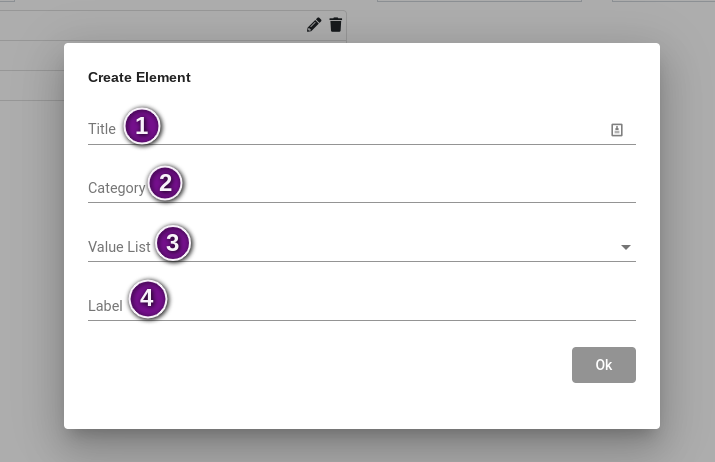
There are 4 components to an Element:
1. Title: The name of the element.
2. Category: Categories are created to organize your Elements. Several Elements can be housed under one category.
3. Value List: Allows you to select a checkbox, radio button or text field for the Element.
4. Label: This appears next to the Title in the Order Template.

The title is the name of the Element. This is what the Element is listed as when viewing the Elements.
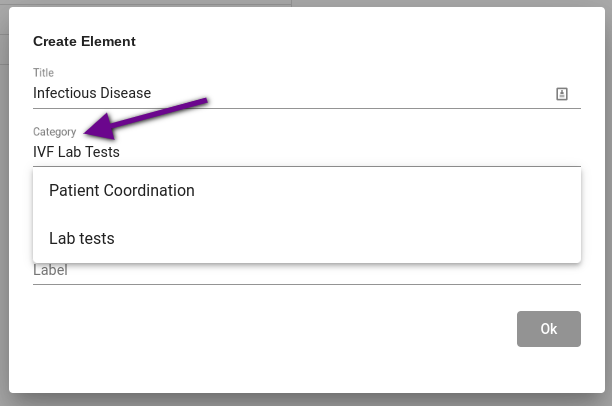
You can create as many categories for your Elements as needed. To create a category, type in the name of the category that you would like. Once you create a category, that can be selected from the drop down list to use for multiple Elements. Elements are able to be viewed by categories, making it easier to organize them.
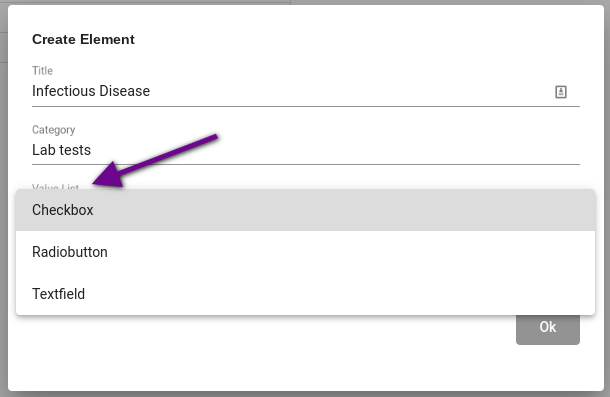
You will select a checkbox (allows you to select more than one check box at a time and allows the user to un-check the box), radio button (only allows you to select one item) and text field (allows you to free type into the field for that Element).
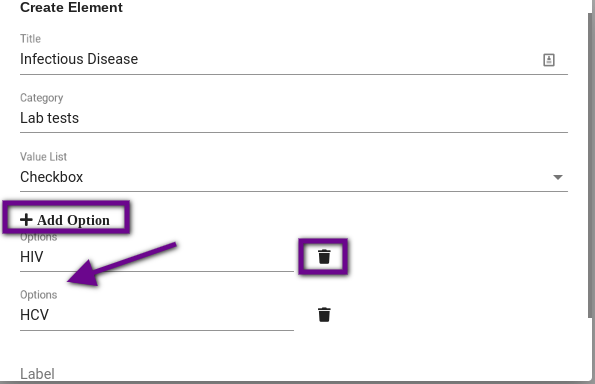
When a checkbox or radio button are selected under Value List, you will then have the choice of +Add Option. This will allow you to list items within this element. Click +Add Option to add a line and type in the item. As many lines as are needed can be added. You can also delete lines by clicking on the trash can to the right of the item. The options added will have either check boxes or radio buttons next to them in the Order List (depending on what was selected in the element), allowing the user to select the items.
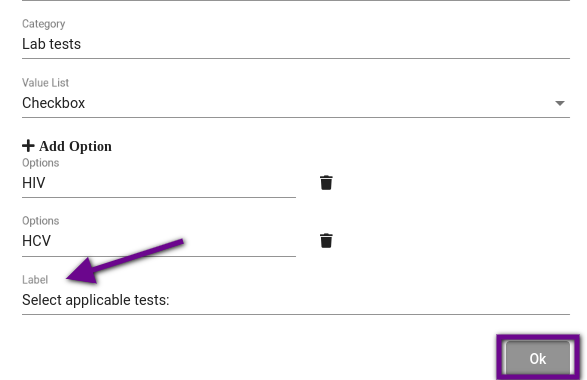
The Label will appear next to the Title in the Order Template. A label can be added by typing into the text field or it can be left blank if a label is not needed for the Element. Once all of the fields are filled in, click Ok to save the Element.
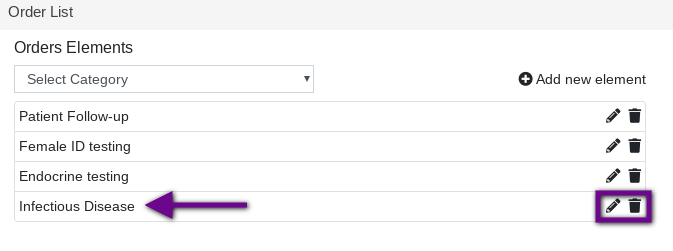
The Element will now live under the Orders Elements. The Element can be edited at any time by clicking on the pencil to the right of the it. The Element can also be deleted at any time by clicking on the trash can.
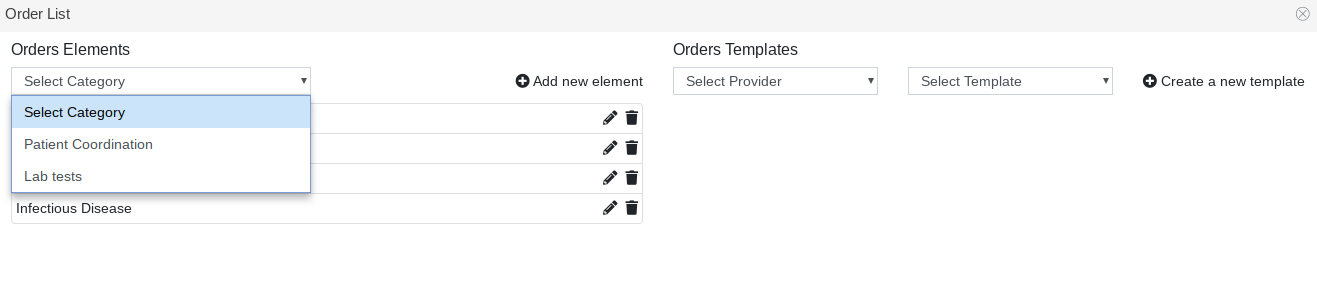
The Orders Elements can also be view by category. To pull up the categories, click the drop down menu under Select Category and select the applicable item. You will then be able to view only the Elements in that category.
Orders Templates

Once the Orders Elements have been created, you are now ready to create the Orders Templates.
1. Select Provider: The Orders Templates are specific to each provider, so the provider this Template is being created for will be selected from the drop down.
2. Select Template: If a template that has already been created for the provider needs to be edited, click the drop down for Select Template and select the applicable template.
2. +Create a new template: Click on this if a new template is being created for the provider.
Creating a New Template
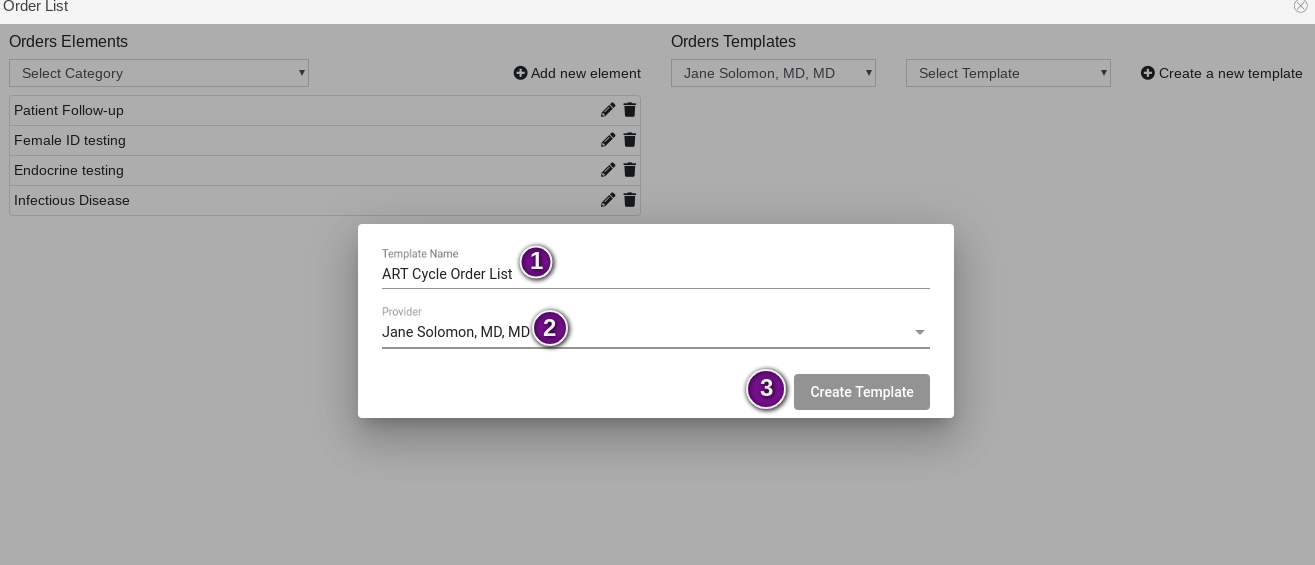
Once +Create a New Template is selected, the following will be done:
1. Template Name: Name the template that is being created.
2. Provider: Select the provider that the template is being created for.
3. Click Create Template.

Click the drop down for Select Template and select the template you will be working on.
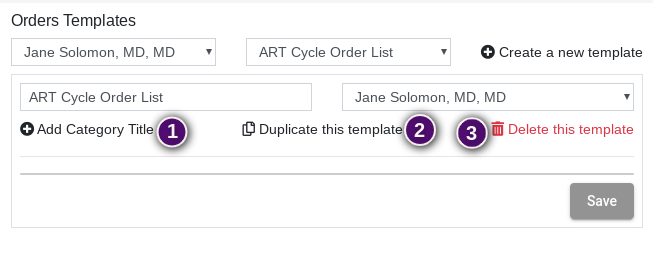
There are 3 options along the bottom of the the Orders Templates:
1. Add Category Title: Add a category title to a list of elements.
2. Duplicate this template: Duplicate the template to create the same template for another physician.
3. Delete this template: Delete a template that is not longer being used at any time.
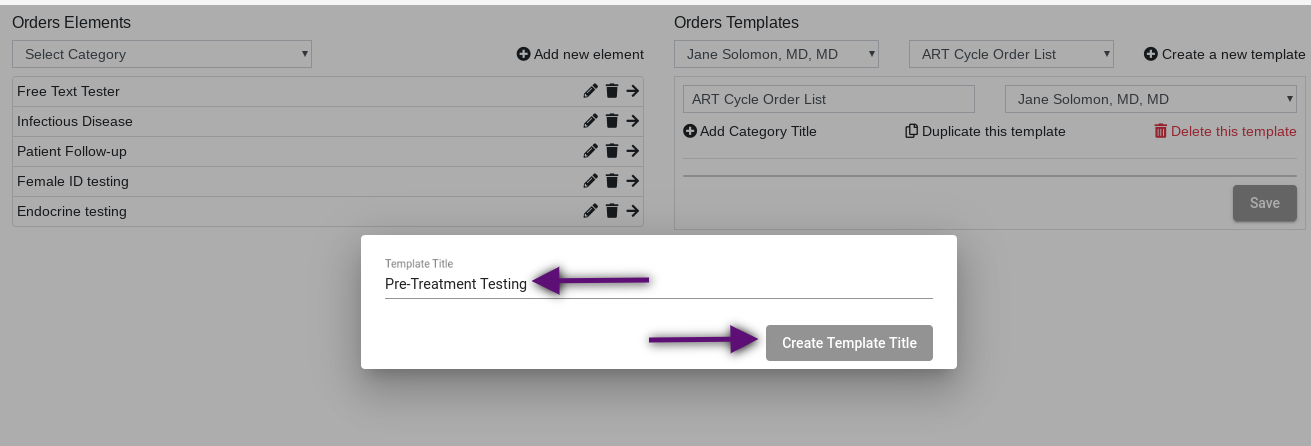
When you click Add Category Title, a screen will pop up that prompts the user to create a Template Title and then click Create Template Title.
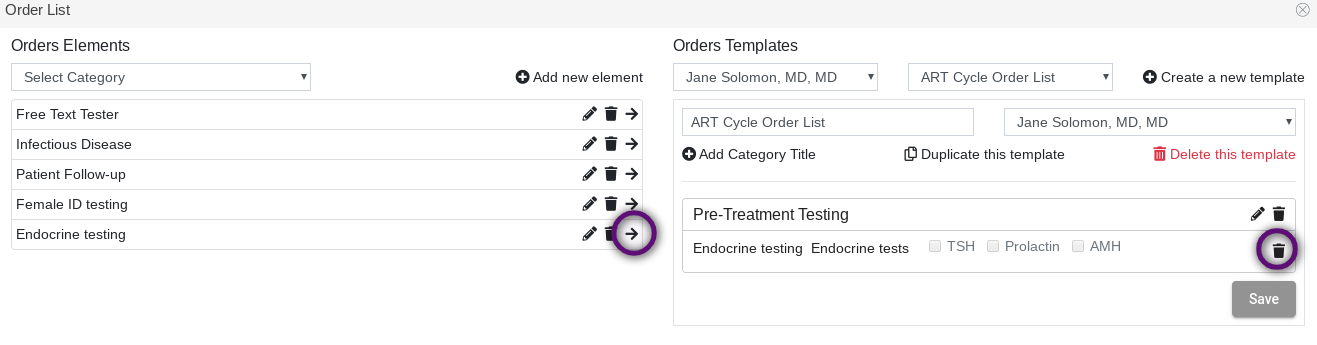
The Category Title will live at the top of the elements that are placed under it. It can be edited with the pencil icon or deleted with the trash can at any time. To add an element to the template, click the arrow to the right of the element. The element can be deleted from the Order Template at any time by clicking the trash can to the right of it.
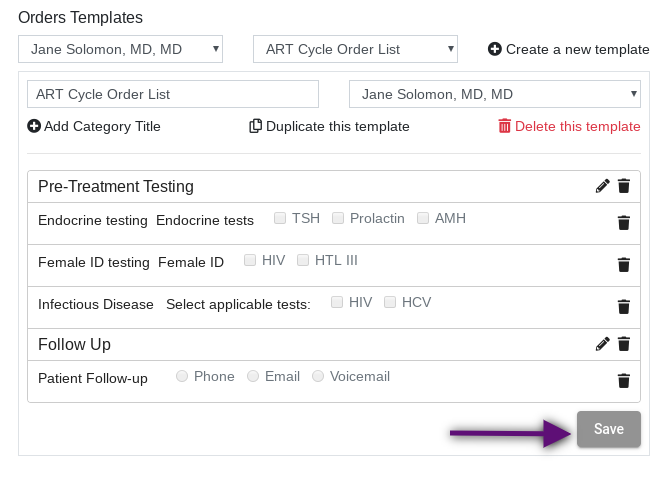
Once you have completed the template, click Save. This template will now be an option for the selected physician.
Duplicating a Template
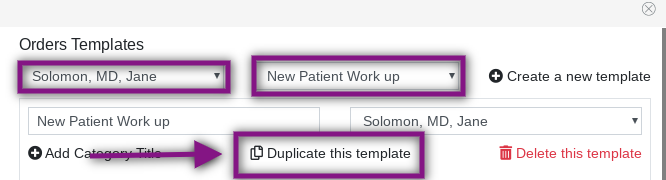
For practices with more than one physician, the same a template may be used for more than one provider. To duplicate a template, select the physician the template is currently under and then select the template.
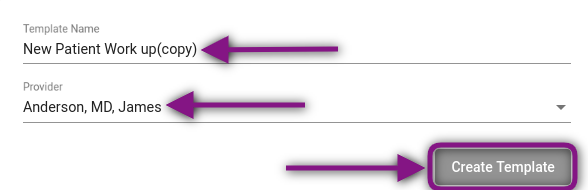
Remove (copy) out of the template name and select the Provider that you are copying the template to from the drop down. Click Create Template.
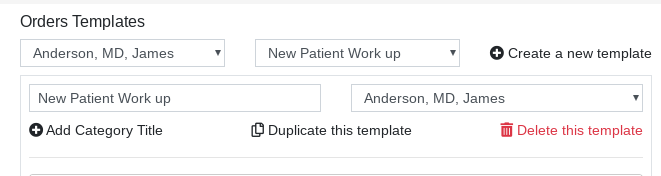
The physician will now have this template available.
Order Lists in an Advanced Progress Note
Order Lists are used as physician's orders when selected in an Advanced Progress note. For instructions on how to add Order Lists to an Advance Progress Note template, please read the manual Advanced Progress Note.

Within the Advanced Progress Note, scroll down to Order List and click Create New.
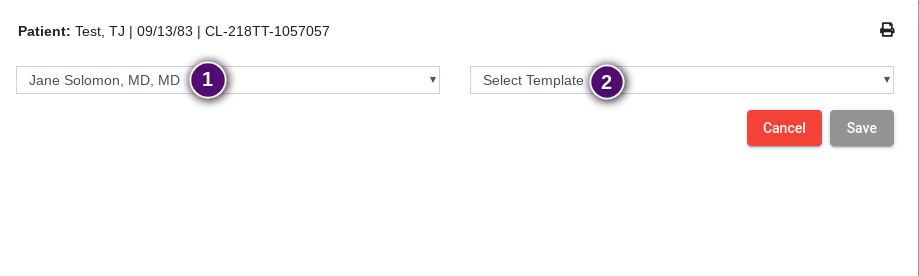
1. The physician will automatically default to the primary physician in the patient's chart. Click the drop down box to select a different physician.
2. Select a template from the list of templates that have been created for the physician selected in step 1.
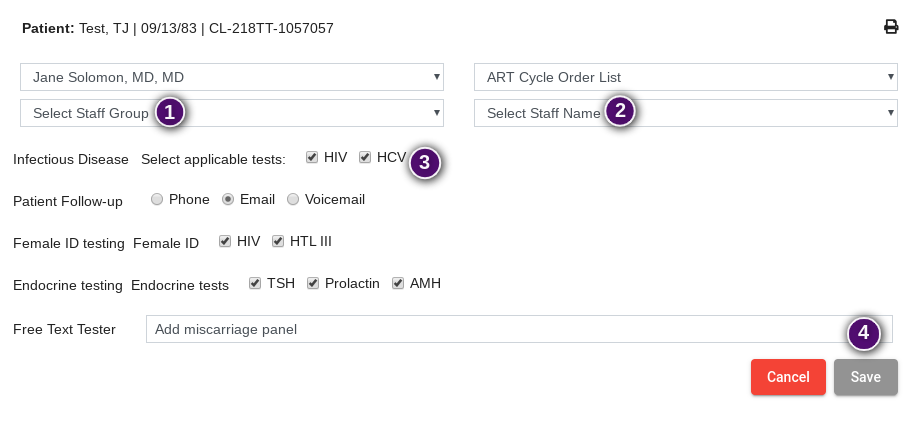
1. Select the Staff Group from the drop down.
2. Select the Staff Member from the drop down. You can leave this blank if you do not want to assign a specific staff member to the Order List.
3. Select the applicable tests from the Order List.
4. Click Save to save the order list in the Advanced Progress Note. Click Cancel if you do not want to save the Order List.
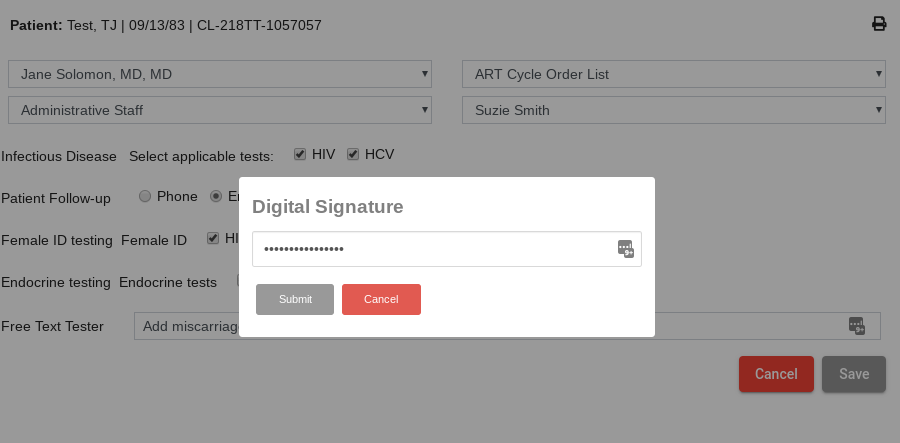
Artisan will prompt you to enter your digital signature and click Submit.
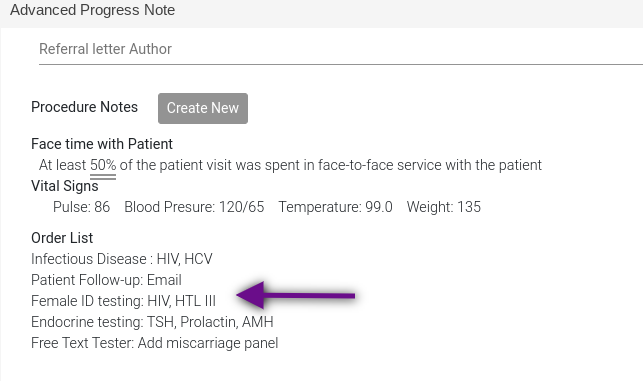
The Order List is now part of the Advanced Progress Note. This can be found under the Progress Notes section of the patient chart.
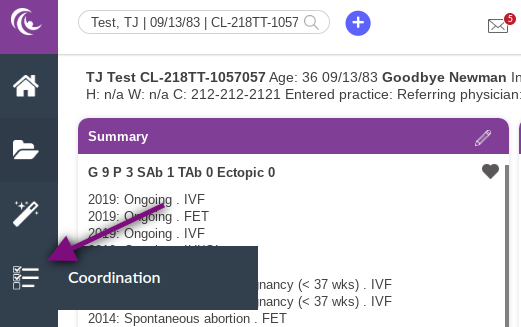
The Order List can also be accessed in Coordination.

There are different filtering options for the Order List in Coordination:
- Staff Category- Select a Staff Category to see Order Lists only assigned to this staff category.
- Select Staff- Select a staff member from the Staff Category that was chosen to see any Order Lists assigned to that specific staff member. A Staff Category must be selected in order to select a staff member.
- Click to Find Patient- Type in the last name of a patient or use the magnifying glass to see any Order Lists assigned to that patient only.
- Show All- Click the box next to Show All to see all Order Lists for the practice.
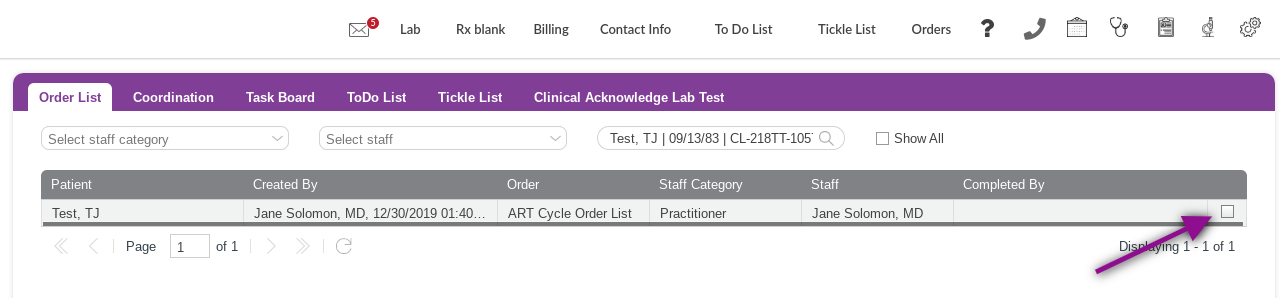
Click on the Order to view the full order. Click on the box to the right of the order to remove the order from the Order List in Coordination. This will prompt the user to enter a digital signature. The Order will be removed from Coordination but will still be able to be viewed in Orders at the top of the screen when in the patient chart.

The Order List in the Advanced Progress Note will also be in the patient's Orders located in the quick pick menu above the patient chart. The user must be in the patient's chart in order to access their Orders.
Order Lists Within an ART Cycle
Order Lists can be used as a checklist within an ART cycle.
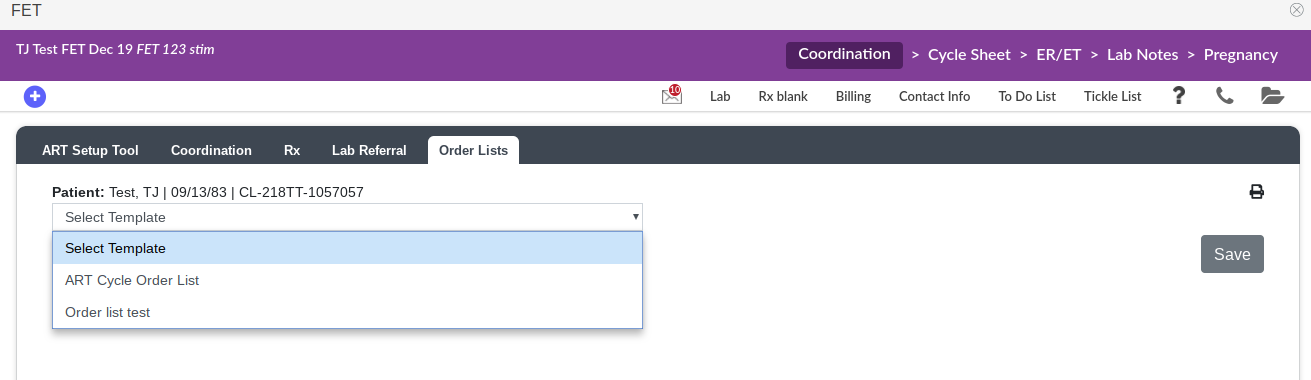
Under Coordination within the ART cycle, click on Order Lists. Click the drop down to select a template.
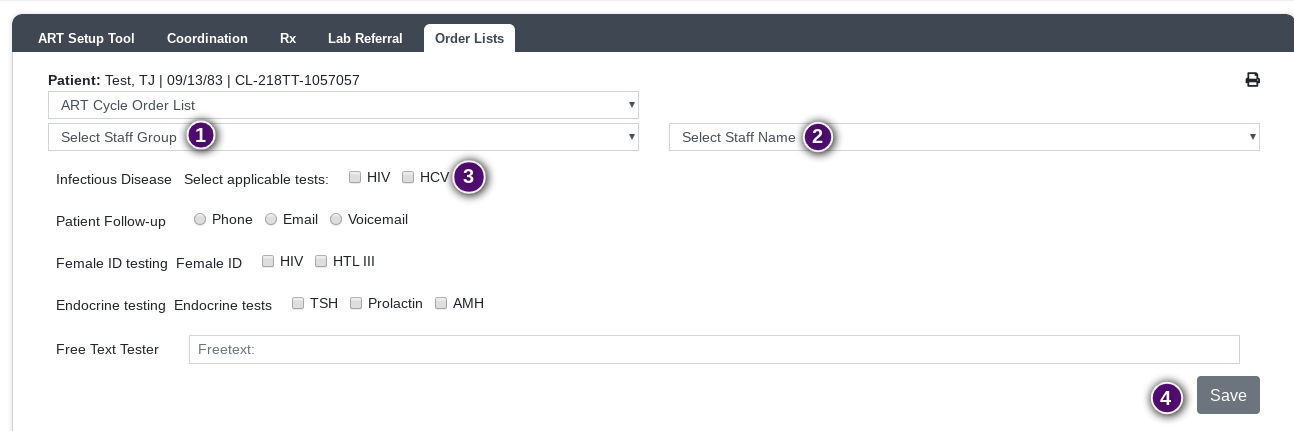
1. Select a Staff Group.
2. Select a Staff Member name.
3. Select the applicable tests.
4. Click save to save the Order List.

The user will be prompted to enter a digital signature.
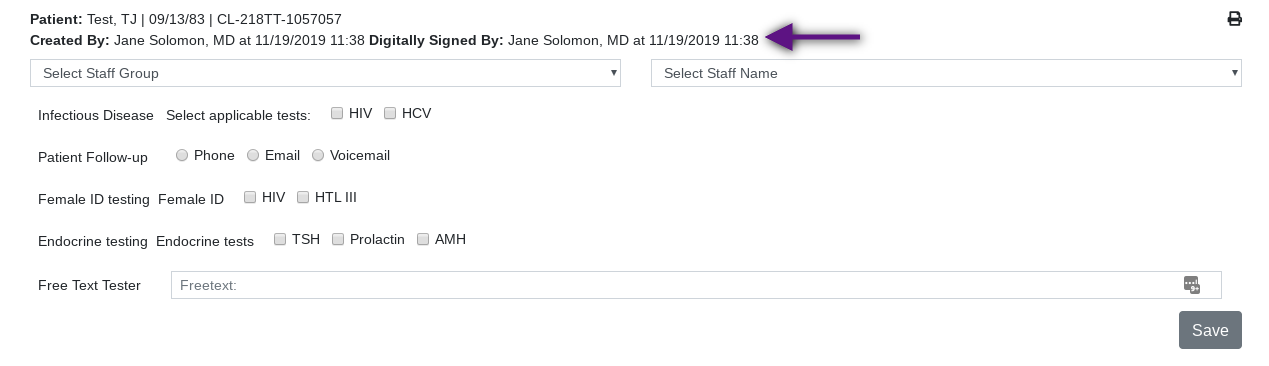
The Order List will have a name, date and time stamp for the staff member that created it as well as a name, date and time stamp for the last staff member that digitally signed for the Order List. Any time changes are made and saved, the staff member will be prompted to enter a digital signature. The Digitally Signed By will then update with that staff member's name, date and time that they signed off.
Order Lists Created from Orders
Order Lists are used as physician orders when created from Orders.

While in the patient chart, click Orders at the top of the screen.
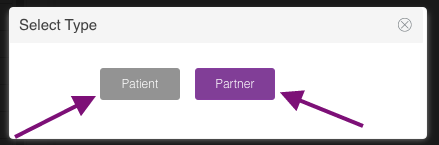
Select if the order is for the Patient or Partner.
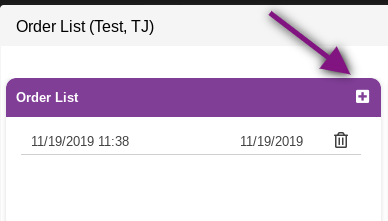
On the Order List screen, click the + icon.
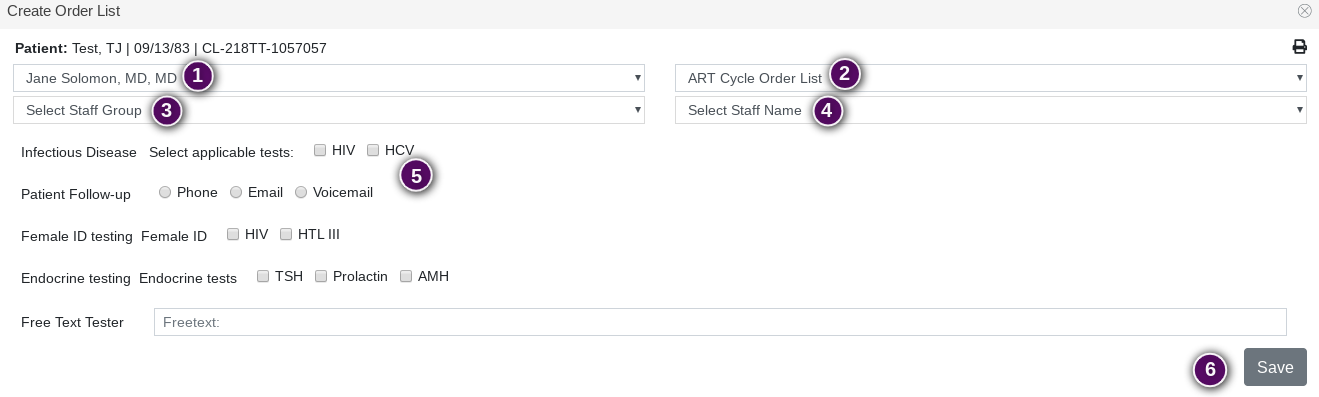
- The physician name will default to the Primary Physician that is selected in the patient's demographic information. To select a different physician, click the drop down box and make a new selection.
- Select the Template. Only the templates created for the selected physician will be available to select.
- Select the Staff Group.
- Select the Staff Name from the list of staff members that are in the selected Staff Group.
- Select the items that are being ordered from in the Order List. This is done by check boxes, radio buttons or free text boxes depending on how the template was built.
- Click Save.
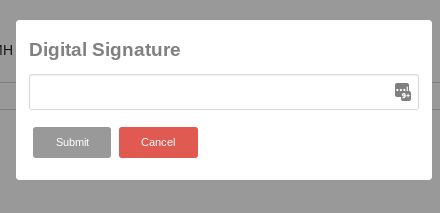
Artisan will prompt the creator of the Order List to enter a digital signature. Enter the signature and click Submit.
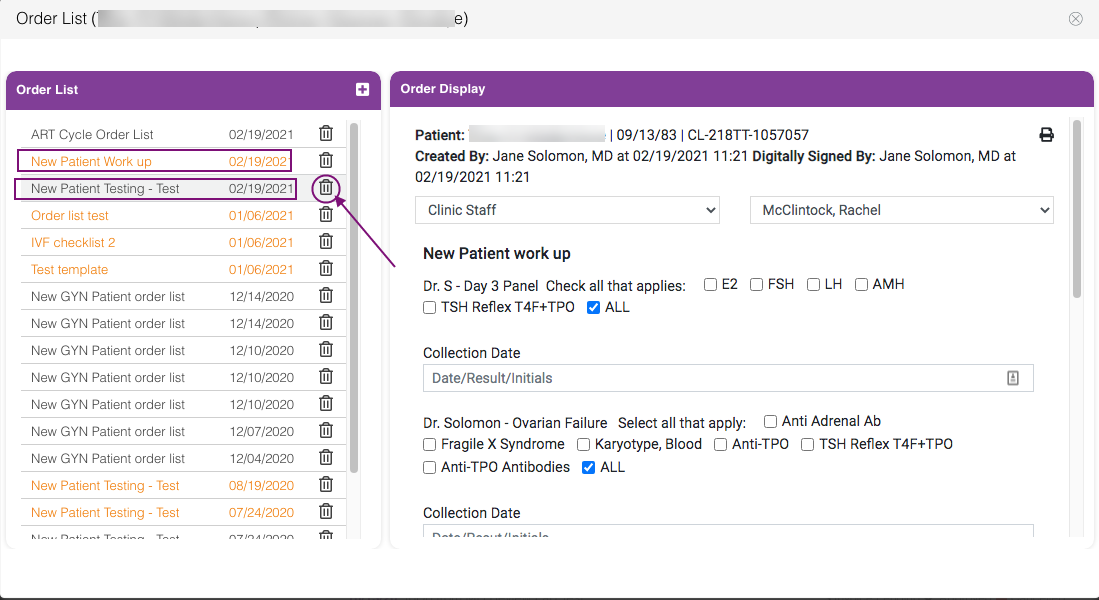
The Order will now live on the Order List screen and can be accessed at any time by clicking on the name of the template. Orders created for the patient will be in grey text while orders created for the partner will be in orange text. The Order can be deleted at any time by clicking on the trashcan to the right of the template name. The Order can also be updated at any time by updating what needs to be changed on the order and clicking Save.
The Order List can also be accessed from Coordination in the same manner of Order Lists created in Advanced Progress Notes. Order Lists are also available for donors and surrogates.
**All manuals are compliant with HIPPA regulations. No patient information has been released. All screenshots above were taken from a test clinic with fake patient information.
Tristan Newman
Comments