There is often a need to enter multiple ICD codes for insurance billing purposes. This lesson describes the simple mechanism for entry either during the creation of the bill or following, by the billing department.
Navigation

From the patient's clinical or accounting chart, click on the Billing button to open the screen to create an invoice.
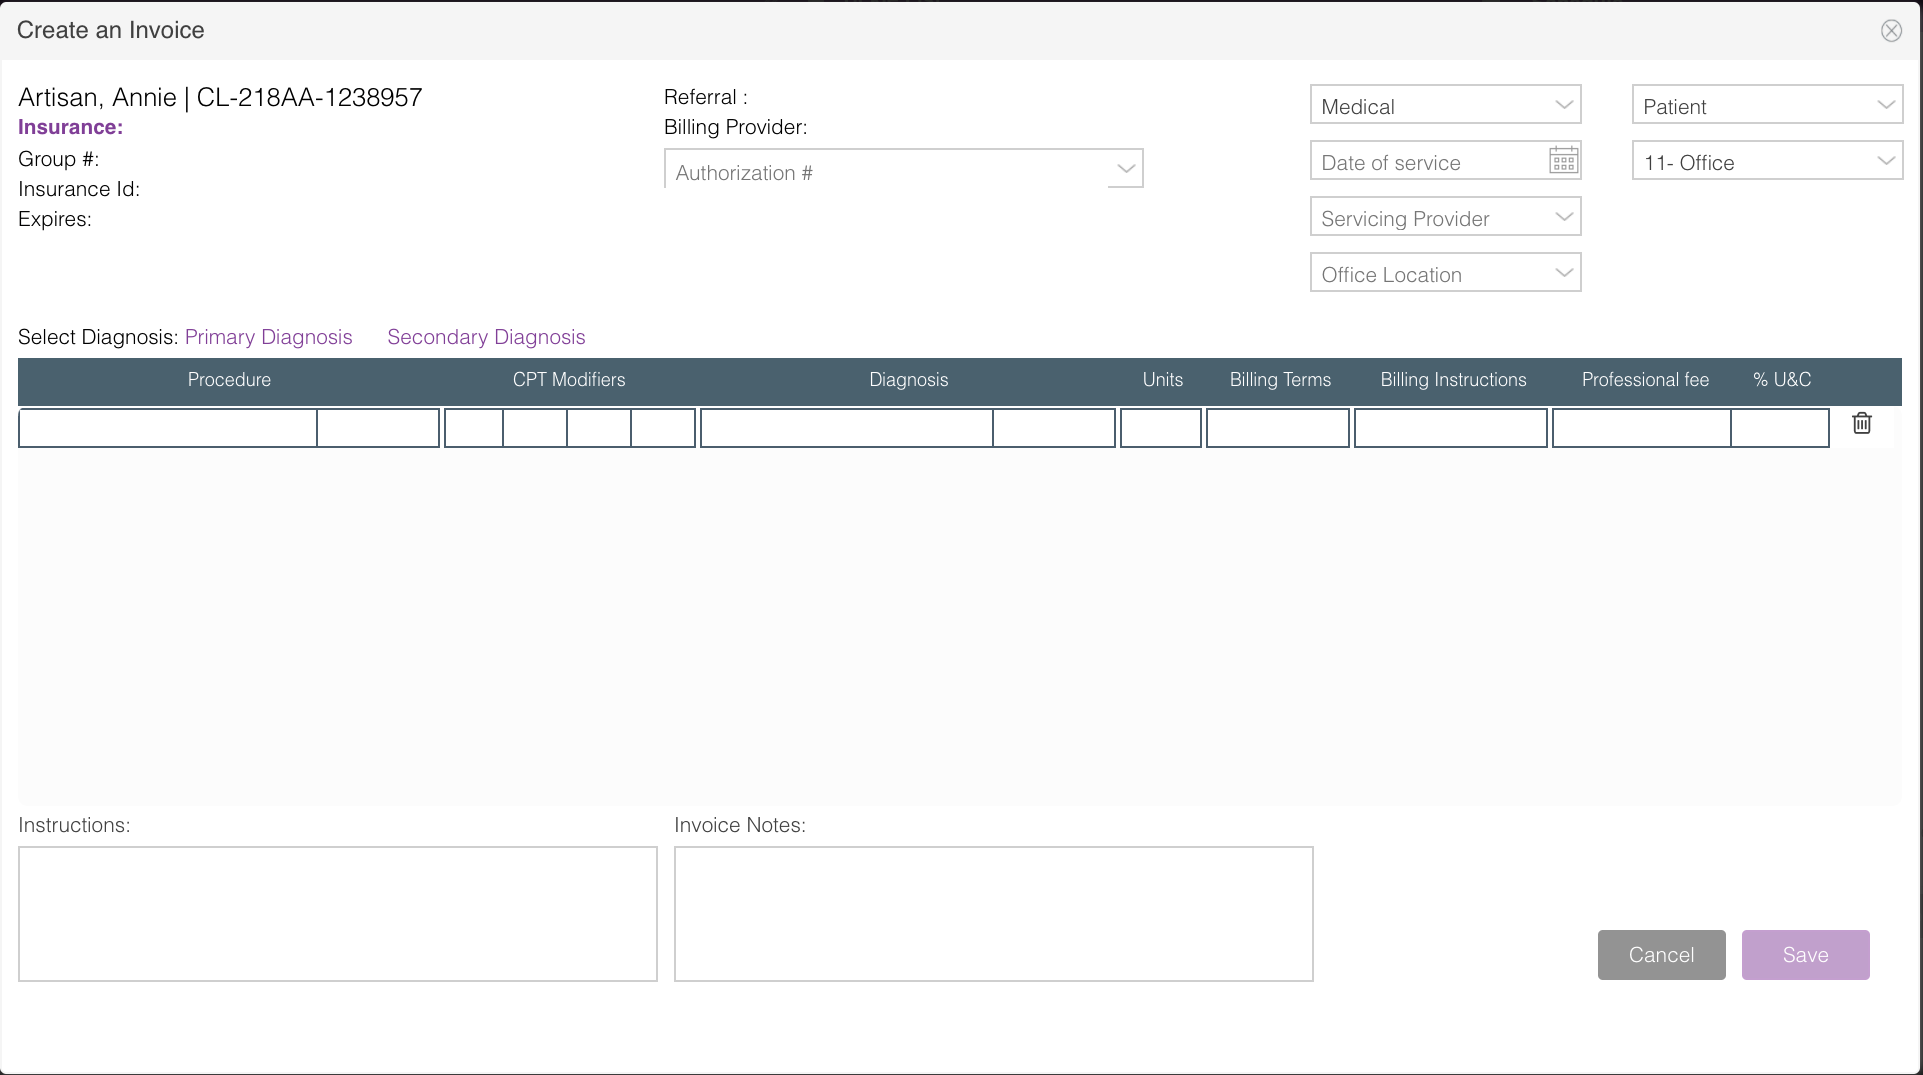
This will open up the Create Invoice screen.
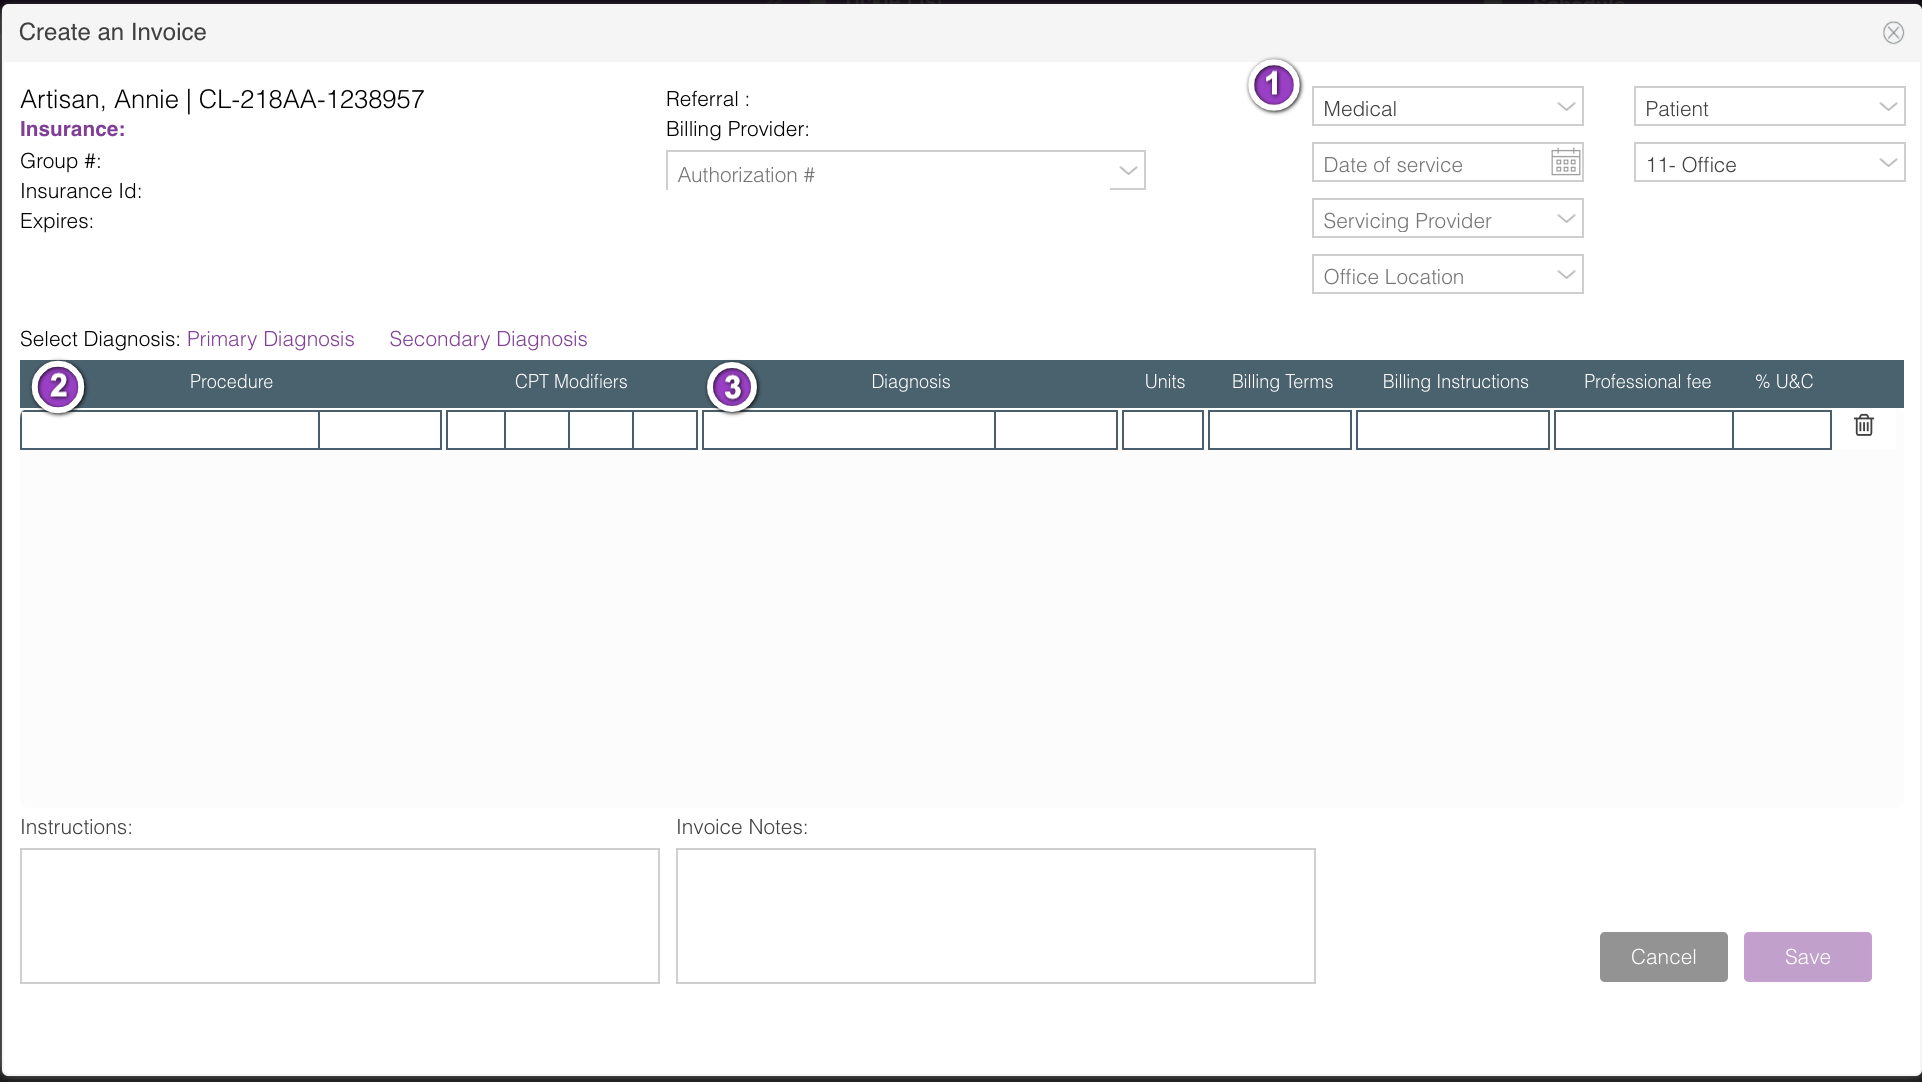
Enter the appropriate information to create the invoice:
1. Date of service, Provider, Office Location
2. Select Procedure
3. Select Diagnosis
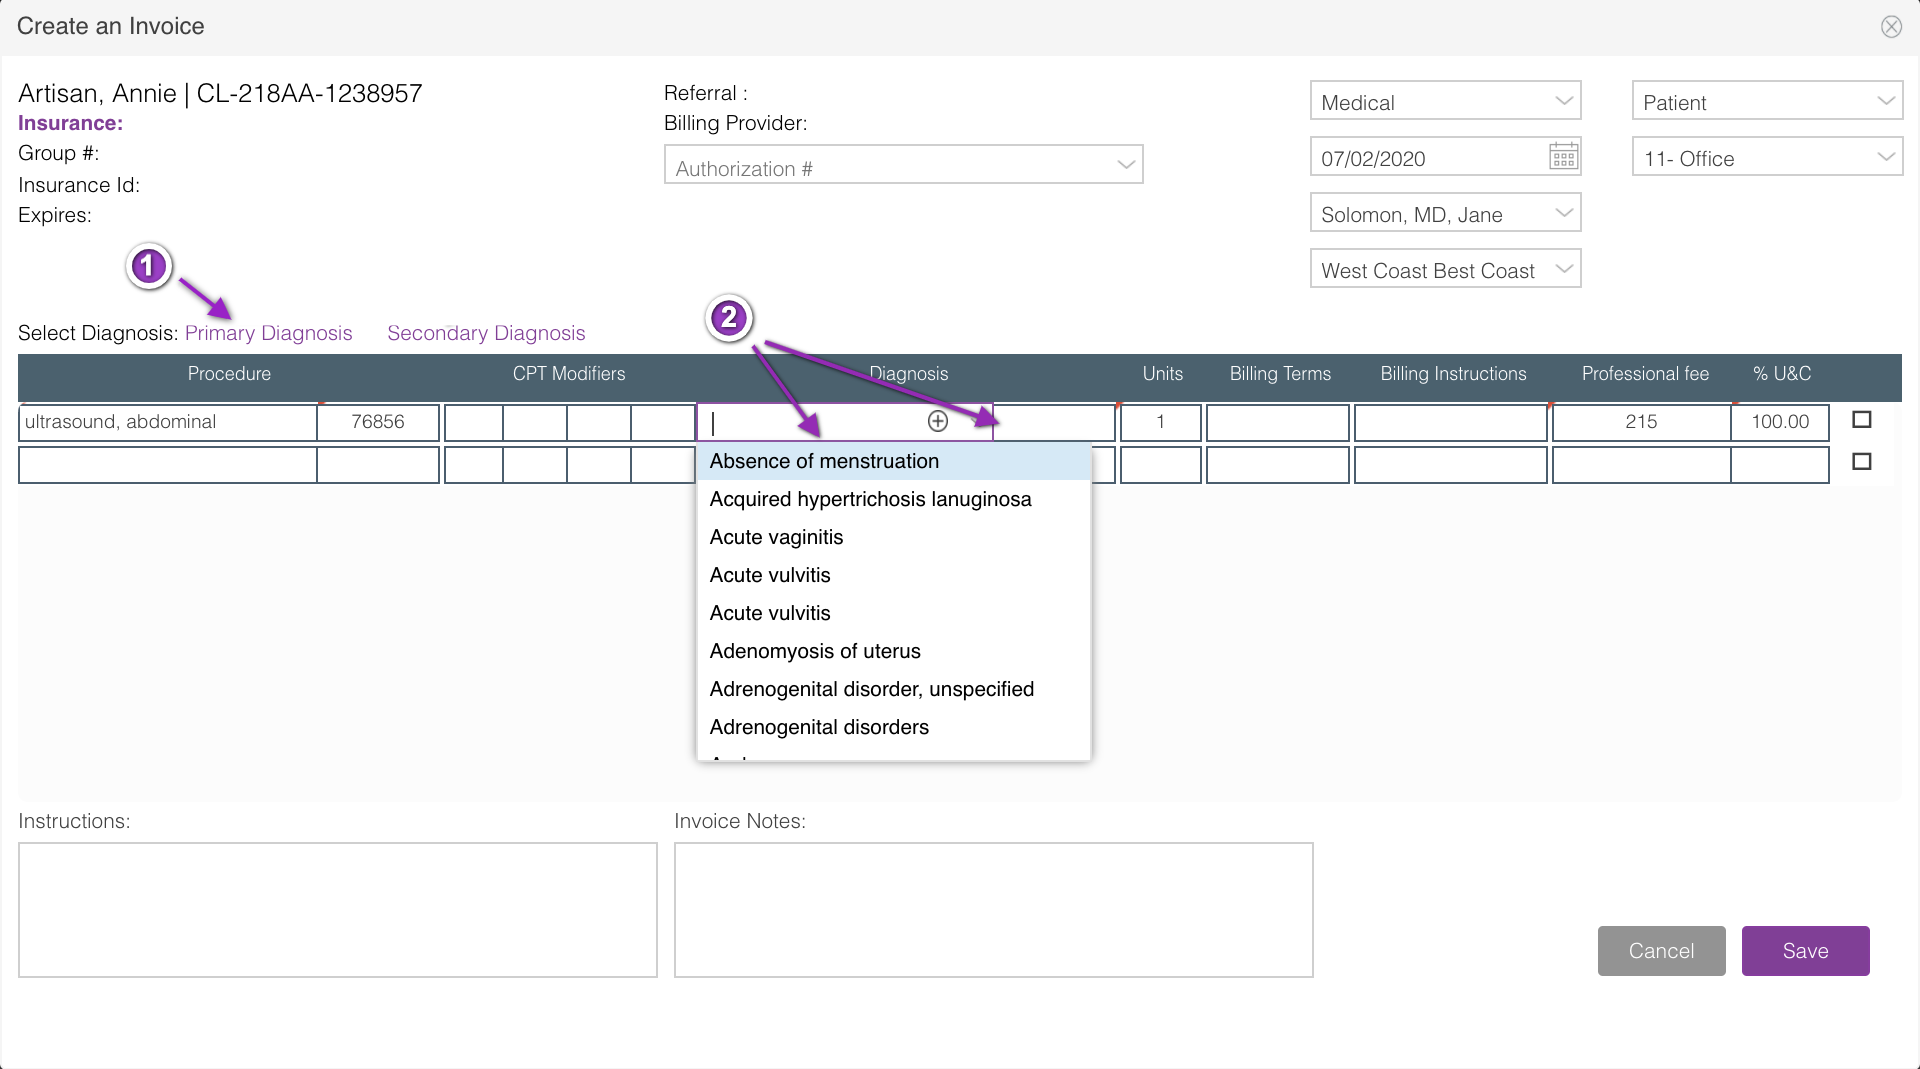
To assign a diagnosis, use one of the following options:
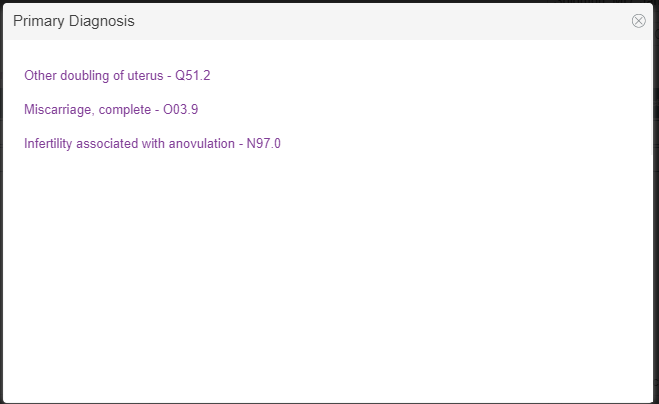
1. Choose a previously used Primary Diagnosis by clicking the purple hyperlink above the service line header. A box will open up that lists all previously used primary diagnoses for this patient. (see image below)
2. Use the pull-down menus or type ahead in the diagnosis fields of the service line to search by description or ICD-10 code.
*Note: in order to select a previously assigned secondary diagnosis, a primary diagnosis must be entered first.
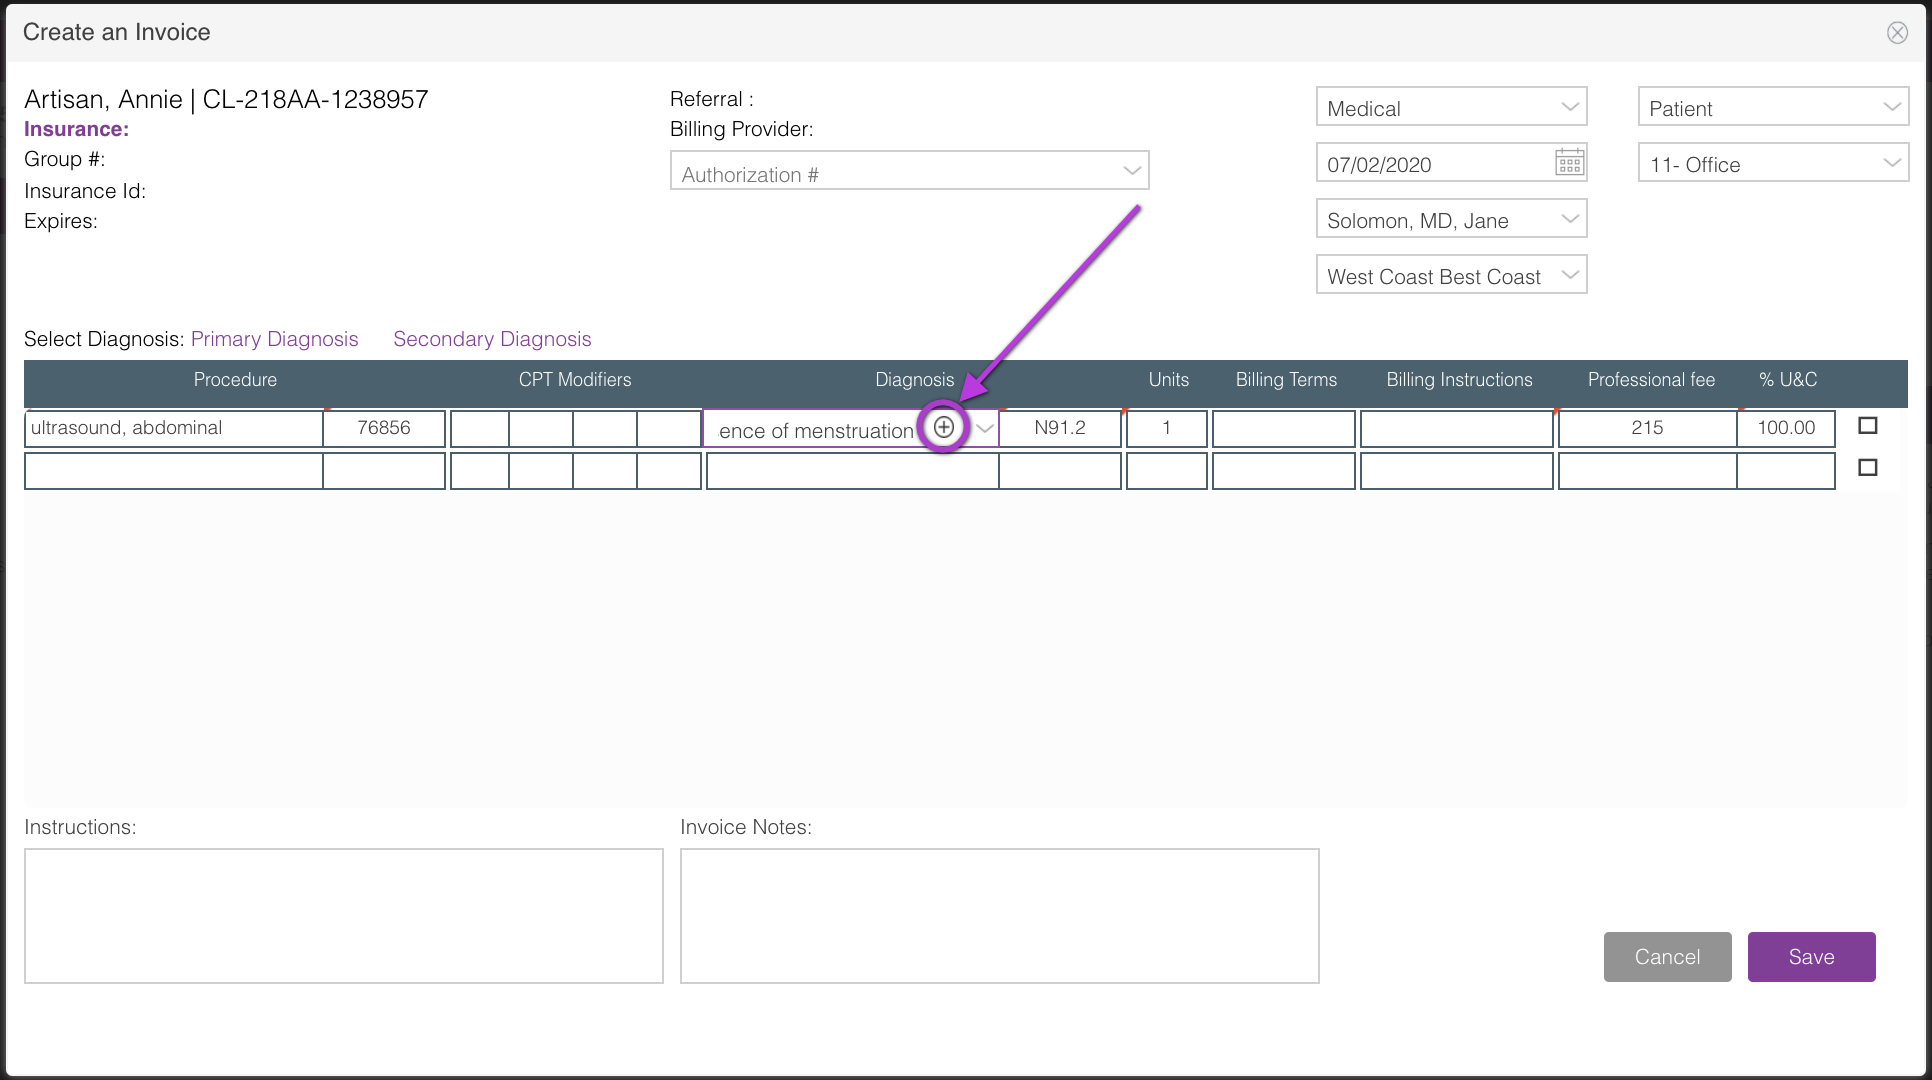
Click the + icon to open a dialog box. This dialog box will allow you to enter multiple secondary diagnoses.

Click Add New Diagnosis.

Select the diagnosis of your choice by using the magnifying glass to display the list of diagnoses. You may also type in the diagnosis code you are searching for.

You may enter up to 3 additional diagnoses per service line, not to exceed 4 total.

Then click Save Diagnosis when you are done adding the appropriate diagnoses.

A purple "i" badge indicates there are additional diagnoses associated with this service line.
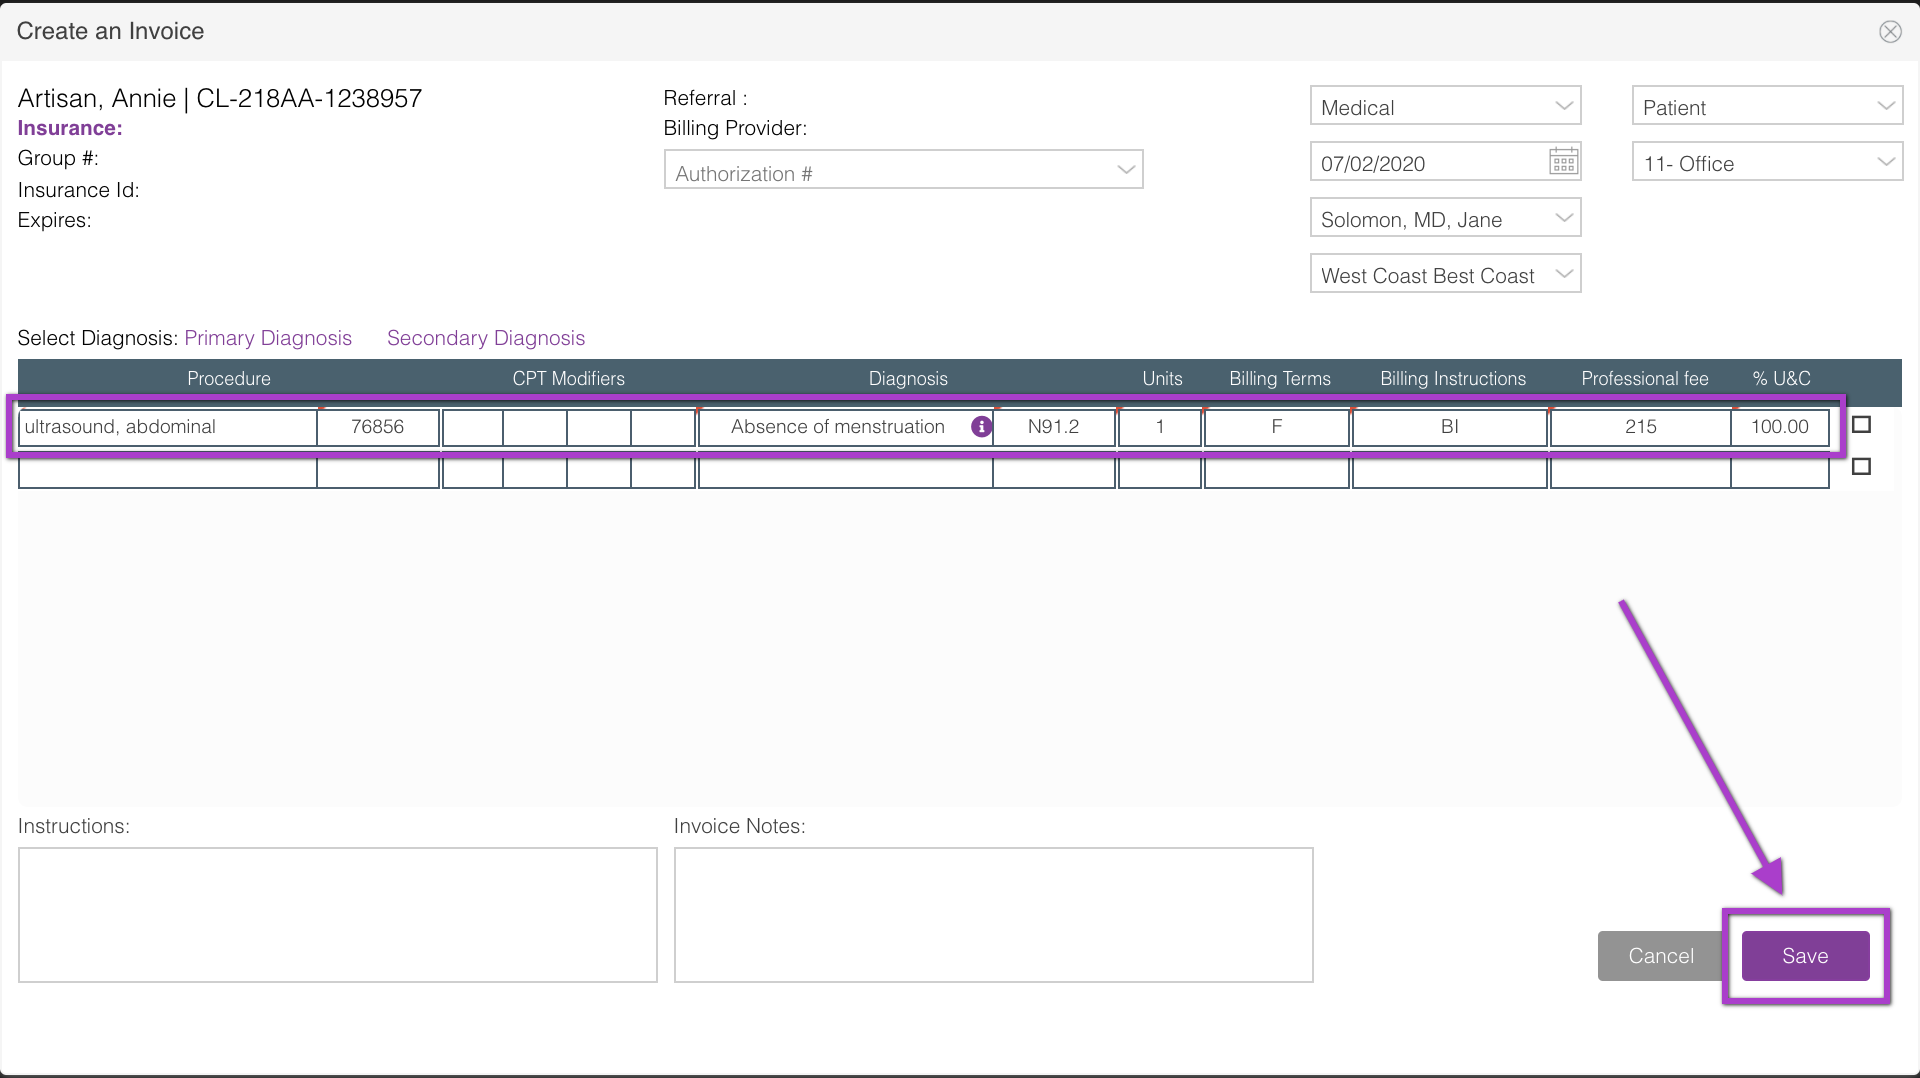
Fill in the remainder of the service line fields (# units, Billing Terms, Billing Instructions) as appropriate and click Save.
This same process applies to auto-generated invoices from scheduled appointments; to learn more about this, head over to our Prospective Invoices article.
View and Edit Multiple Diagnoses in Invoices
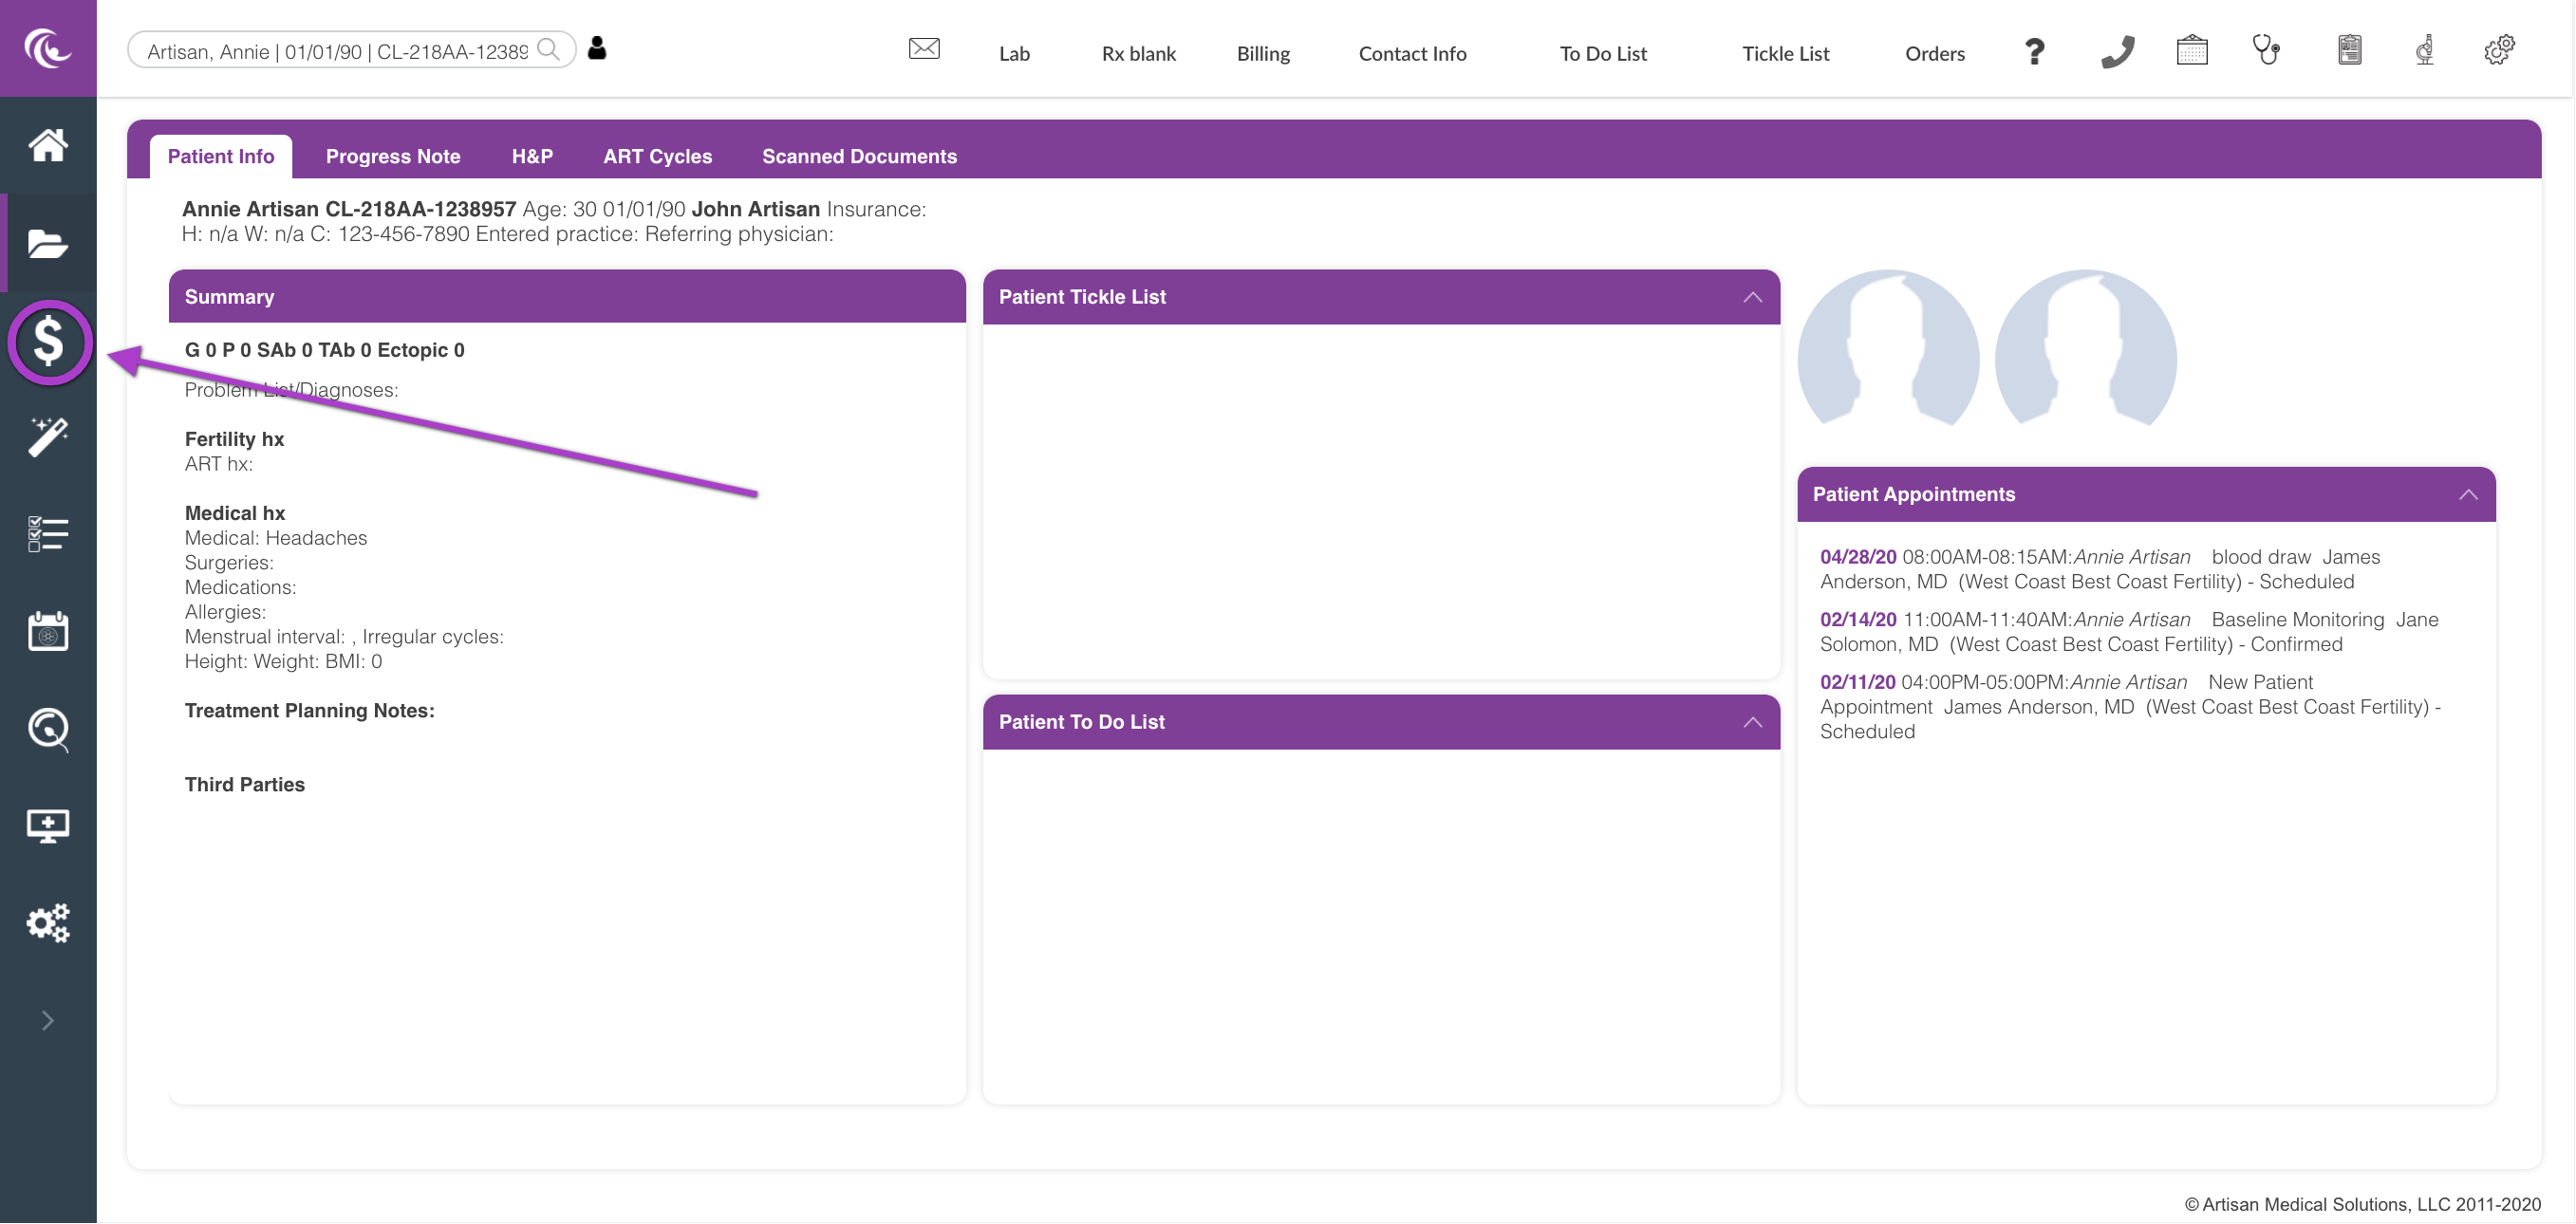
Click on the Accounting section ($ icon),
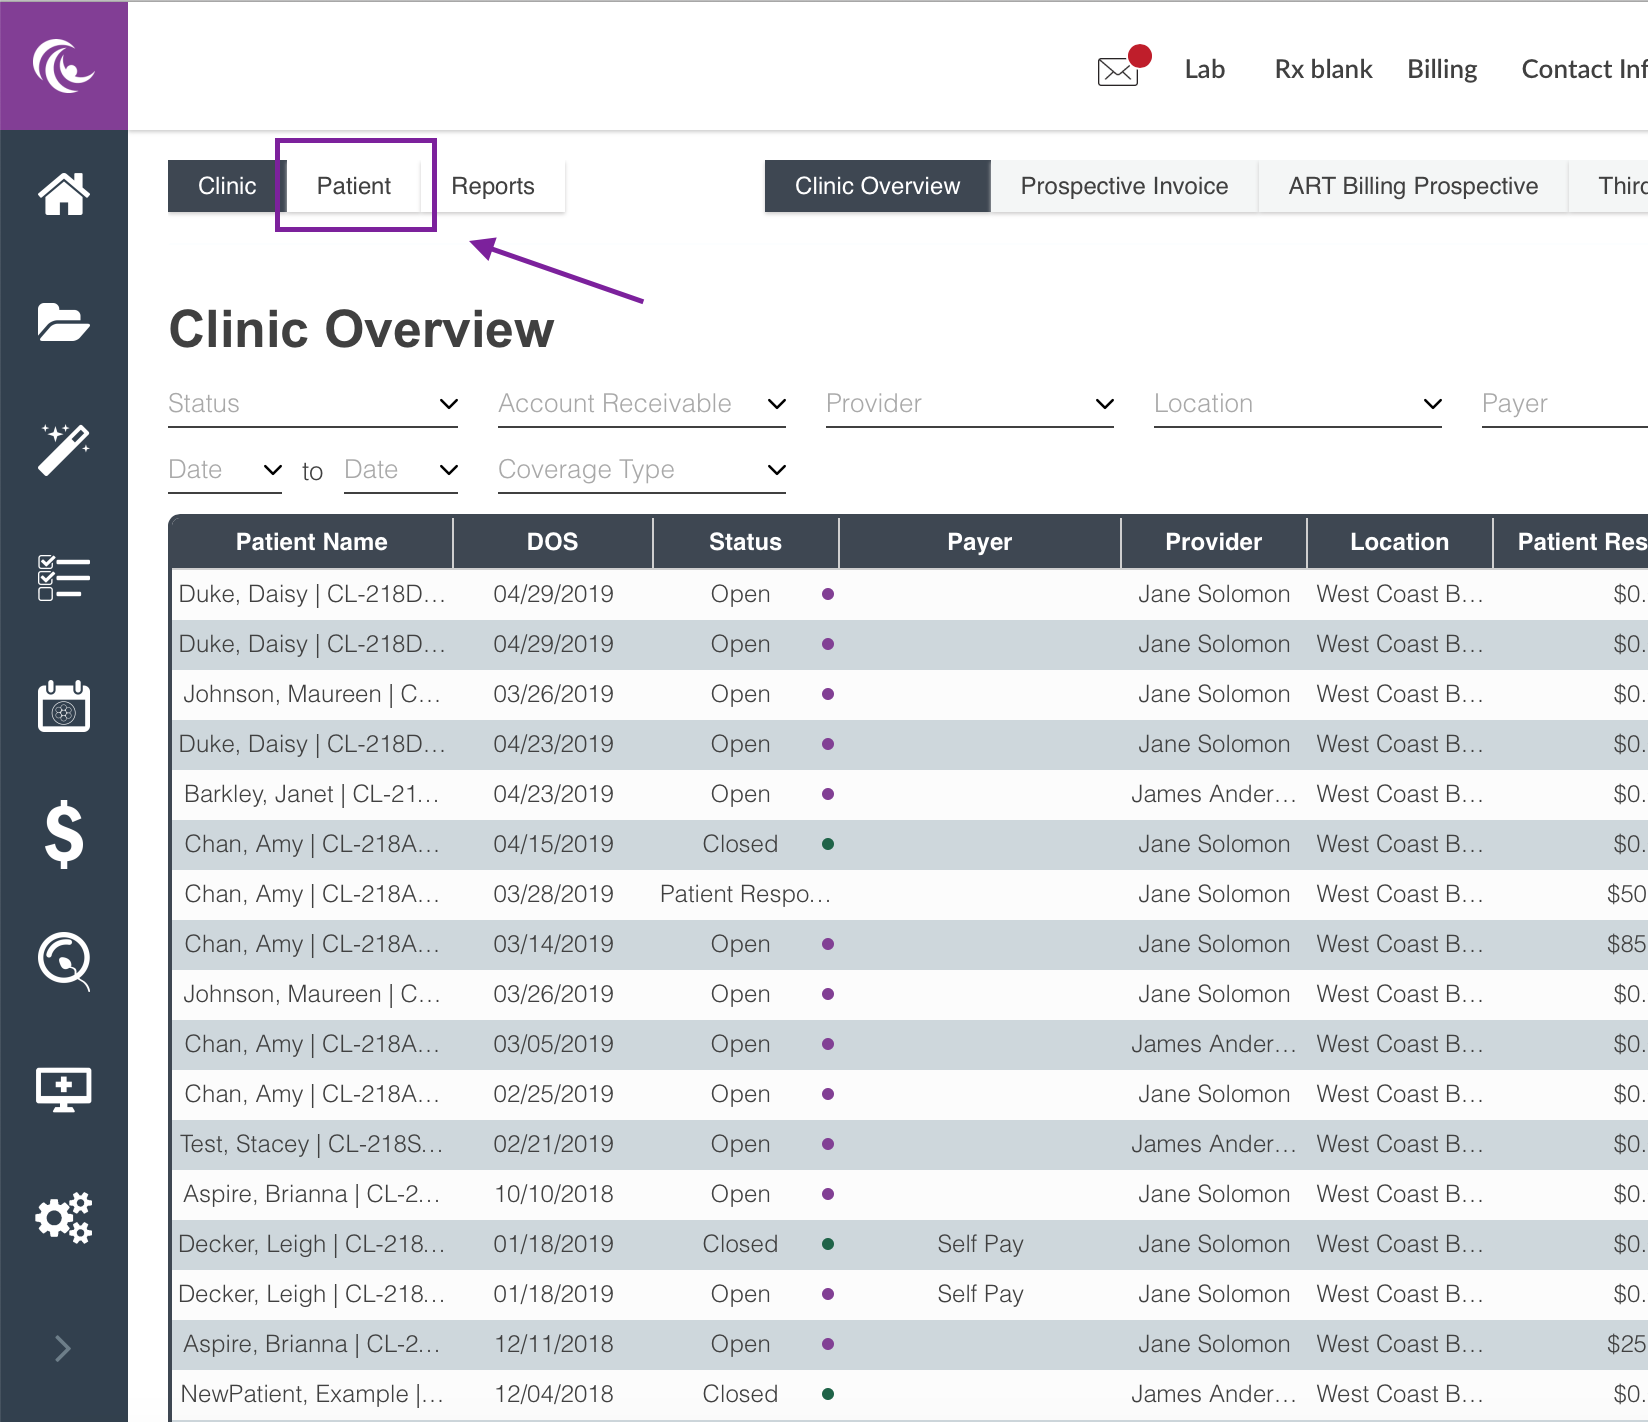
Click on the Patient tab to open up the patient's billing screen.
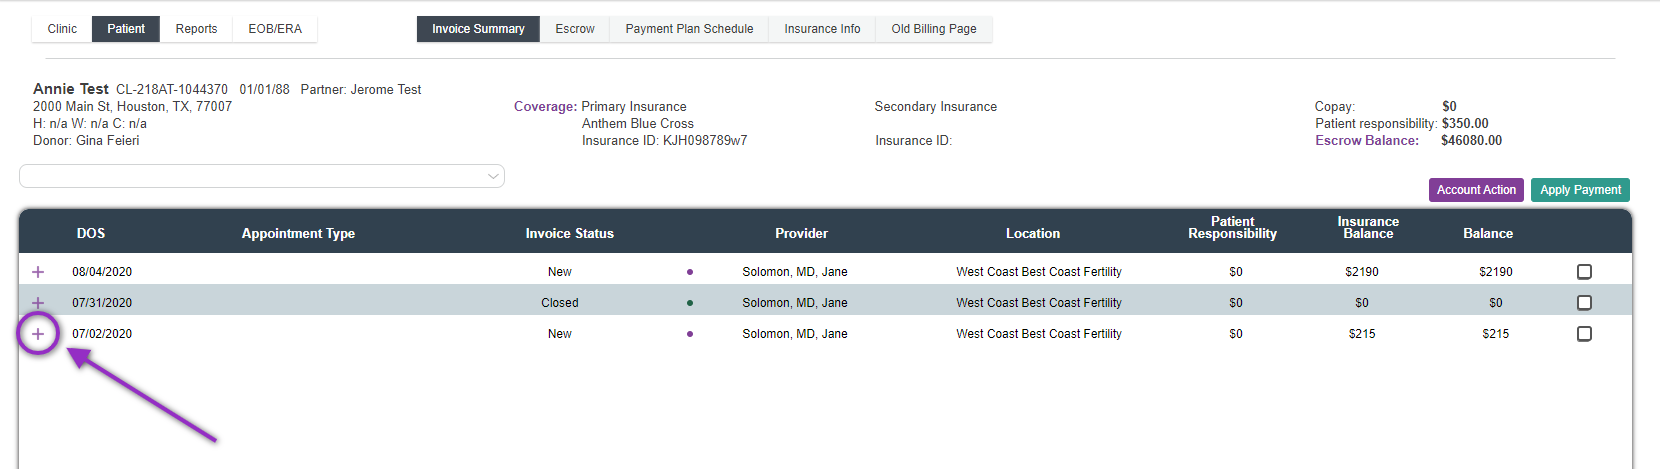
Click on the + icon, next to the appropriate DOS (Date of Service) to open up the invoice.

Click in the diagnosis box and select the "+" icon to enter or display any additional diagnosis codes associated with this invoice.
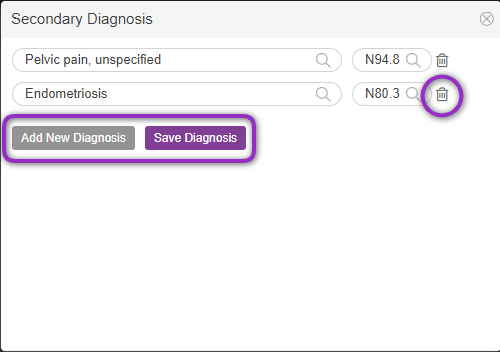
The Secondary Diagnosis screen will open where you can Add New Diagnosis or delete a diagnosis code by clicking the trash can icon. Click Save Diagnosis to save any changes or simply X out of the screen if there are no changes.
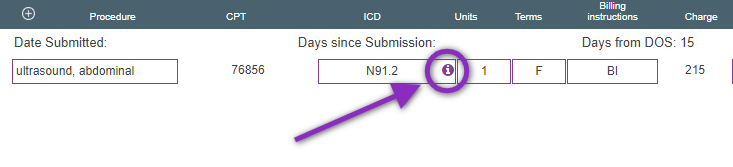
These secondary diagnoses are now visible in the invoice service line indicated by the purple "i" badge.
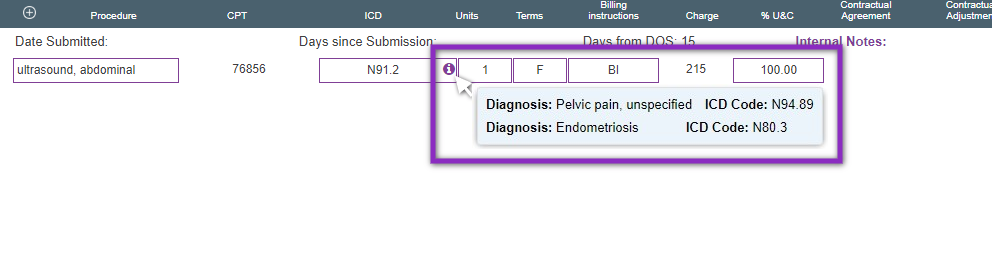
A tool-tip display will show the additional diagnoses when the "i" badge is hovered over or clicked on for easy viewing.
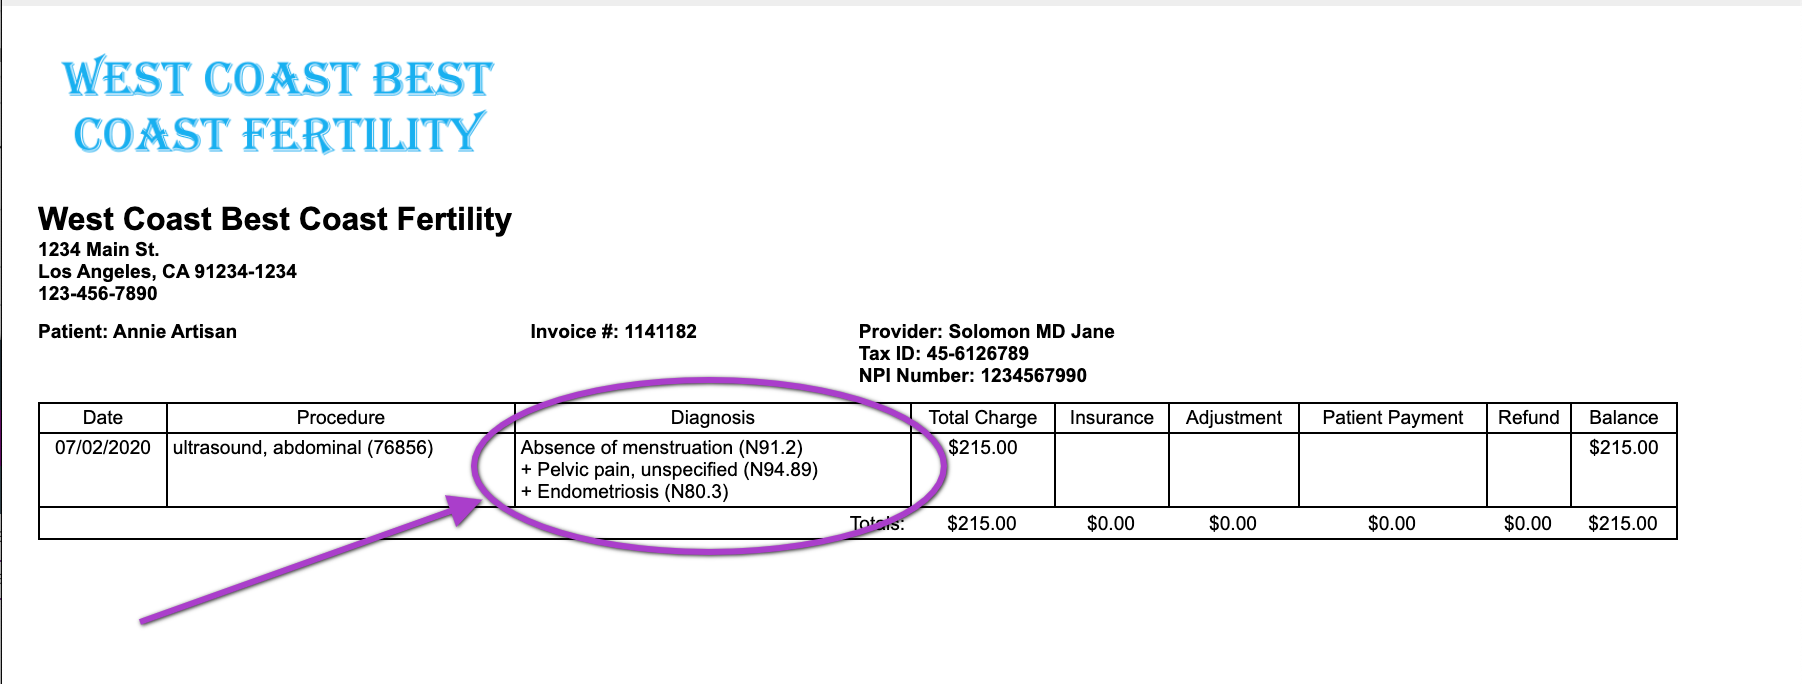
The secondary diagnosis codes will be shown on the printed invoice.
**All manuals are compliant with HIPPA regulations. No patient information has been released. All screenshots above were taken from a test clinic with fake patient information.
Megan Tillotson
Comments