Before adding donor embryos to the donor embryo bank, make sure the embryo donor has been added to Artisan. For detailed instructions on this, please read the manual Adding and Managing Embryo Donors.
Navigating

In Lab Tools (microscope), click on Specimen Log.

Click on the Donor Embryo Banking tab.
Adding Donor Embryos to the Donor Embryo Bank

- Select the correct Embryo Donor by typing the last name of the embryo donor in the search field and selecting the correct name in the drop down.
- Click Transfer Embryos into the Donor Embryo Bank.
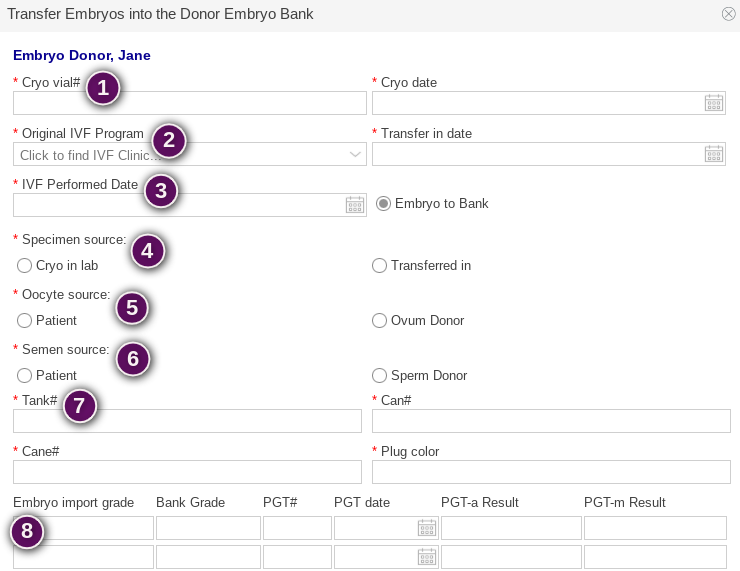

When entering the donor embryos into the cryolog, make sure to enter them electronically as they are cryopreserved in actuality. Everything will be entered vial by vial/straw by straw.
- Enter the cryo vial # and the original date of cryo.
- Select the IVF Program/Center where the embryos originated, then enter the date when the embryos entered your clinic's Donor Embryo Program.
- Enter the egg retrieval date in the IVF Performed Date field. Embryo to Bank will automatically be selected.
- Specimen Source: Indicate if the embryo(s) originated from your IVF Lab (cryo in lab) or if it was transferred in.
- Oocyte Source: Here you may indicate if the oocyte contribution was from the patient or a donor.
- Semen Source: Here you may indicate if the semen contribution was from the patient or a donor.
- Enter the Tank, Canister, Cane and Plug Color for the vial/straw that the embryos are stored in.
- Enter information for each embryo cryopreserved in that vial/straw. There are up to four fields available for four different embryos in the same vial/straw. Embryo Import Grade is the grade the original program assigned to the embryo. Bank Grade is used if the embryo originated from a different program, and your Bank uses a different grading system. Only complete the PGT-a and PGT-m fields if the embryo has been tested.
- Specimen Notes: Enter any additional notes about this sample you may need.
- Click Commit to add the record to your Bank.
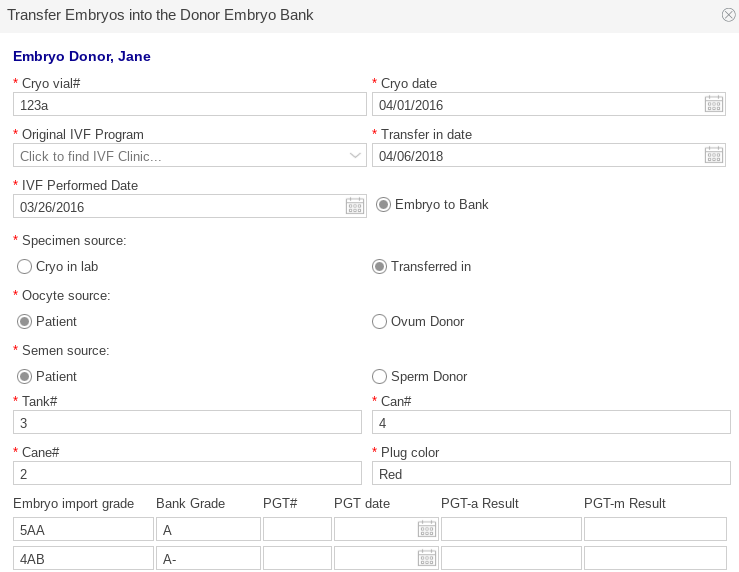

Here is an example of an embryo donation of two embryos in one vial/straw.

All of the data saves and is now listed under the Embryo Donor in the Embryo Donor Bank.
To add more embryos in for this donor, repeat the steps.
Allocating Donor Embryos from the Donor Embryo Bank to Patients/IPs

To allocate one or more samples from the Donor Embryo Bank to a patient/IP:
- Click the white check box next to the sample line to select the donor embryo for allocation. You may select more than one sample if you wish.
- Then click the Embryo to Bank under the Allocation tab.

The following box will appear, select Embryo to Patient.

- To select the patient/IP, type the patient/IP last name and select the correct name from the drop down.
- Click Commit to transfer the donor embryo(s) to the IP/patient.

Here is an example of how it should appear. In this case, we are allocating one donor embryo from donor, Jane Donor Embryo to IP, Kelly Sterling.

The sample has now been allocated to the patient/IP, and its allocation is updated to Embryo to Patient.
When the sample is marked for thaw inside the patient's laboratory record, the sample will grey out in the system.

To confirm that the sample has properly been allocated, you may check the IP/patient record in the Embryo Cryo Log and will see that the sample now appears here as a donated sample.
Cases of Exceptions: Reallocation of Embryos Back to the Bank
If the instance arises that a patient/IP does not use the donated embryo, or there is a change of plan, the donor embryo may be reallocated back to the bank. This may only be done prior to the embryo's thaw within the IVF laboratory. Once the embryo is marked as thawed, the Allocation cannot be changed.

To reallocate an embryo back to the bank, click Embryo to Patient on the line of the embryo you wish to reallocate.

Select Yes.

The embryo's status will how show that it is back to the Bank.

The record of actions is still maintained in the final column titled Events.
**All manuals are compliant with HIPPA regulations. No patient information has been released. All screenshots above were taken from a test clinic with fake patient information.
Artisan Support
Comments